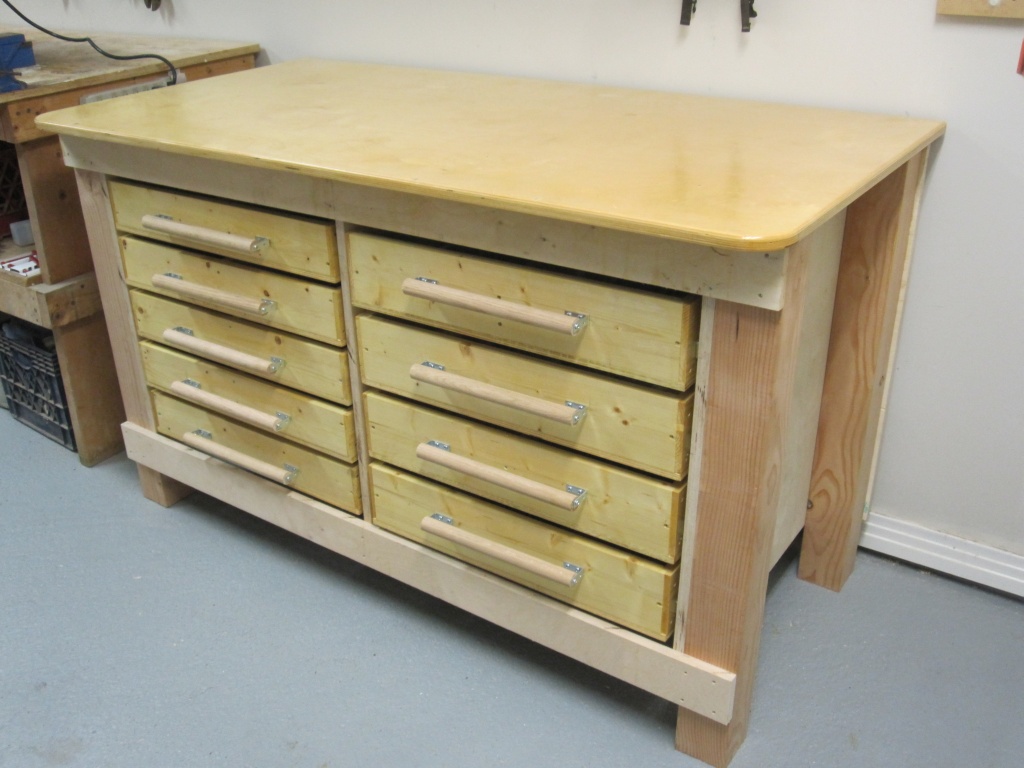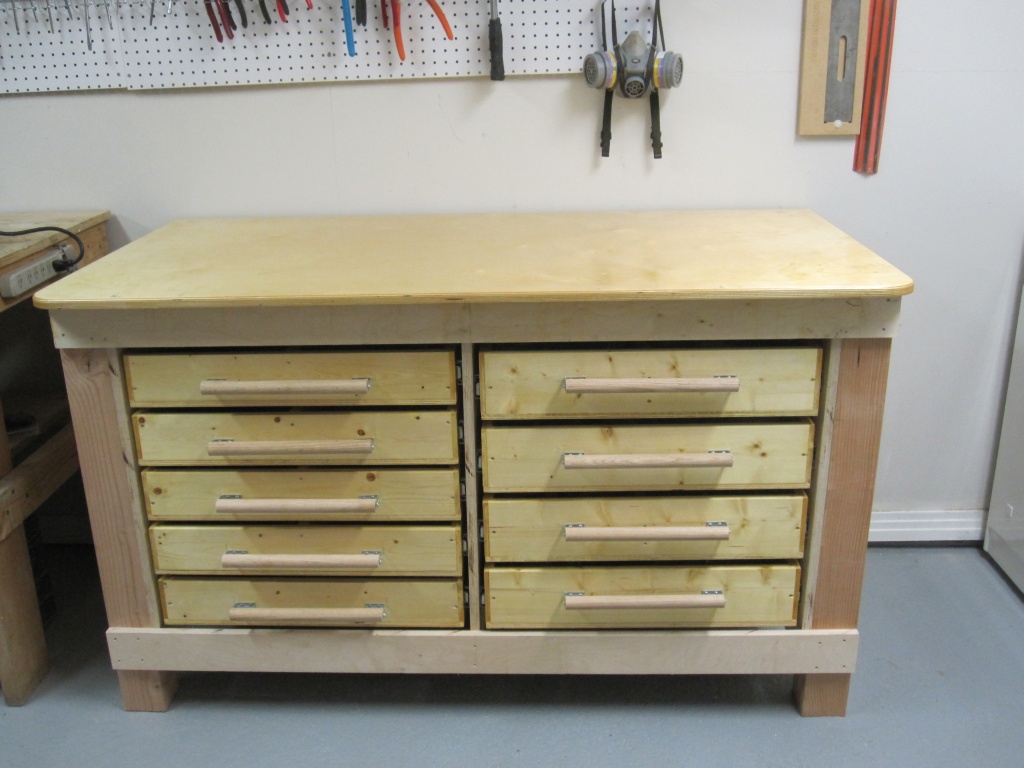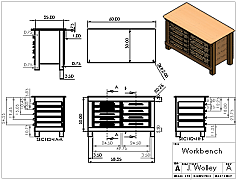
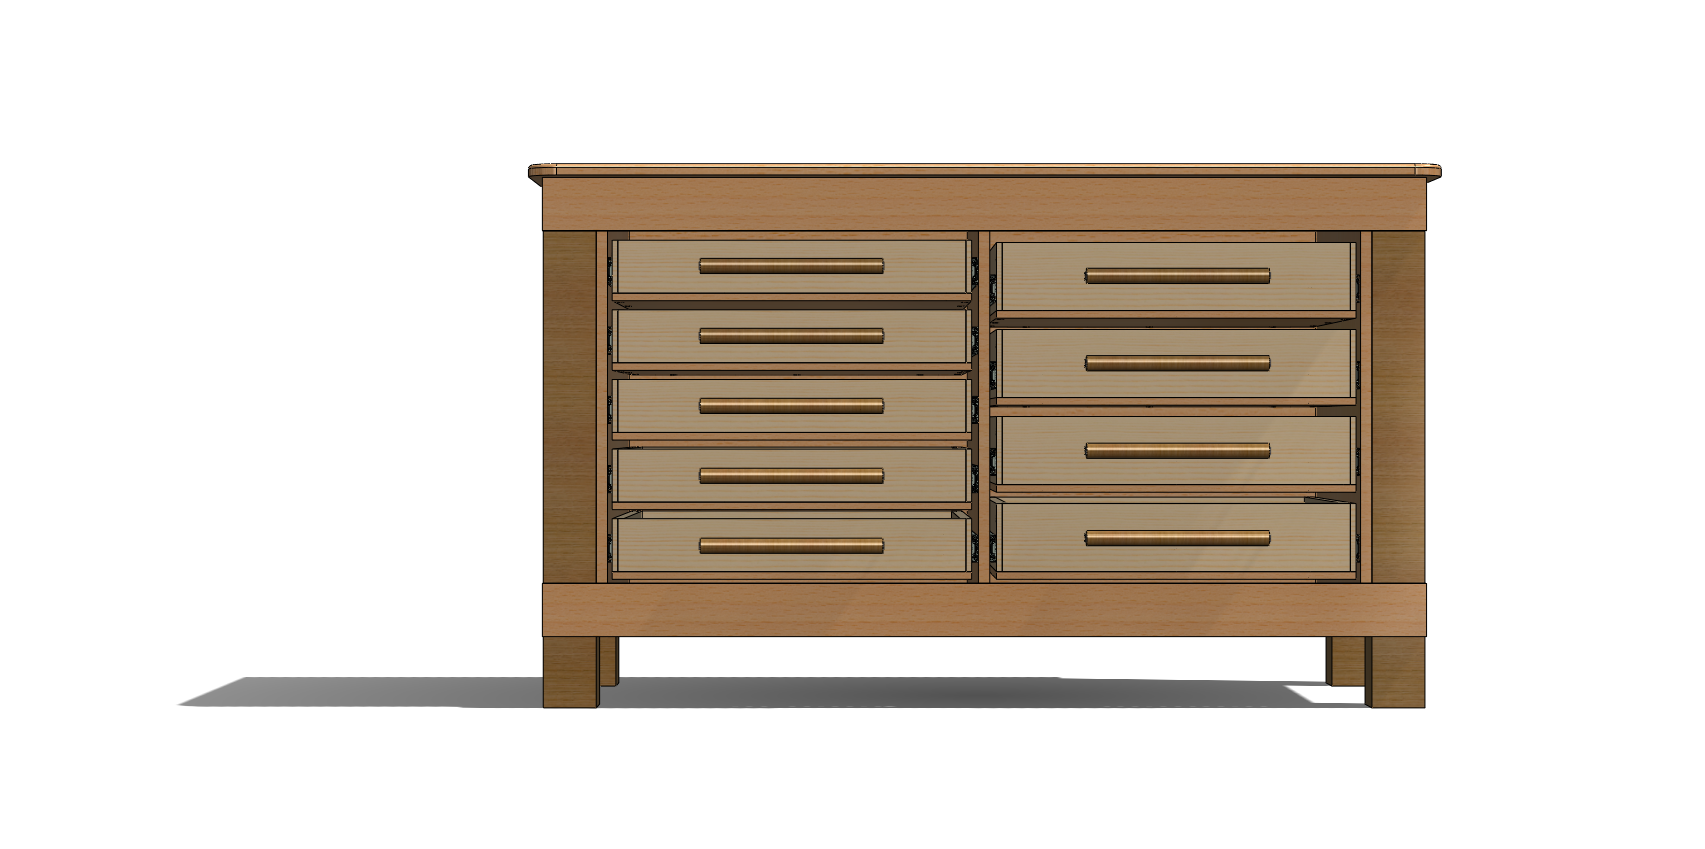
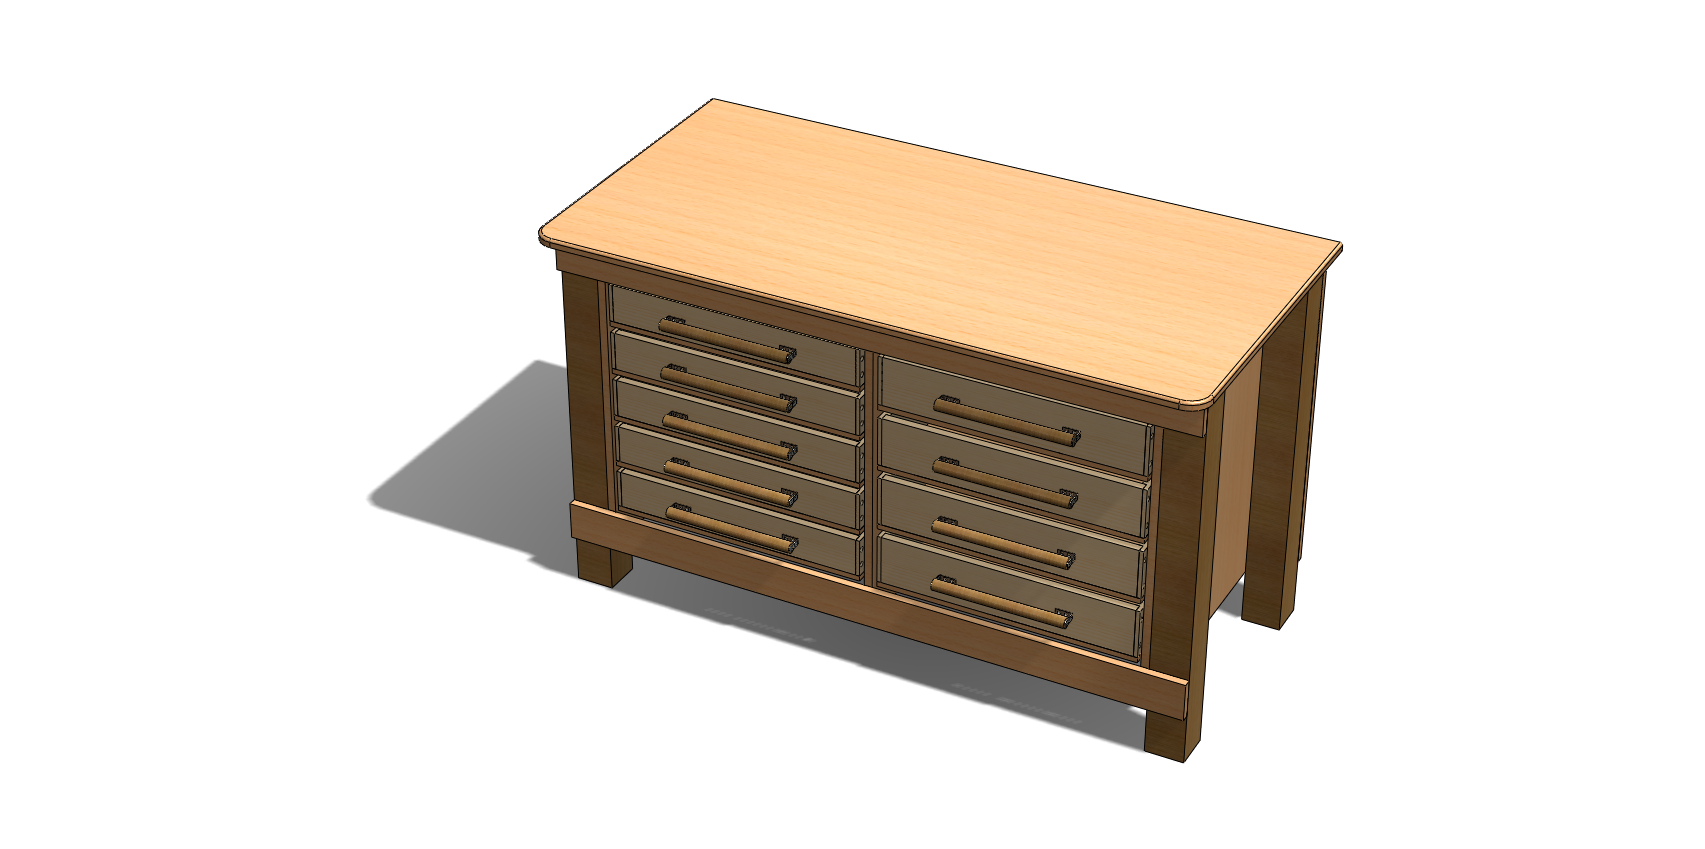
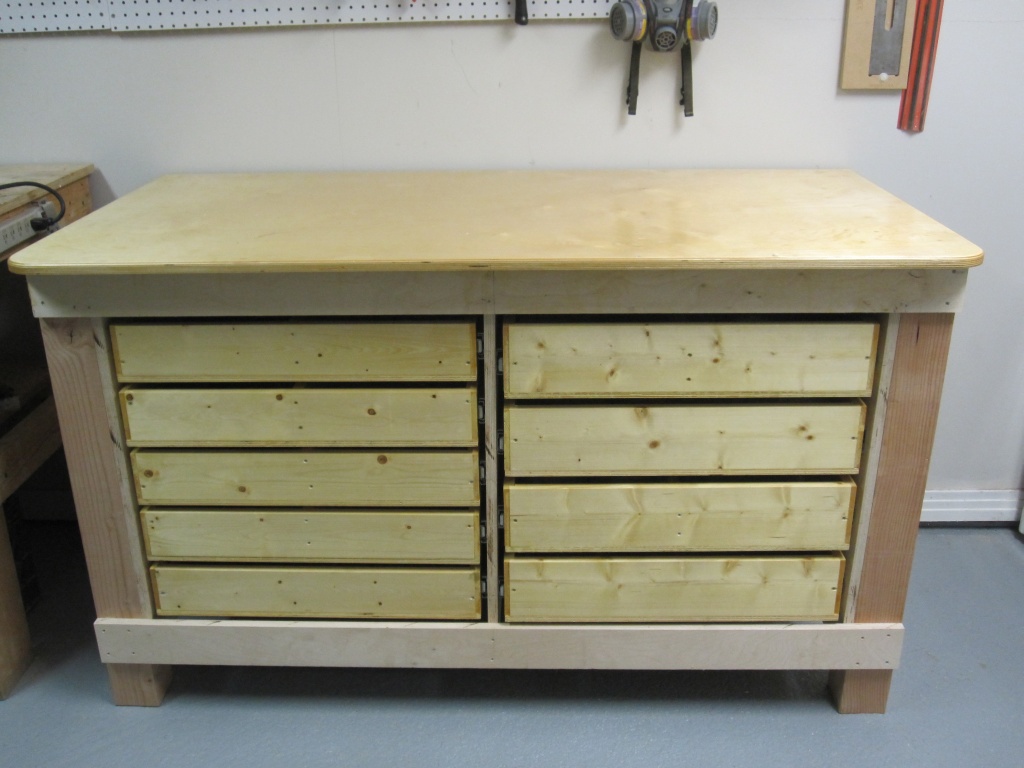
After moving into a slightly smaller shop, I needed to find space for all of my tools. I looked at rolling tool boxes and chests, but I wasn't happy with the build quality of "affordable" units, nor with the price of "quality" units. I eventually decided the best use of space and money would be to replace one of my workbenches with something with drawers. I started drawing up the plans, eventually settling on a 9-drawer bench with five drawers on one side and four slightly deeper ones on the other side. This workbench is the result.
I have purposefully left out most of the fasteners and joinery details, anticipating that anyone who decides to build this bench will use whatever joinery they are most comfortable with anyway. I used mainly butt joints reinforced with furring strips for the bench itself and rabbet joints for the drawers.
This is not really a step-by-step guide, but it shows most of the major operations. The pictures should be self-explanatory. Building this workbench took a fair amount of time, especially the drawers. Fitting the drawers into the frame for the first time is much, much easier as a two person job. Basically everything else can be done by one person.
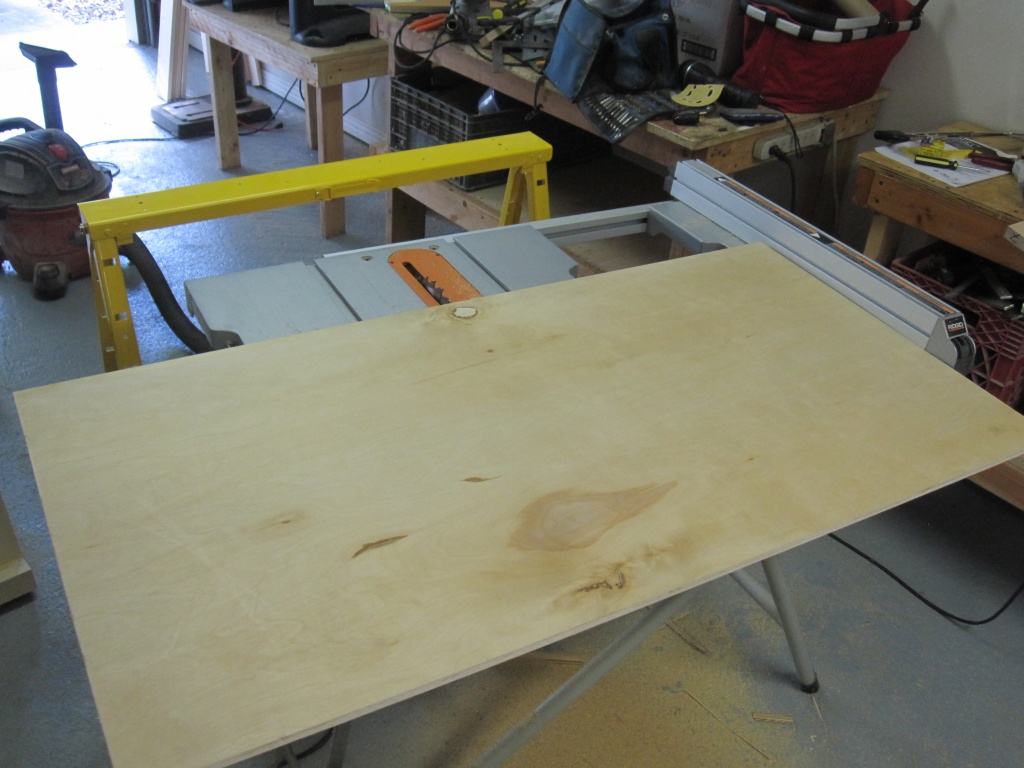
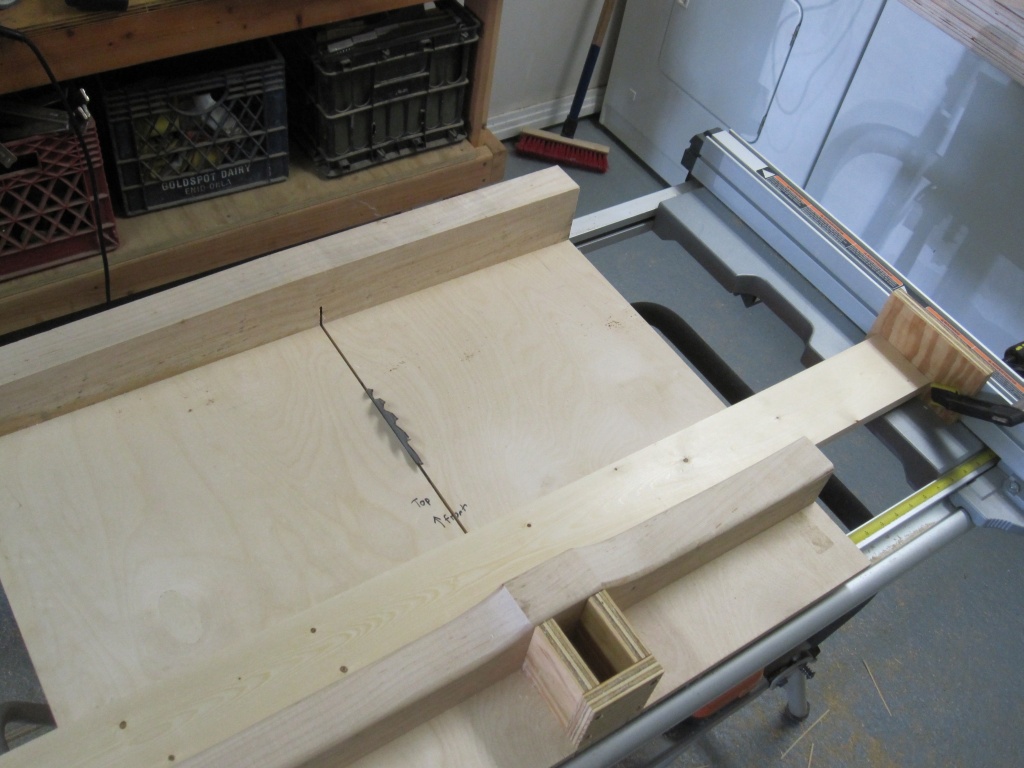
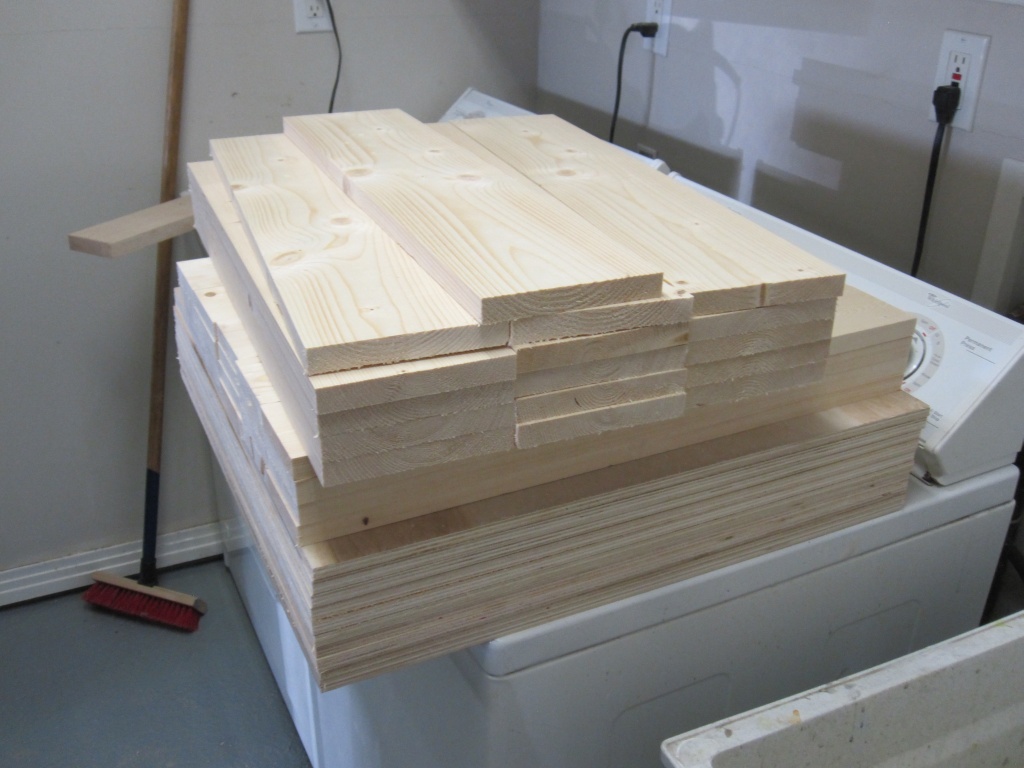
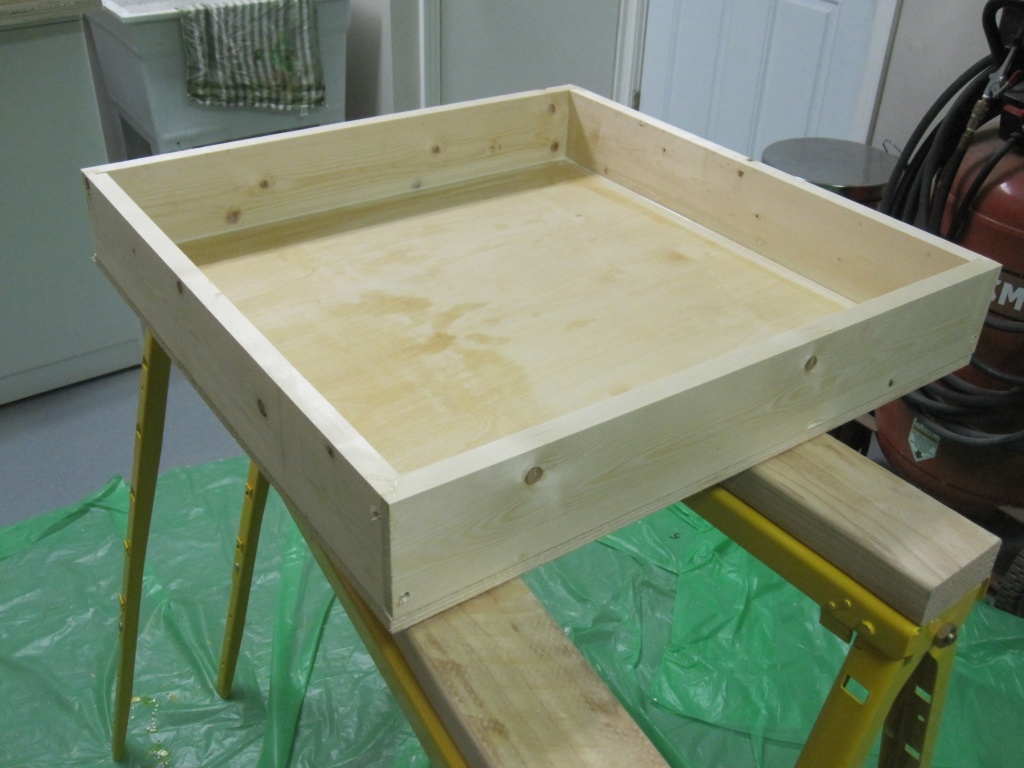
Cutting the drawer bottoms
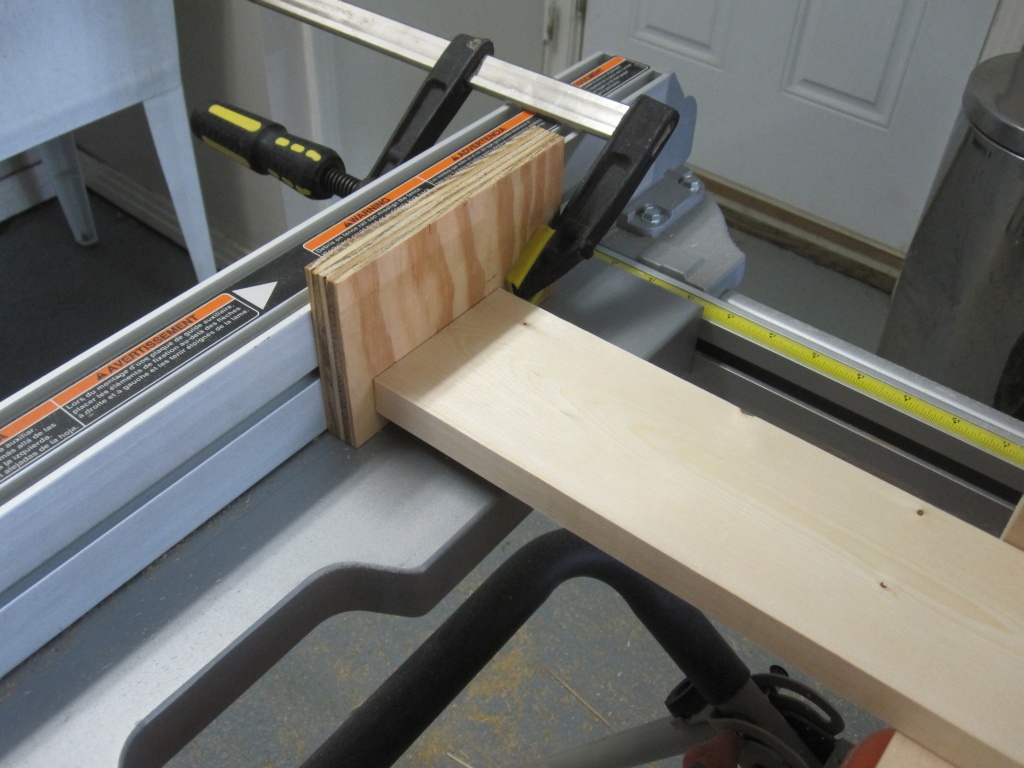
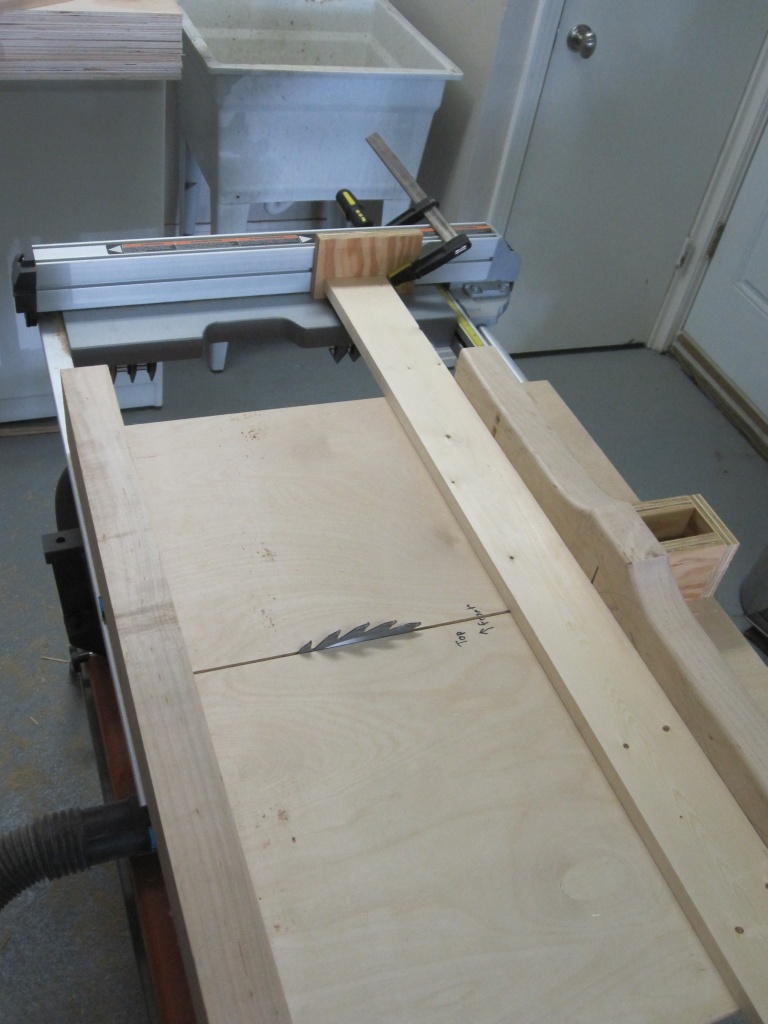
Cutting the drawer sides
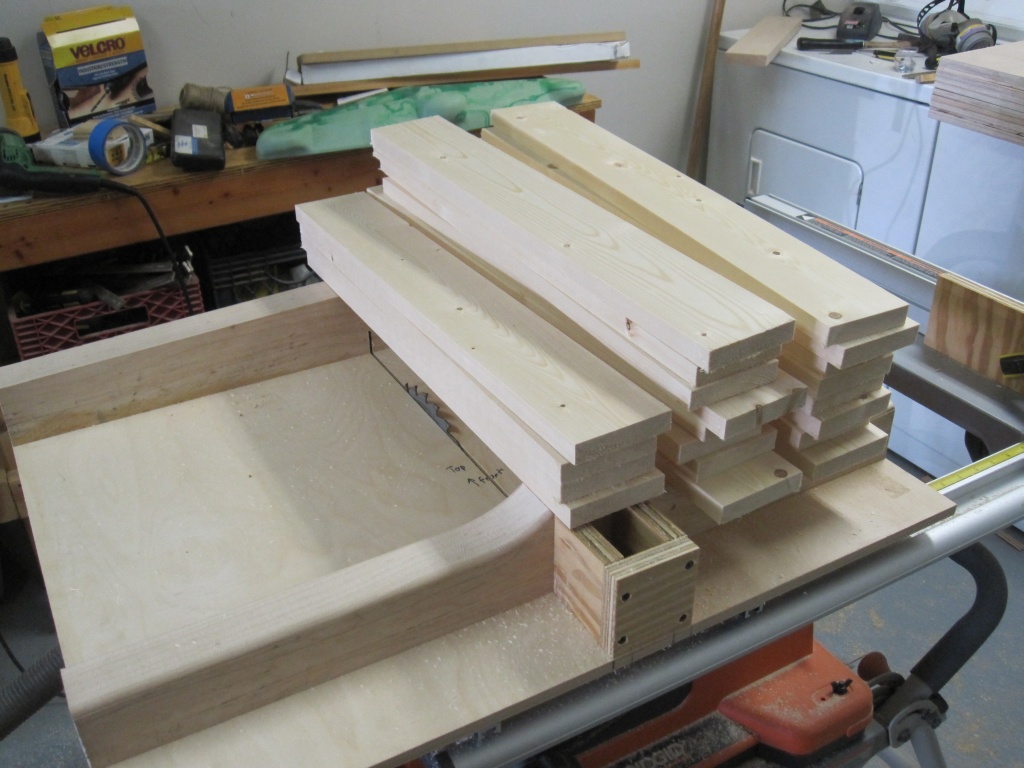
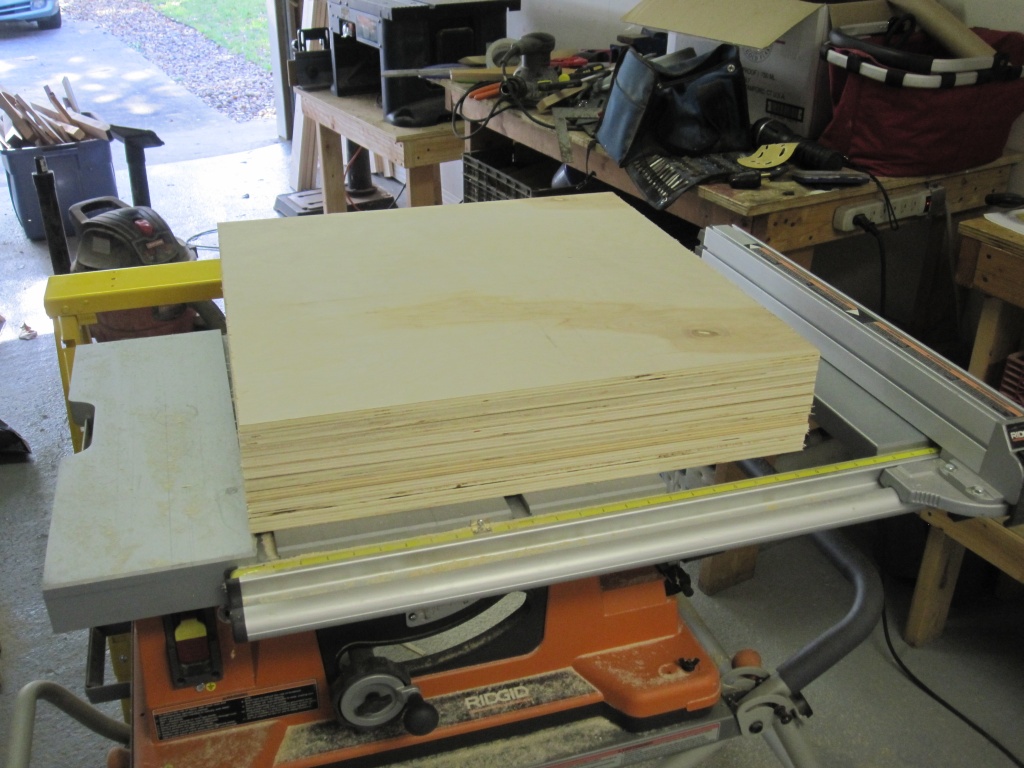
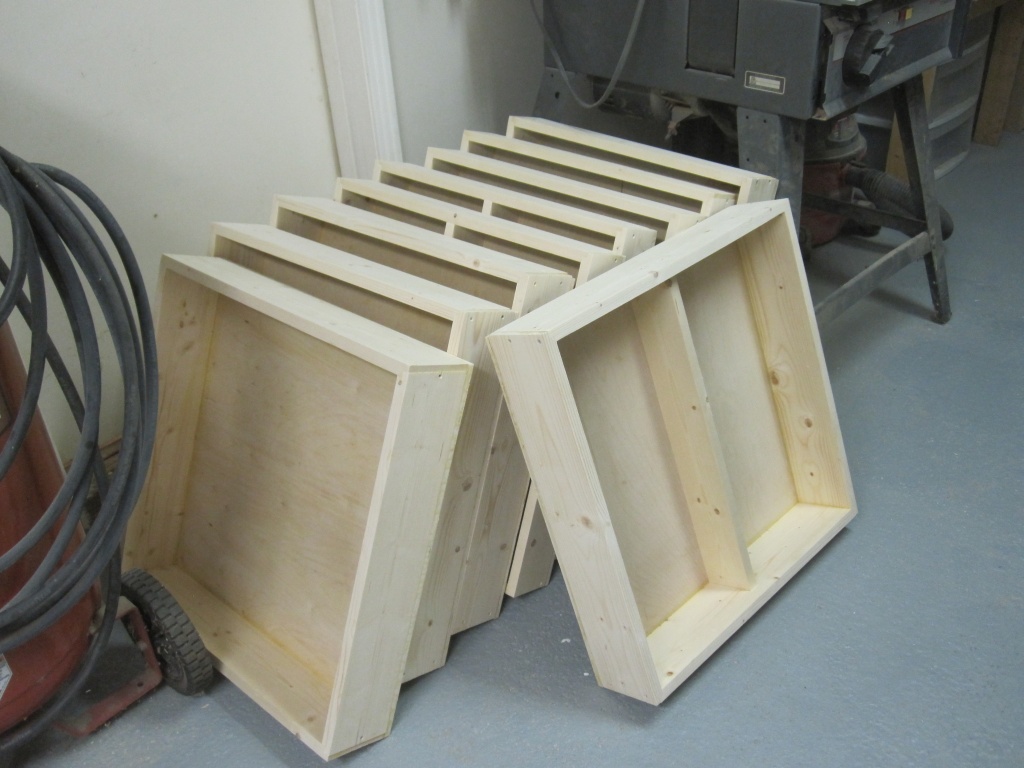
Drawer bottoms and sides stacked up

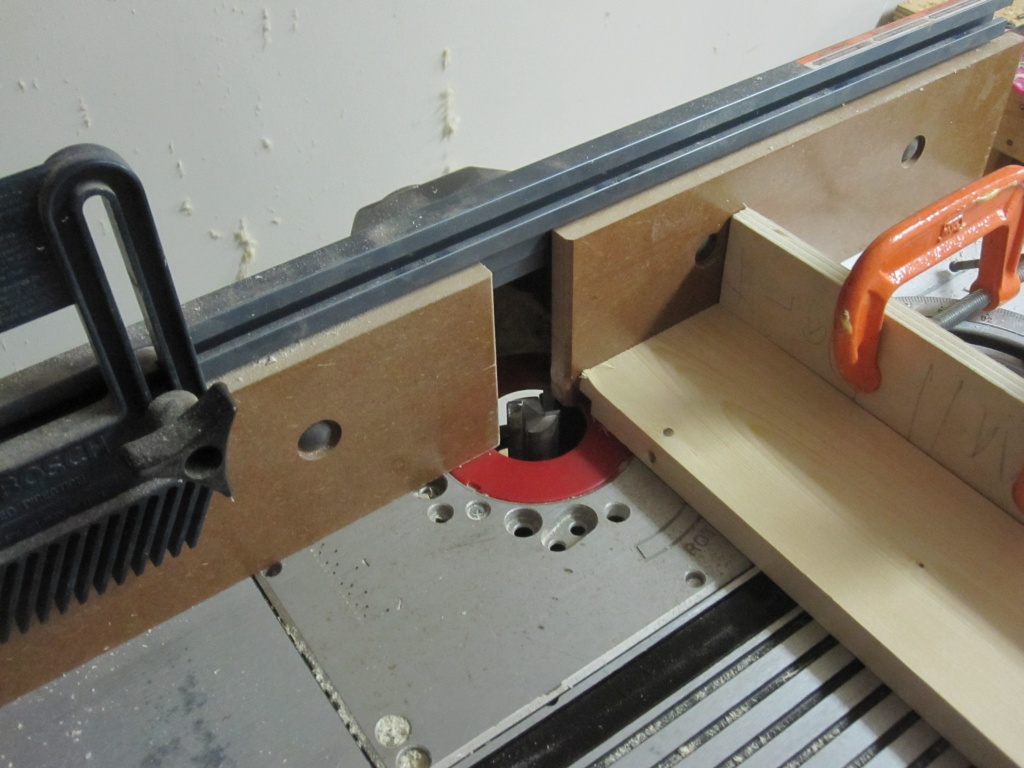
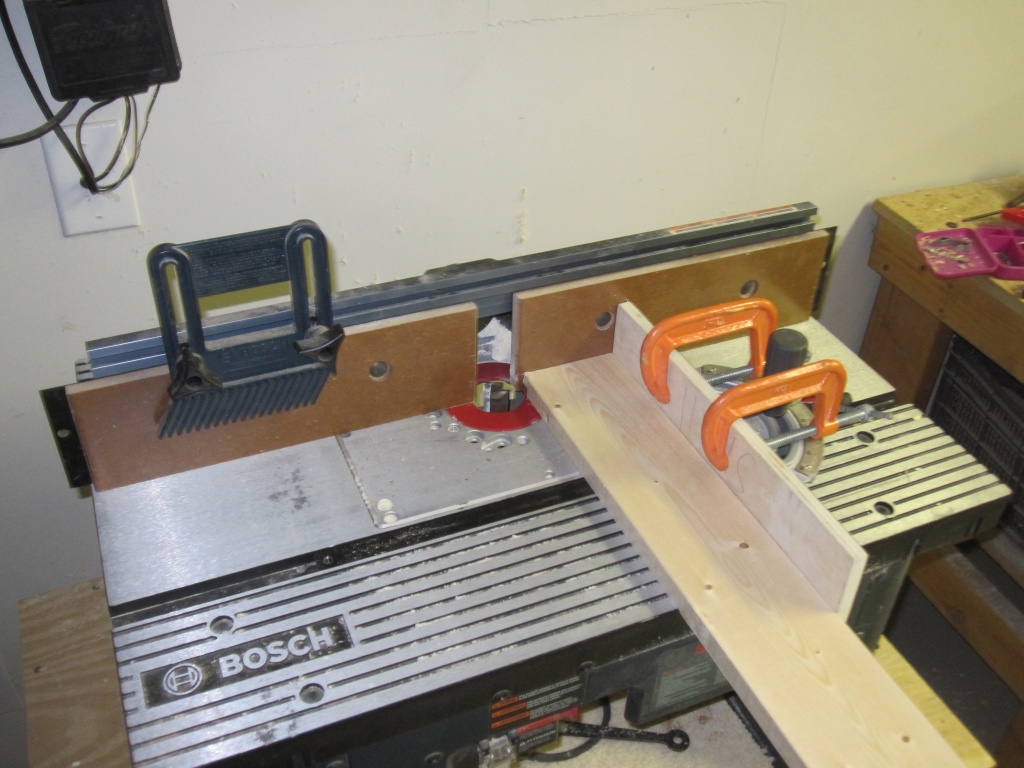
Rabbeting the drawer sides
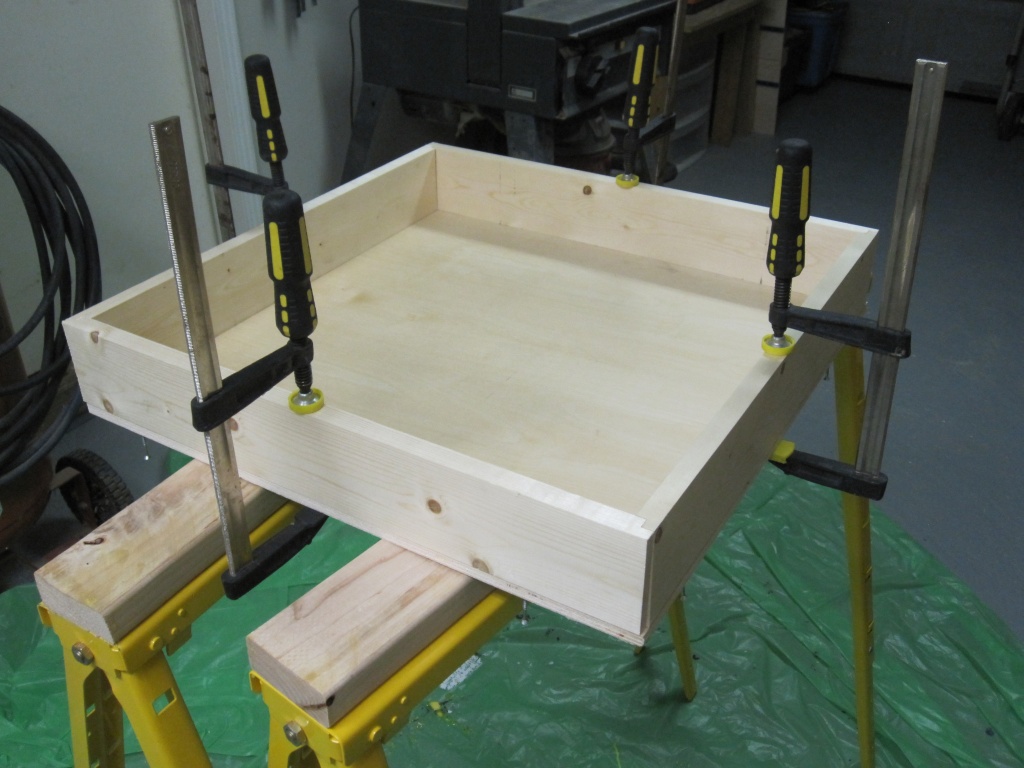
Assembling the drawers


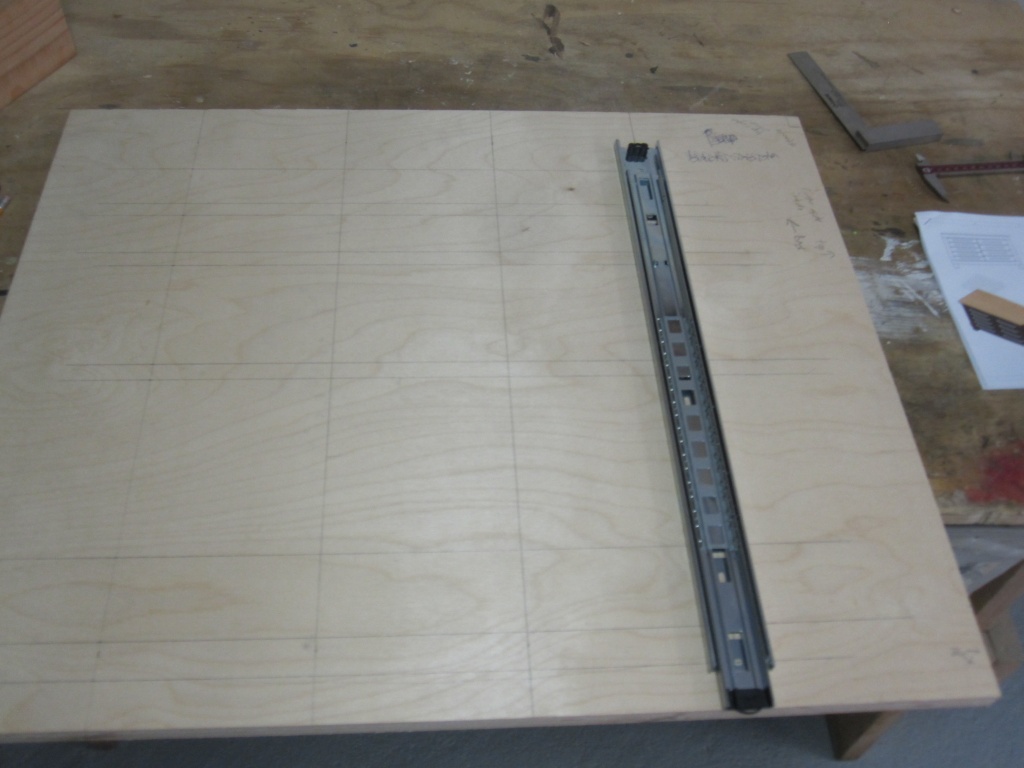
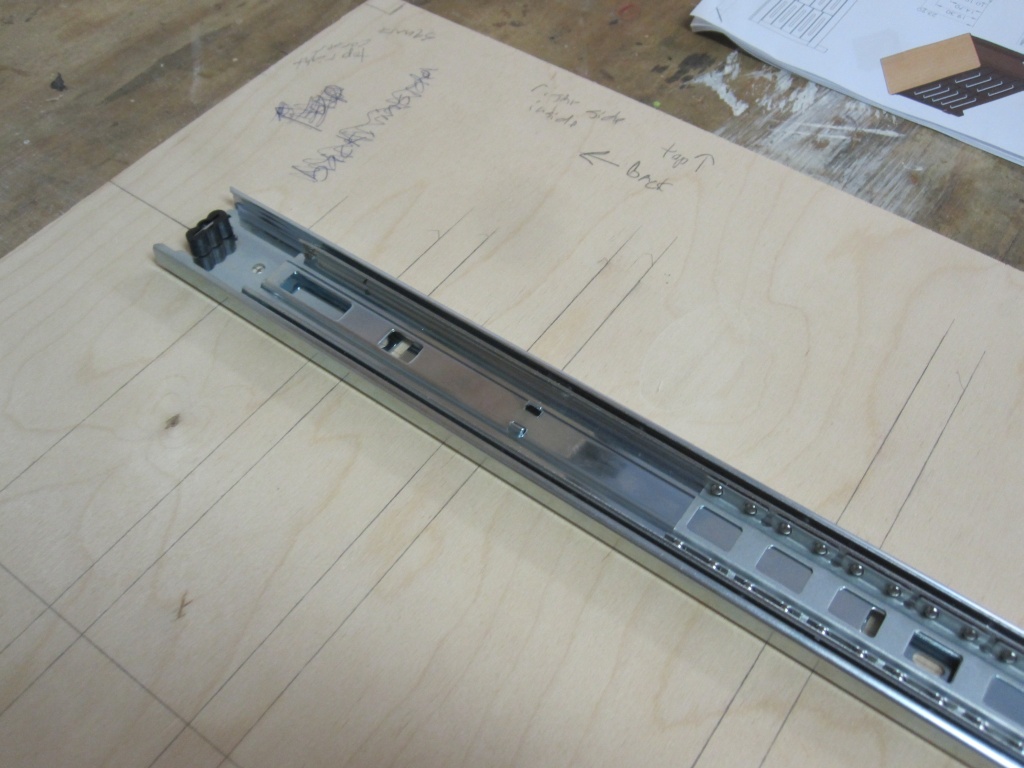
Slides attached to the drawers. These are 100 lb. drawer slides made by TCH. See the parts list for more details.
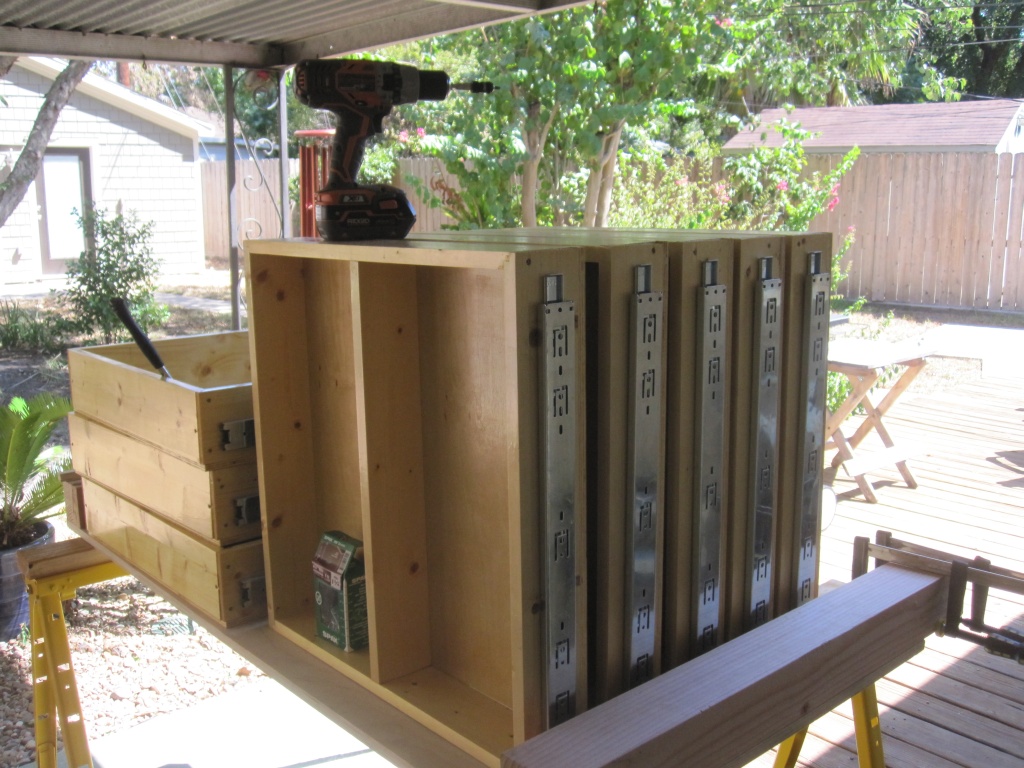
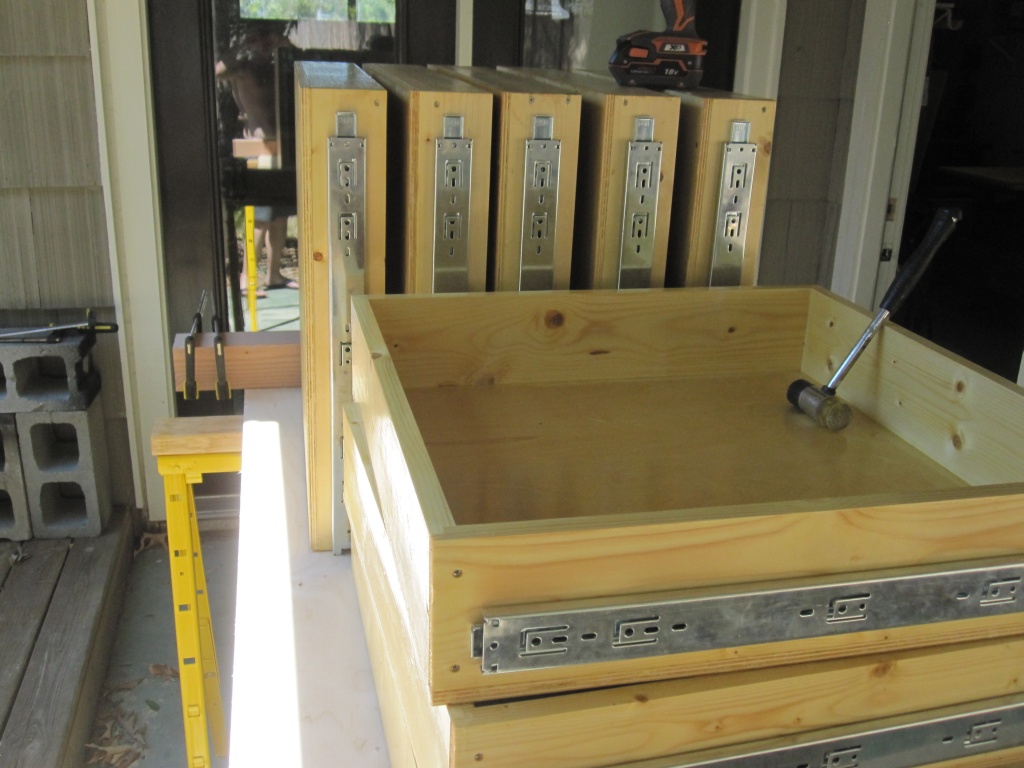
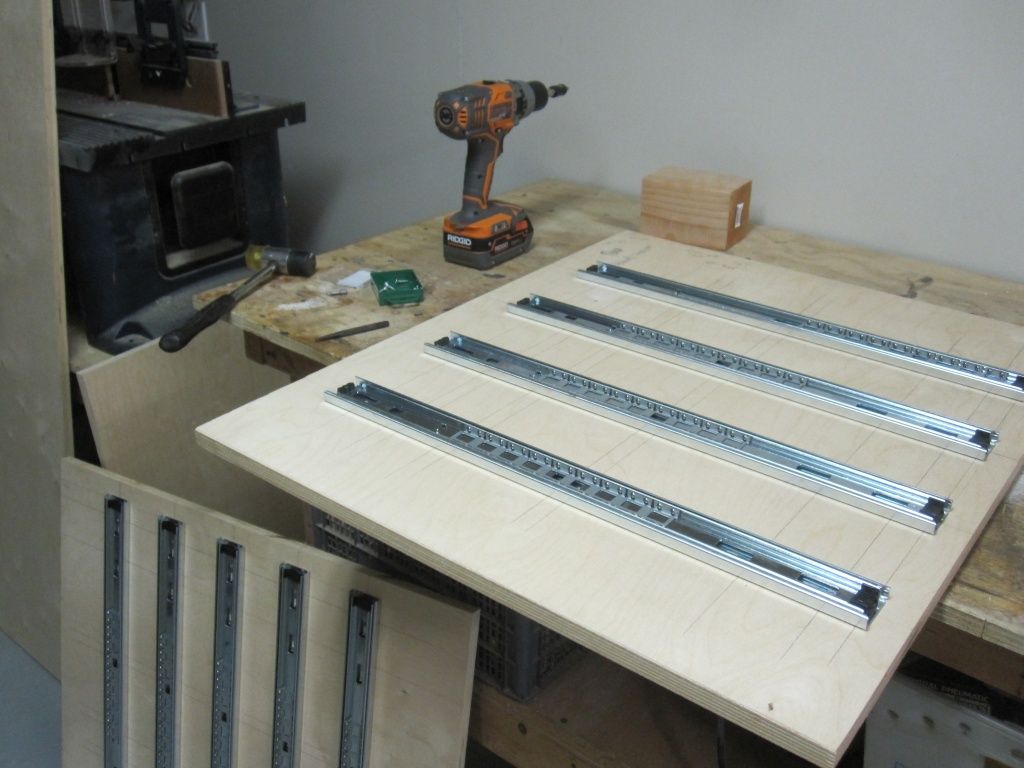
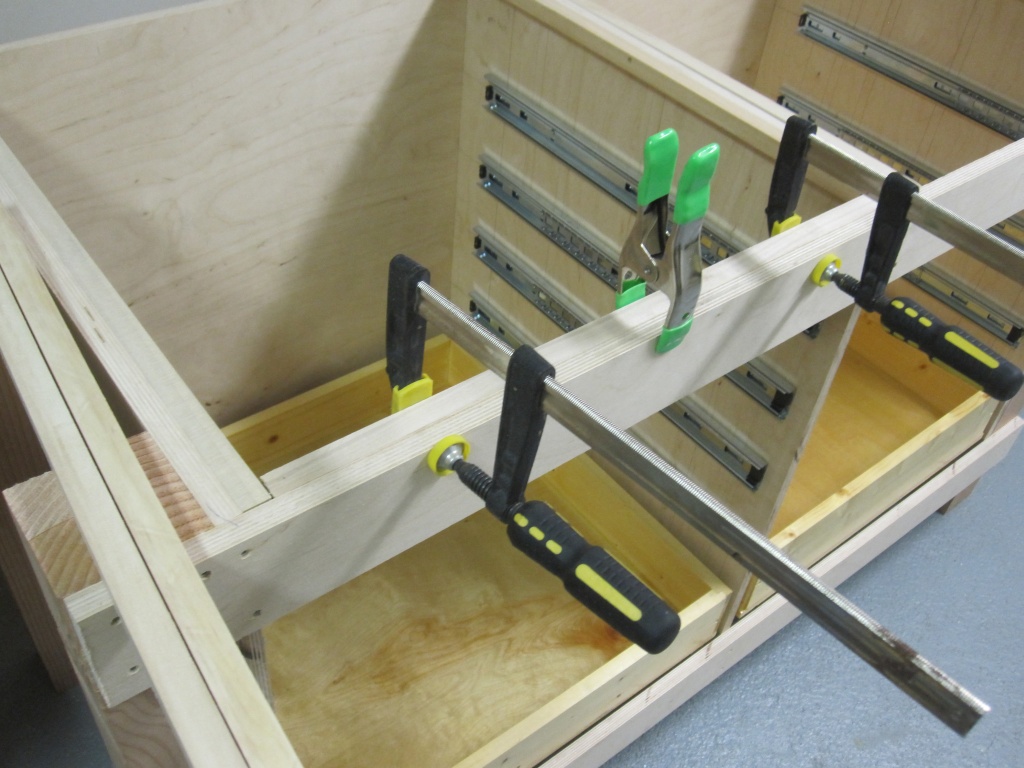
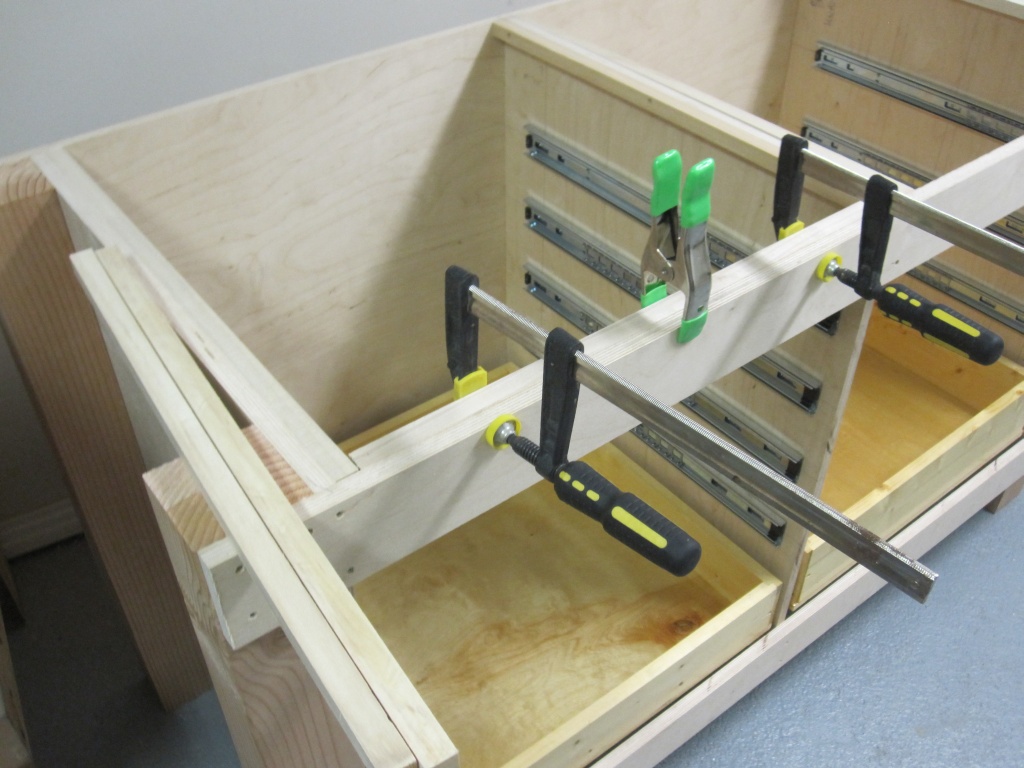
Attaching the slides to the bench sides

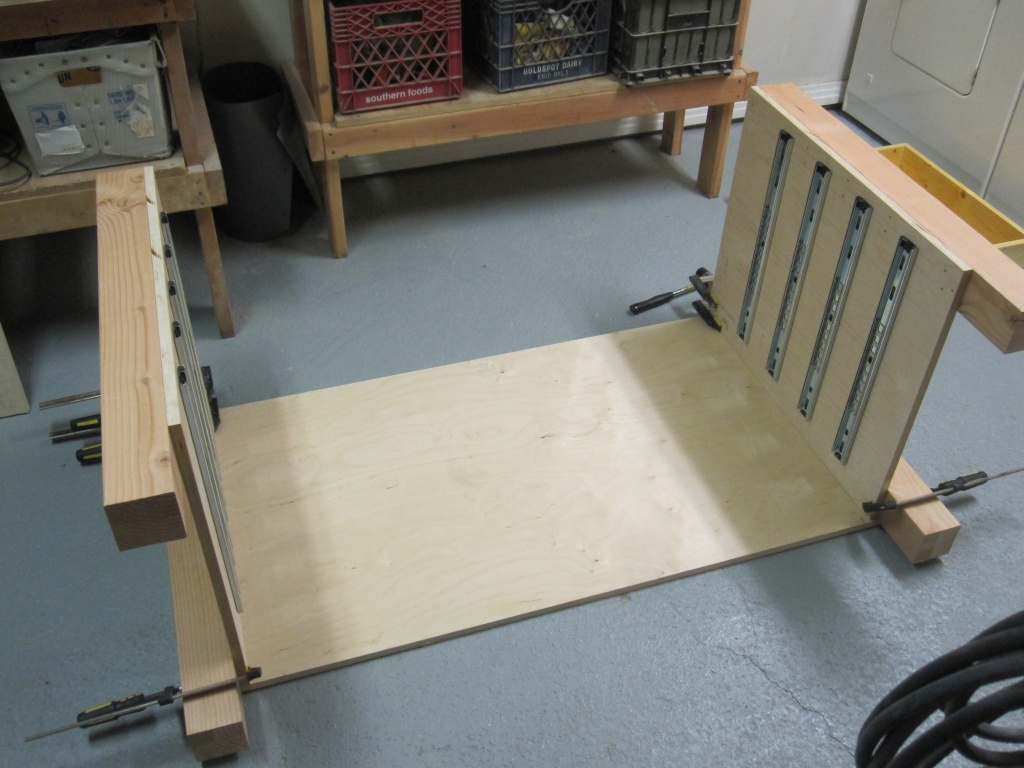
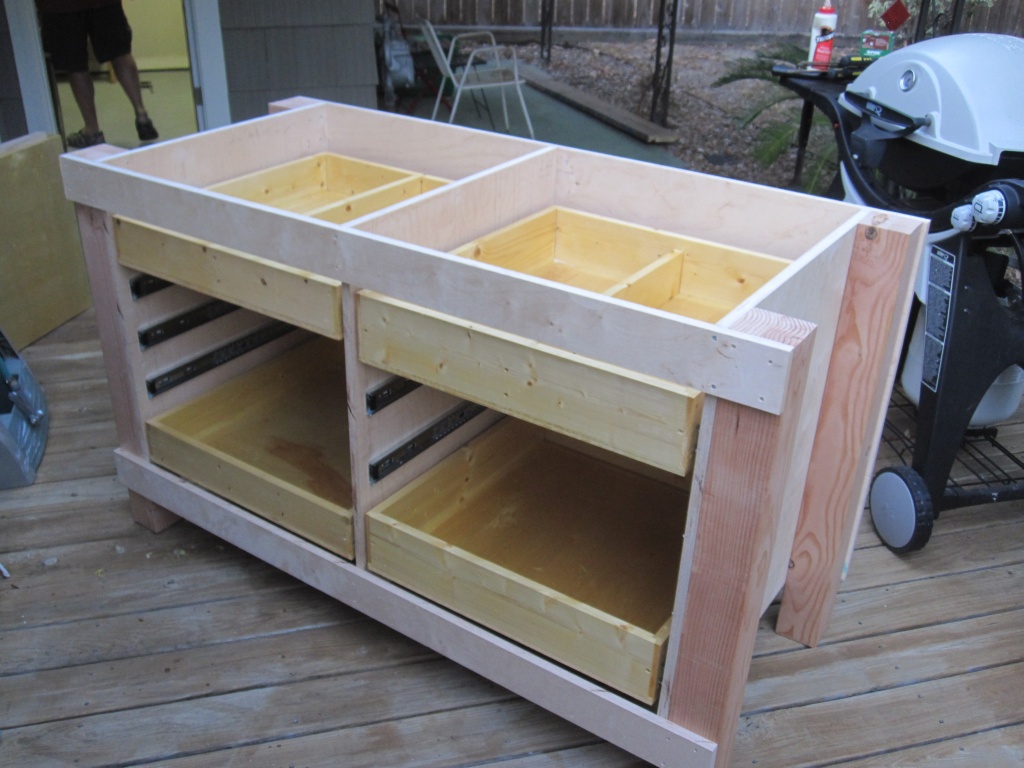
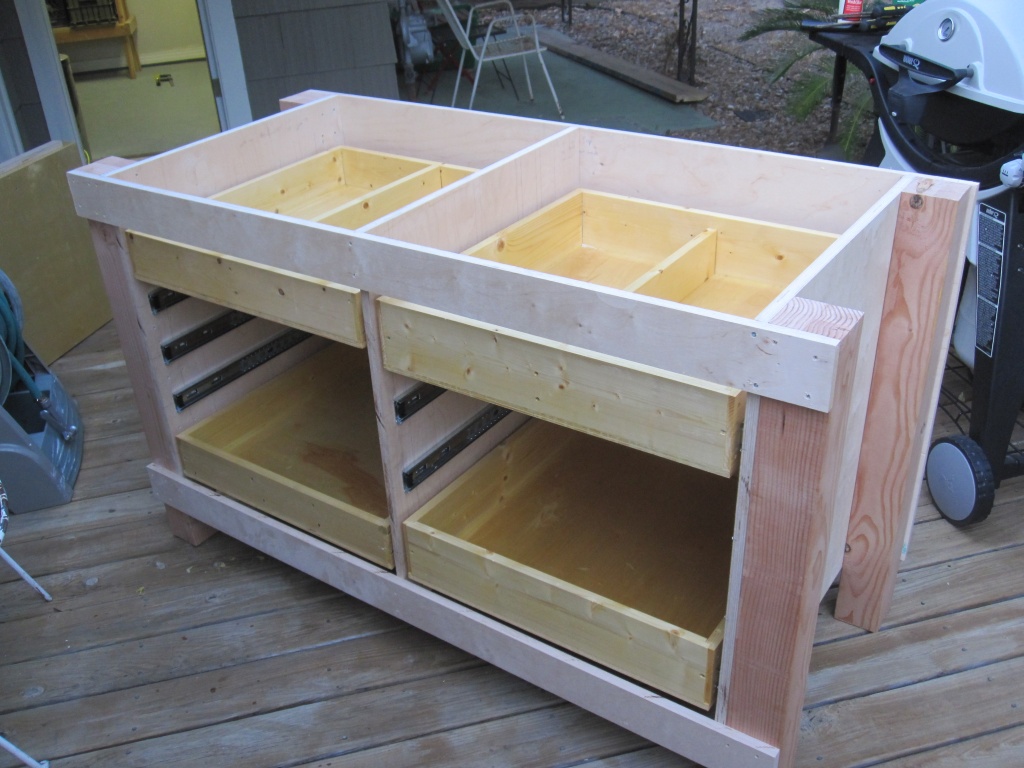
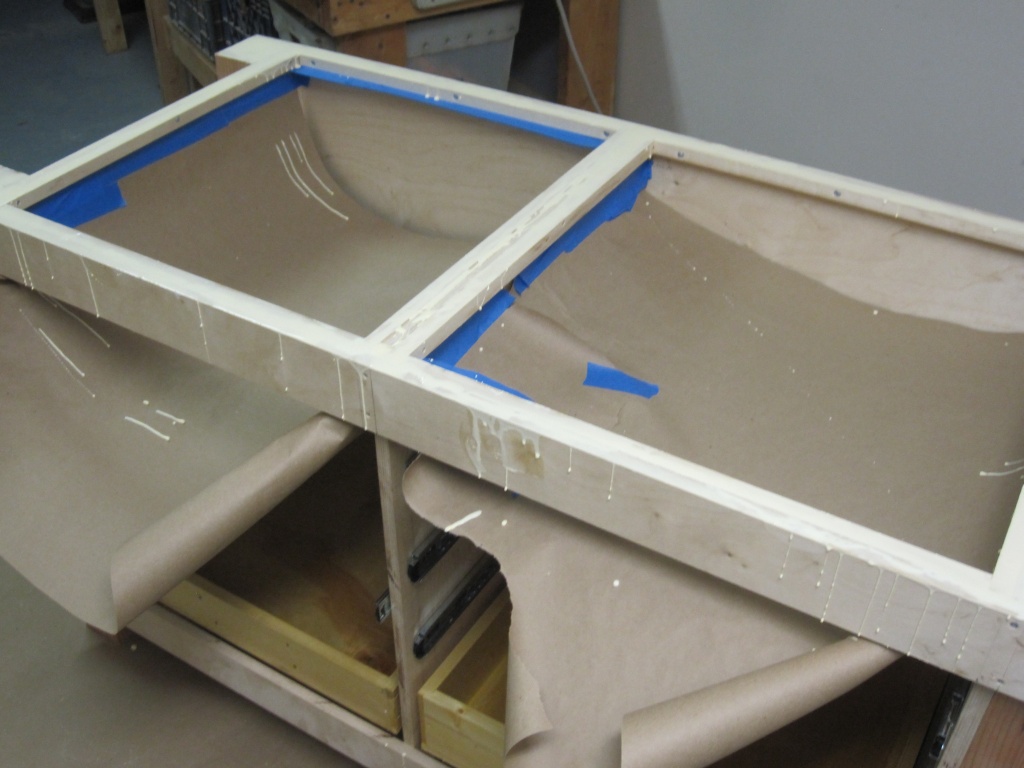
Assembling the bench. This was by far the trickiest part of the build. I highly recommend building up the workbench with the drawers in situ, as it is very difficult the perfectly align everything from just the measurements. It helps to have a second person for this job. I began by attaching the left side to the back. I then installed the top and bottom drawers, using them to place the center divider. From there, I installed two more drawers on the right half of the bench, using them to place the right side. With the left, center, and right sides placed and the drawers installed to hold the proper alignment, I attached the front crossbraces. From there, the assembly was pretty much routine.
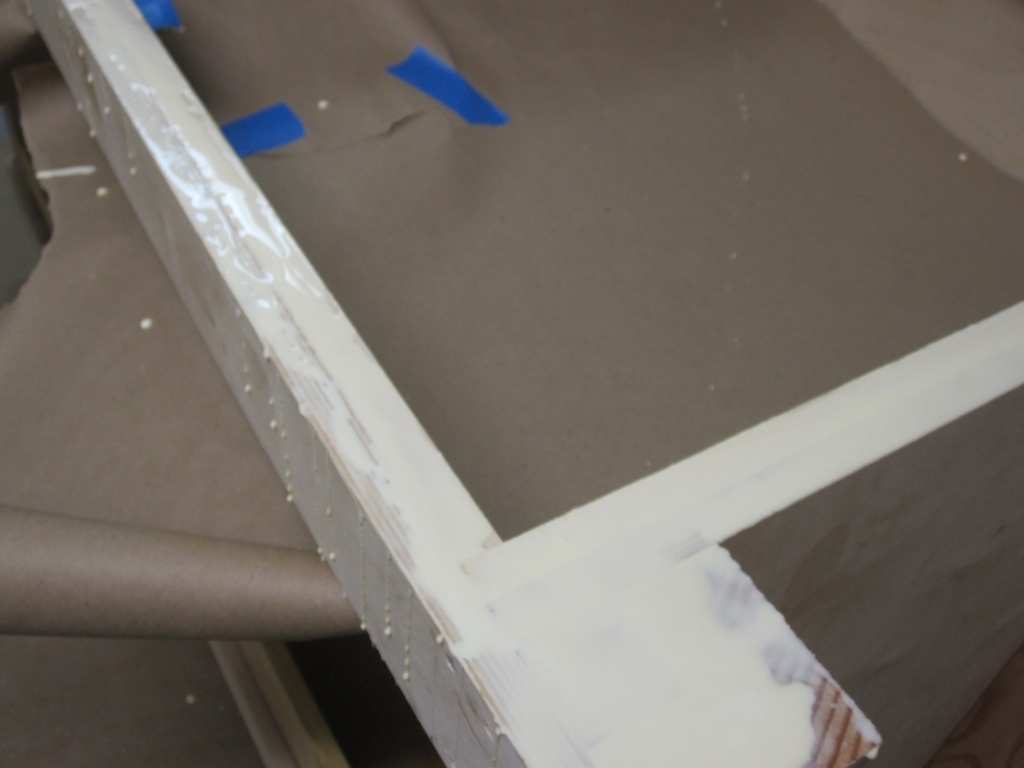
Attaching furring strips for the top
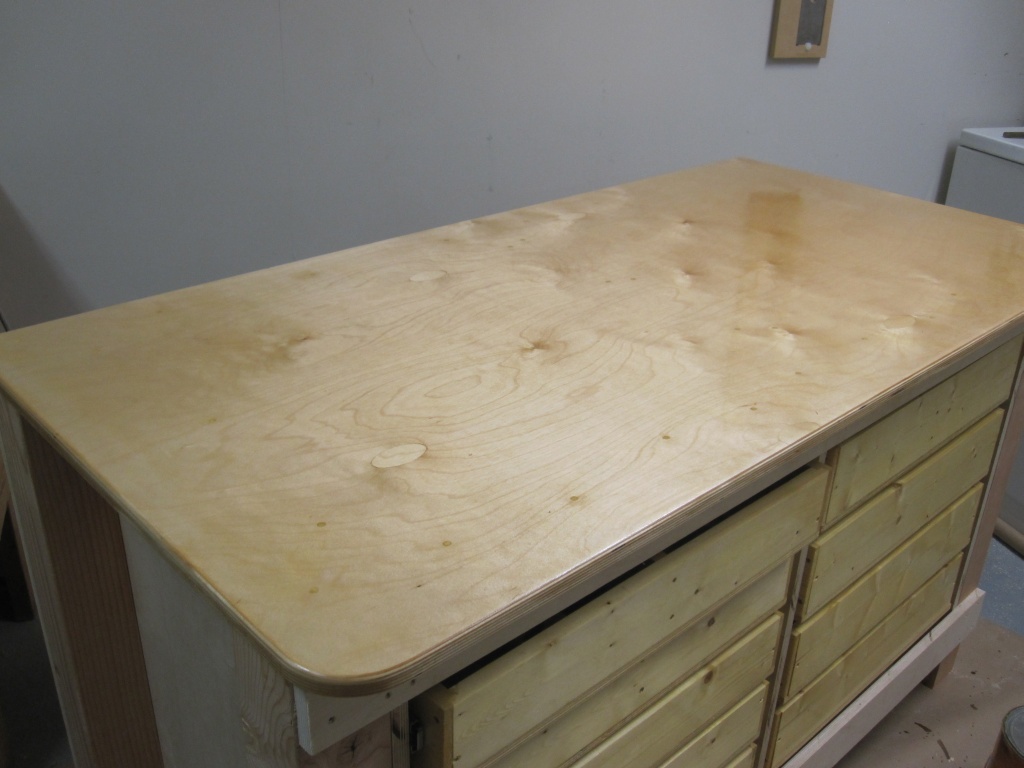
Attaching the top. I countersunk the screws and filled the holes with wood putty. This leaves a smooth surface and prevents protruding screw heads from scratching workpieces (a problem with my old bench).
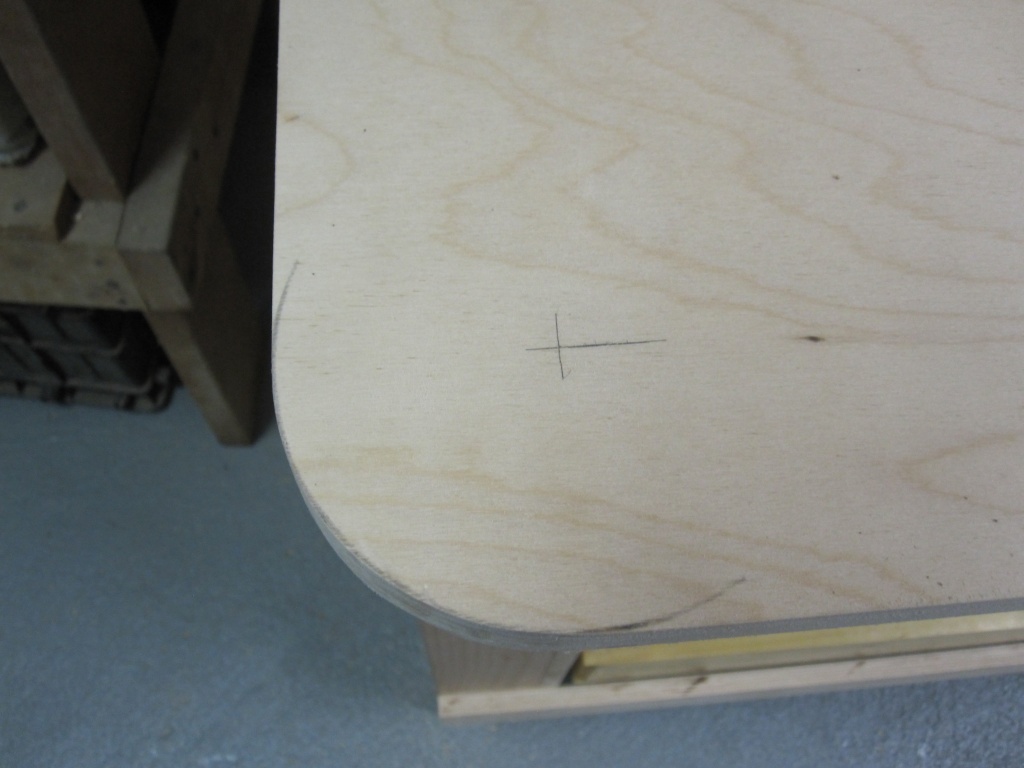

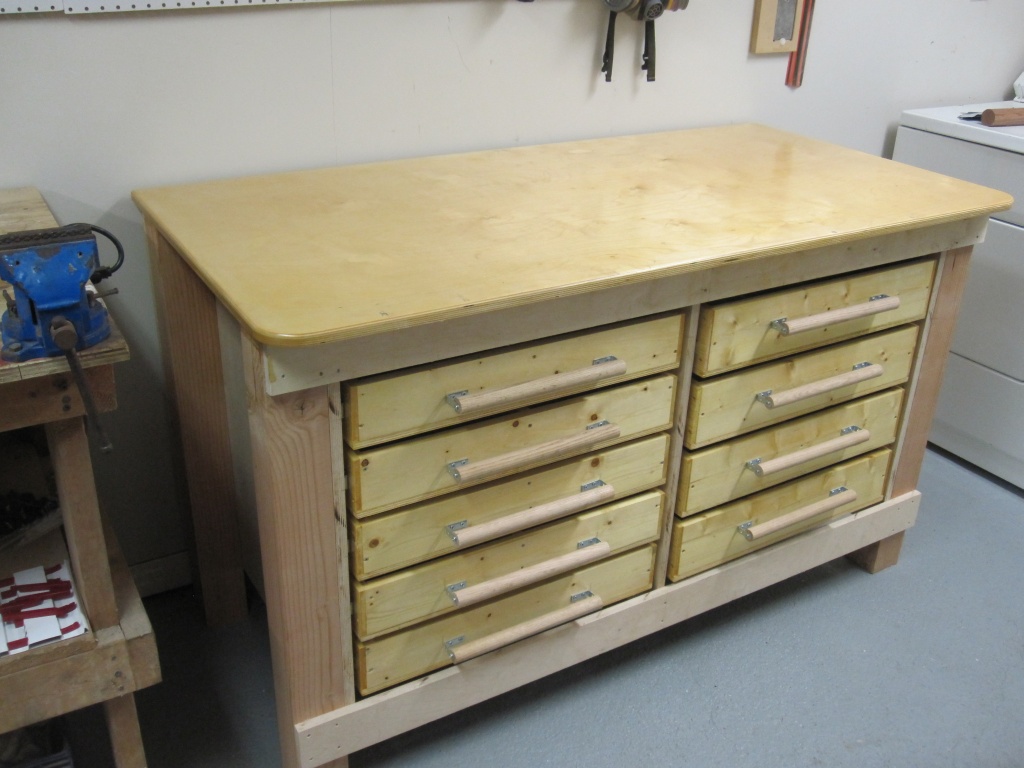
Top finished in a few coats of clear polyurethane varnish.
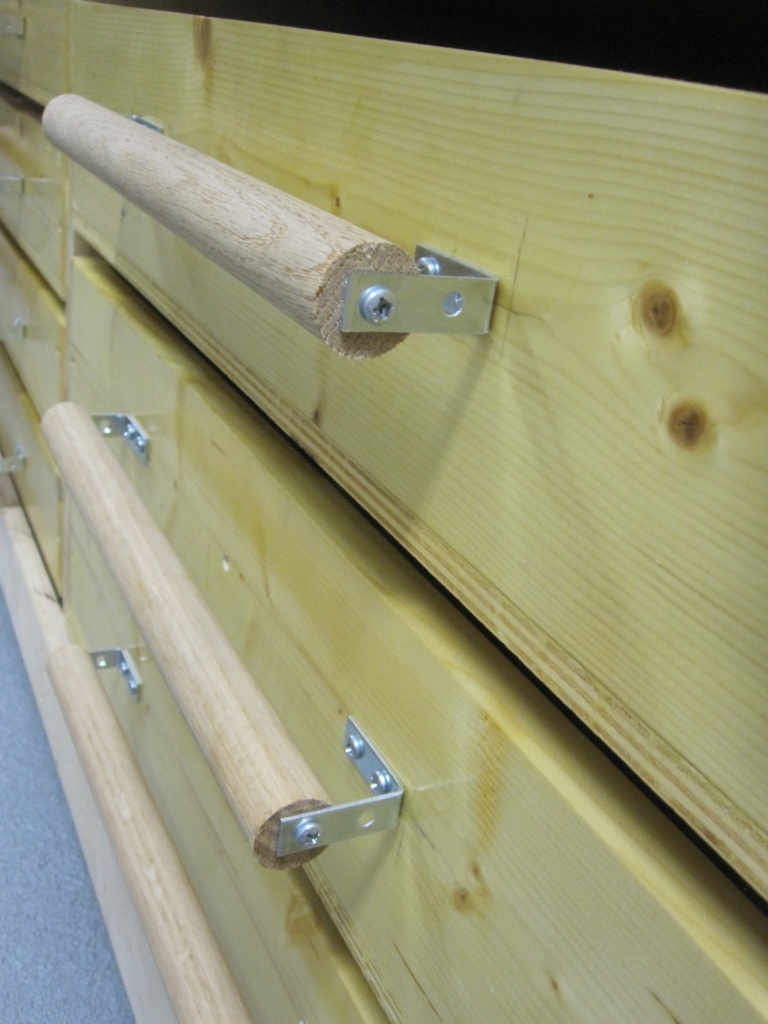
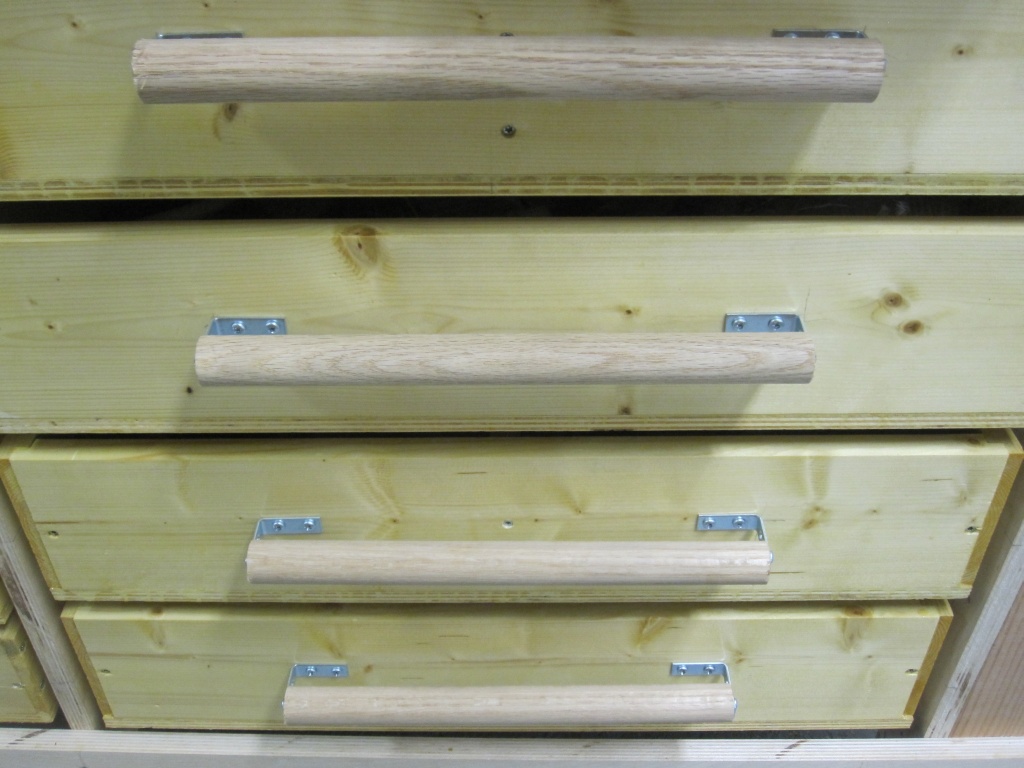
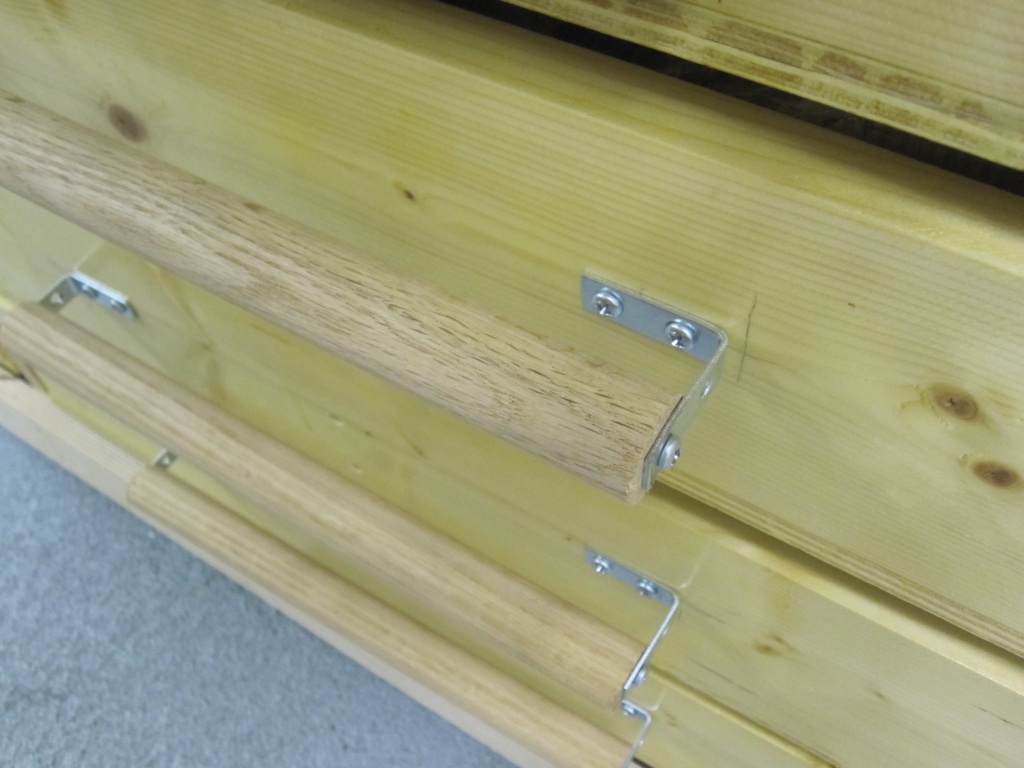
Handles installed. These extremely basic handles are made from 1" oak dowels and 1.5" corner braces. Functional, but not the prettiest.
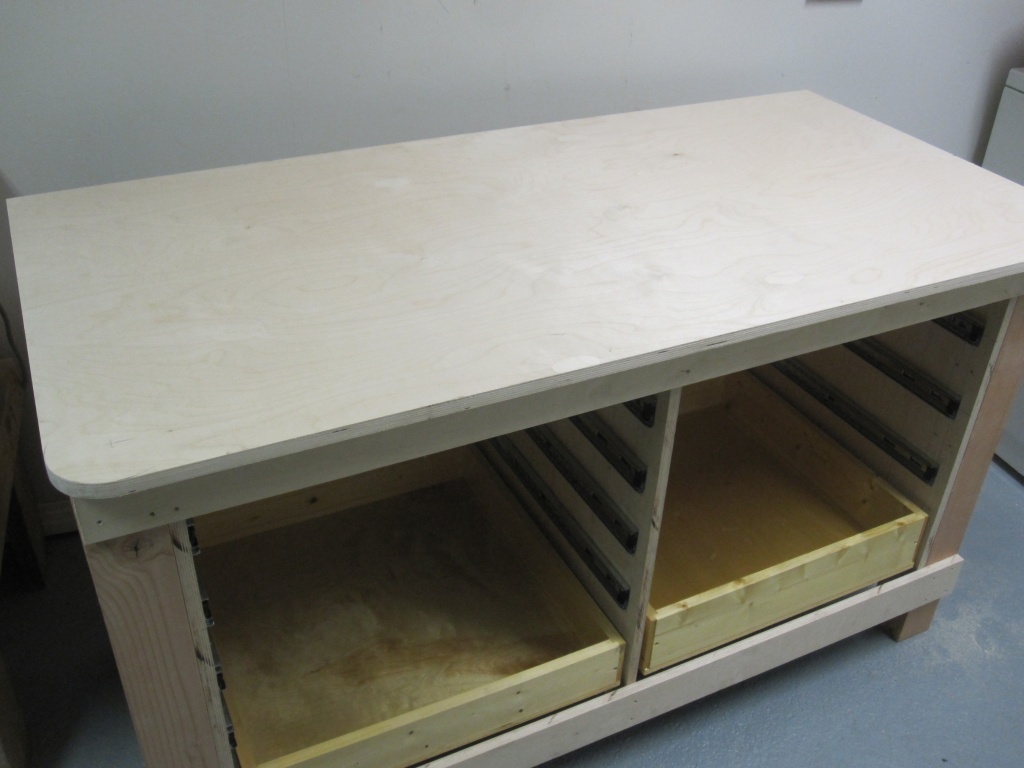
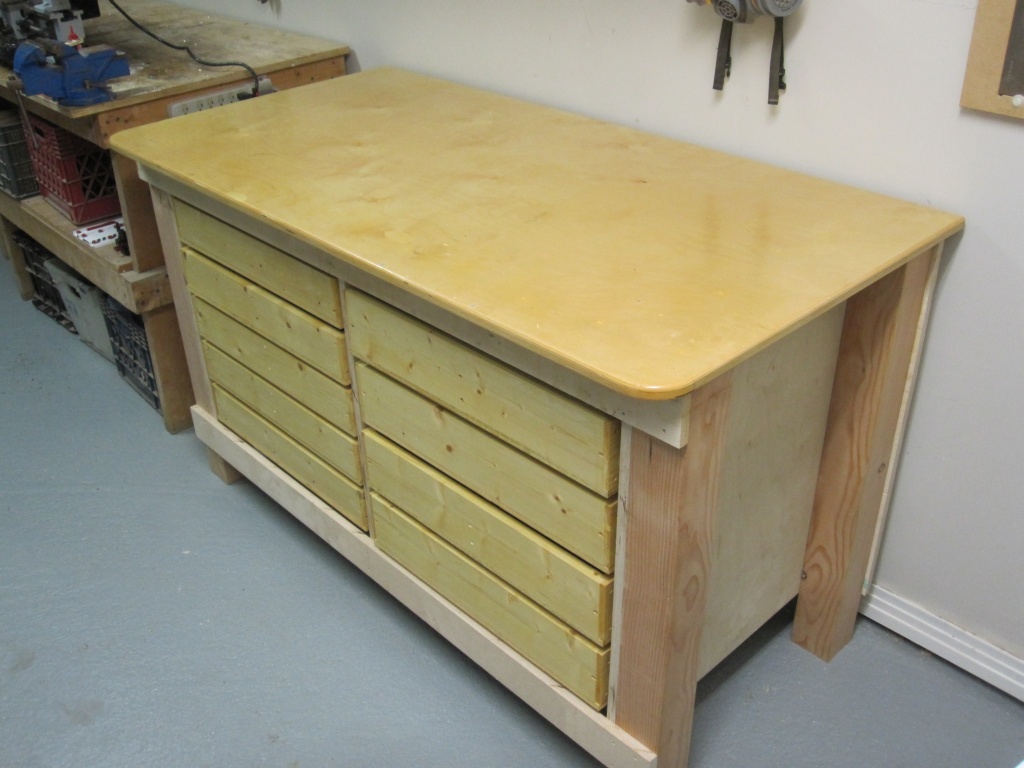
All done. The workbench had been in use for about a month by the time I took these pictures. It has proven to be very sturdy and can hold quite a few tools and other shop items. All in, I like it a lot!