Wine bottle stands are easy to make and have a high "cool factor." Therefore, they make great gifts. Although I have built many of these over the years, I only actually own two at the time of this writing -- and they both were gifts!
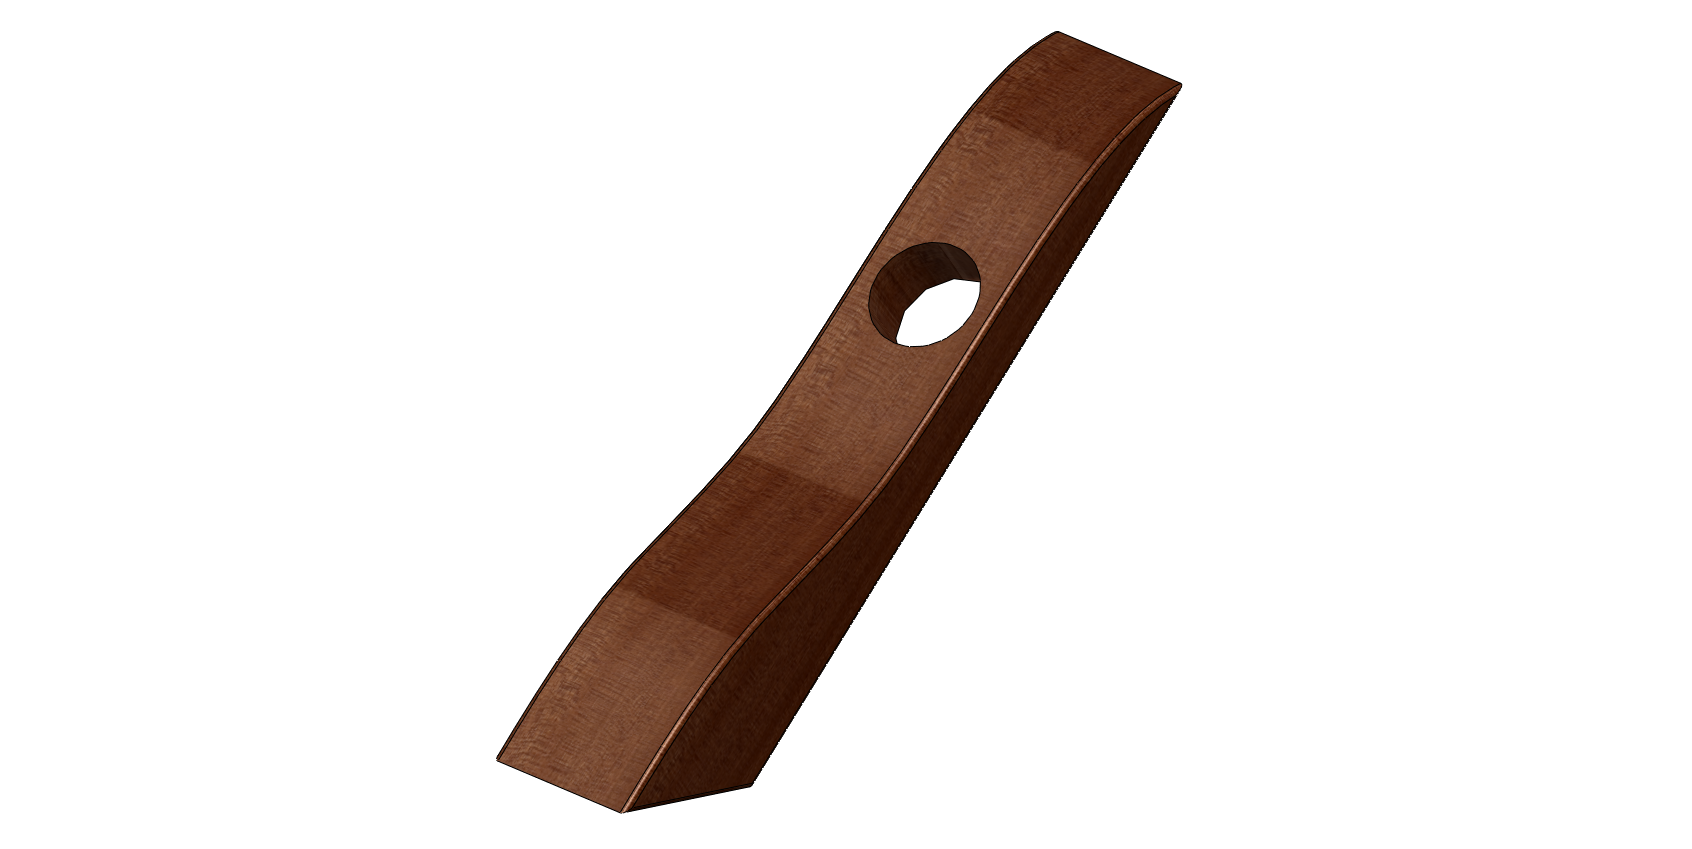
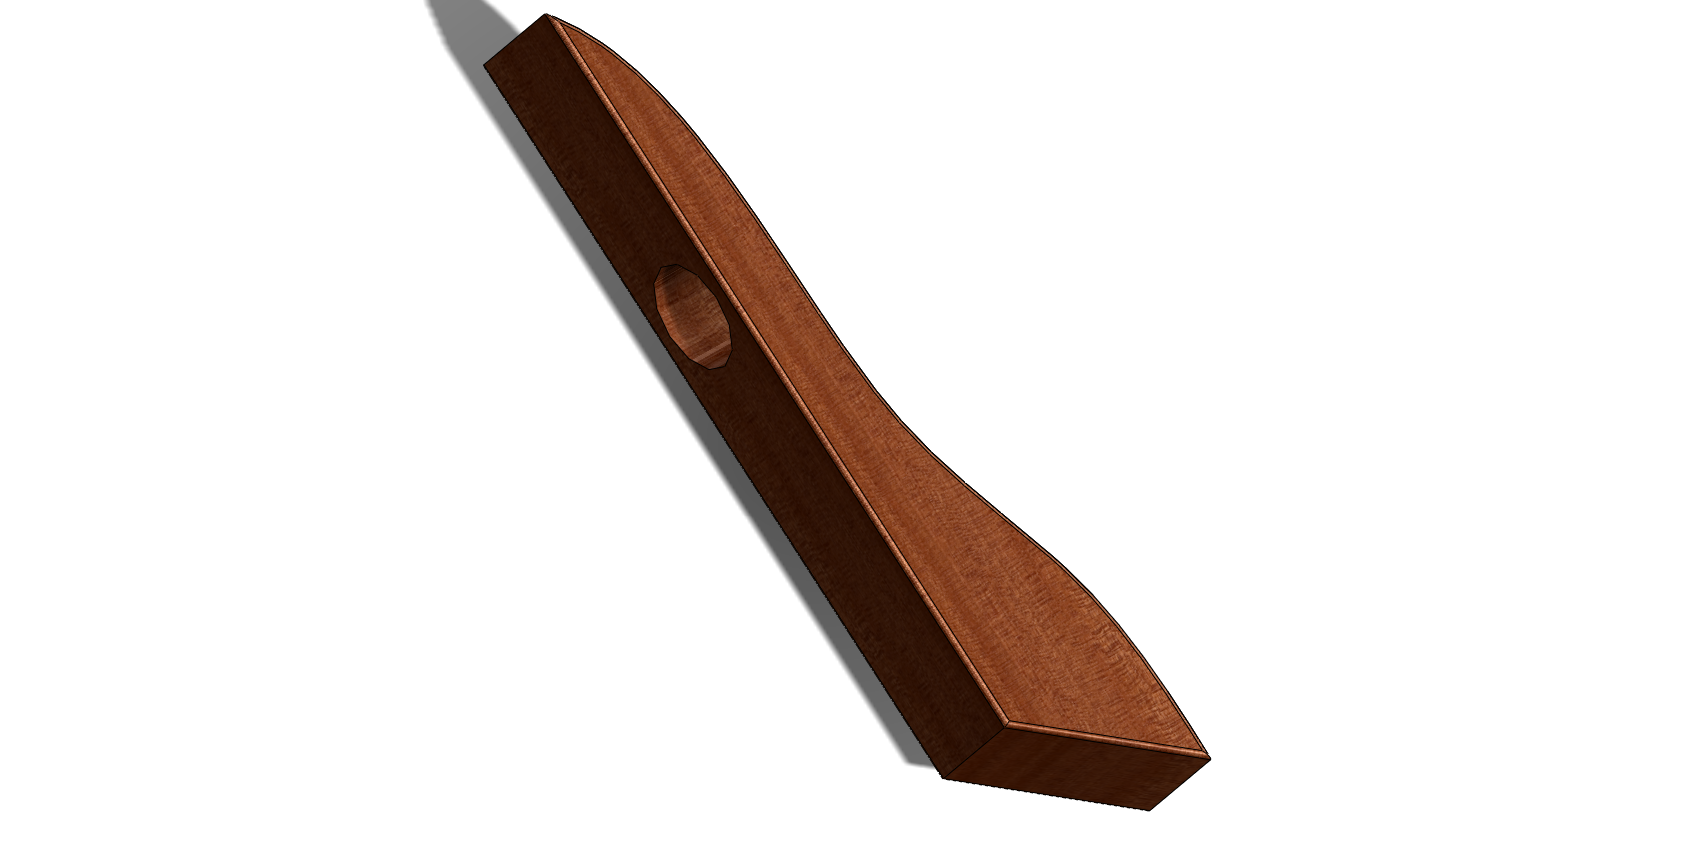
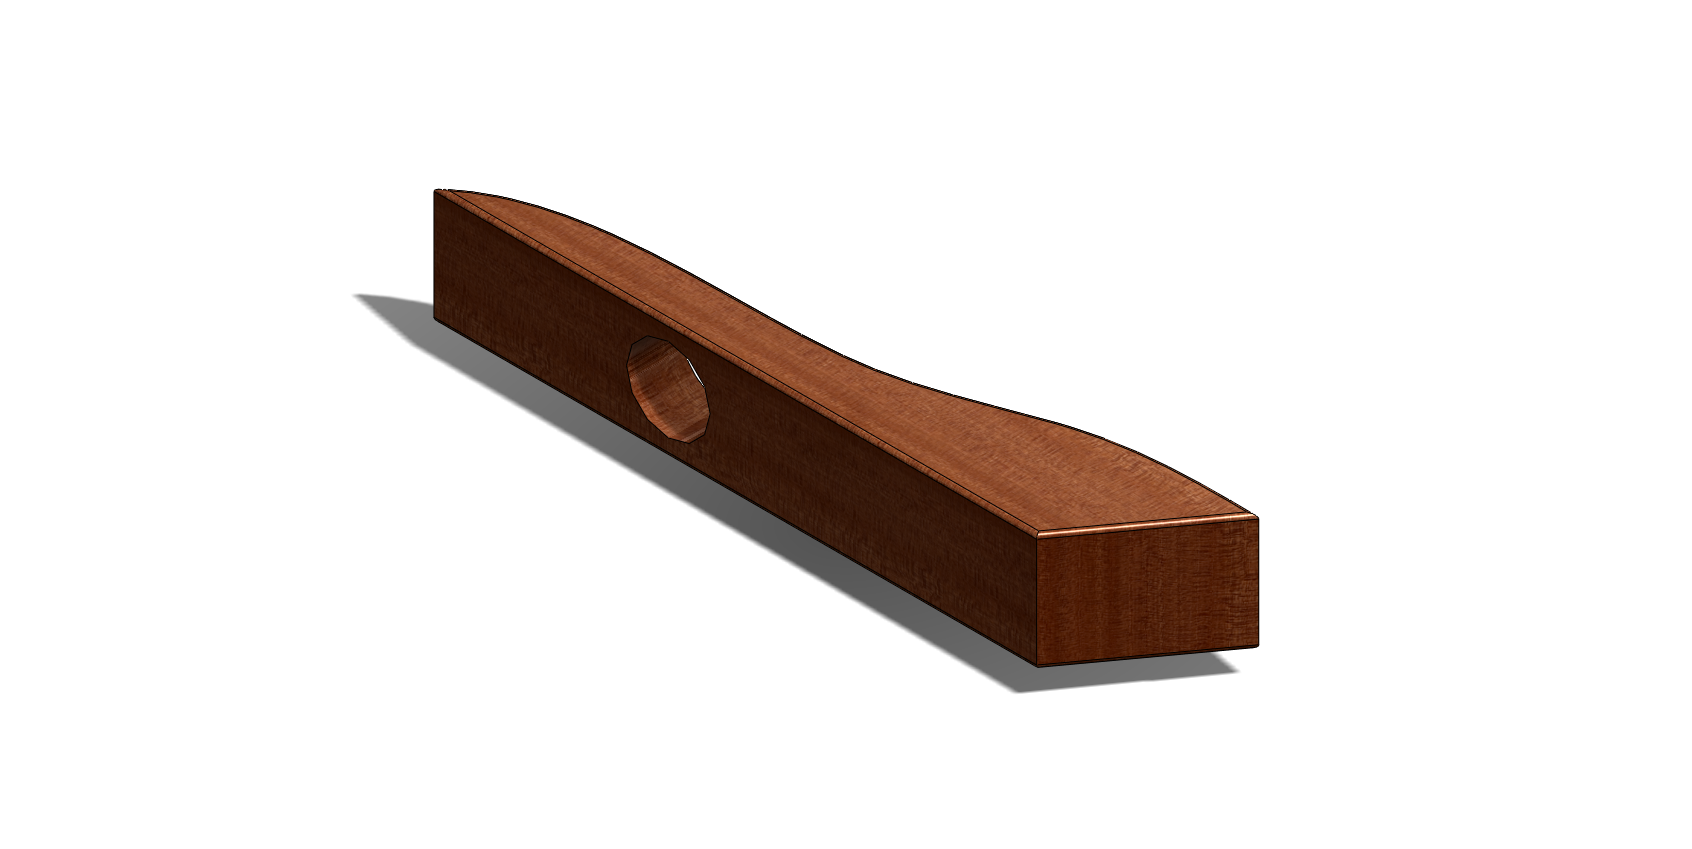
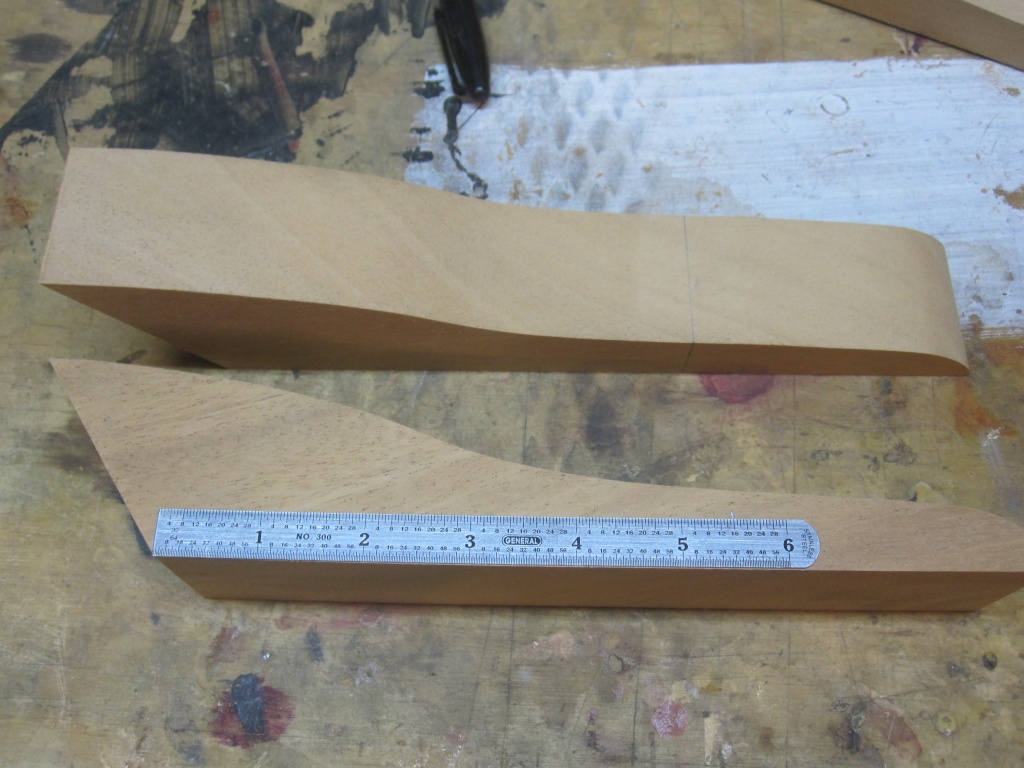
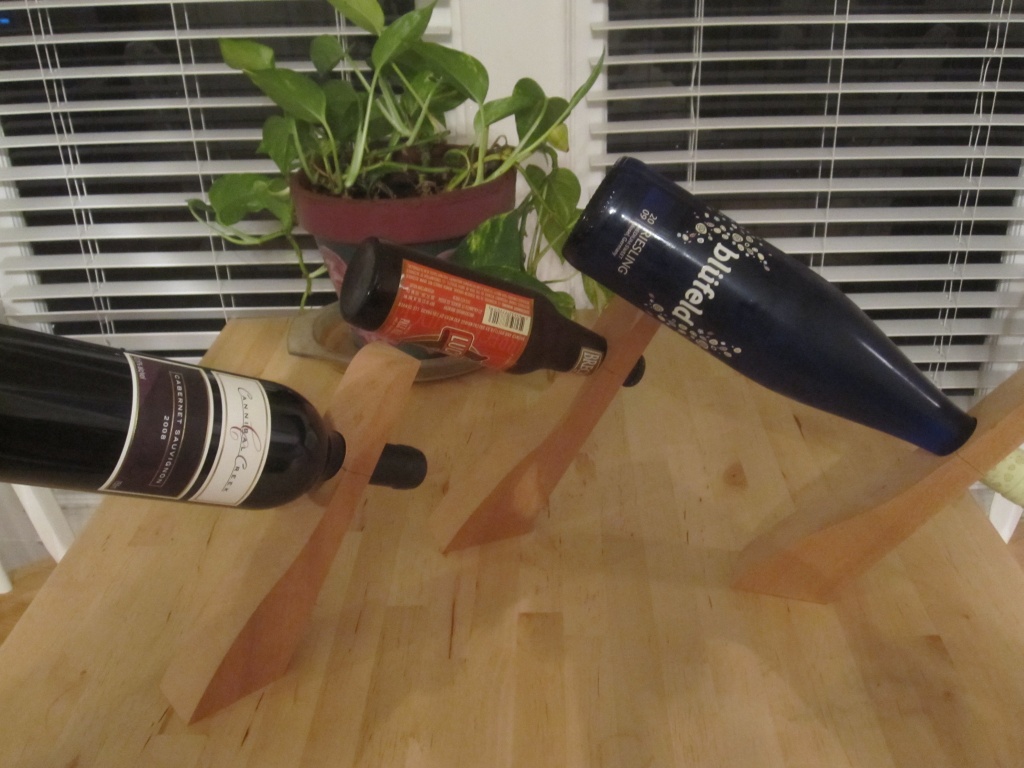
Below is the plan I use for making these stands. The only measurements that are actually important are the base angle and the location of the hole -- everything else is just aesthetic. Completed stands should balance everything from a beer bottle to a long reisling bottle.
Pick some pieces of scrap, make sure they're large enough, and joint an edge.
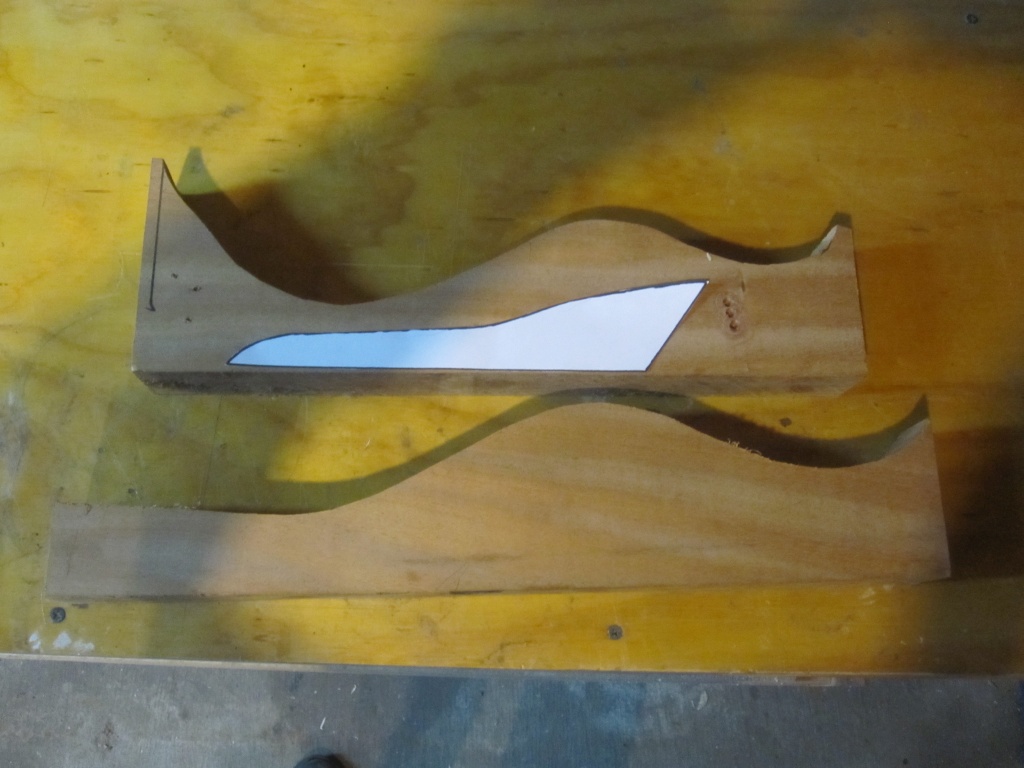
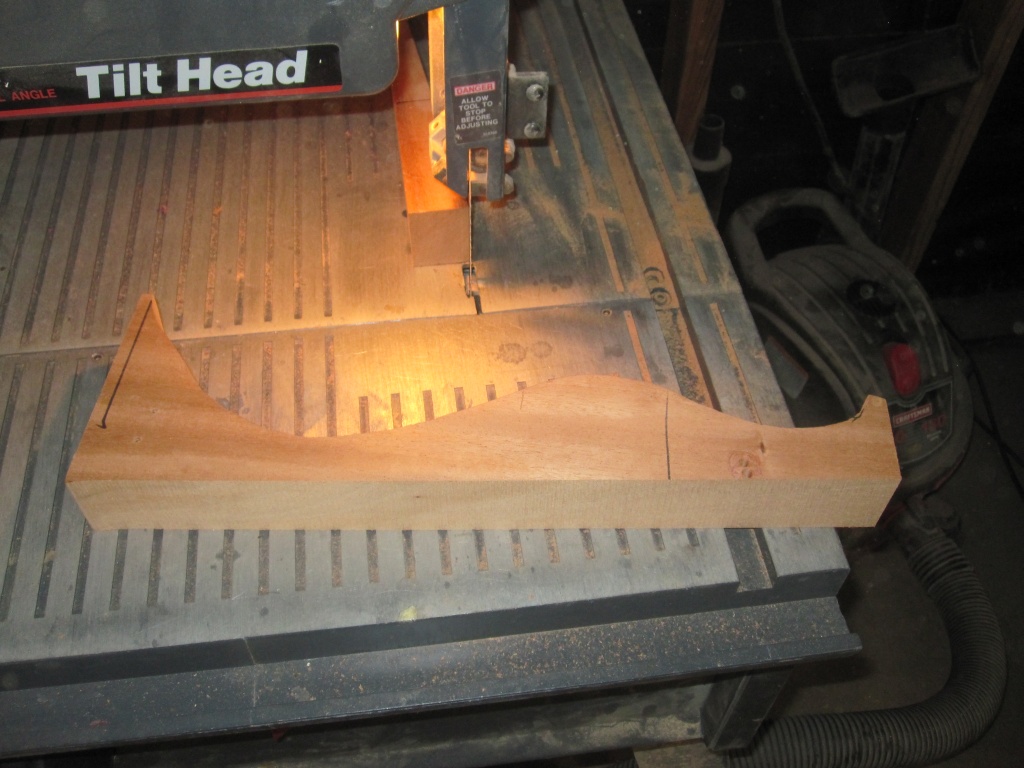
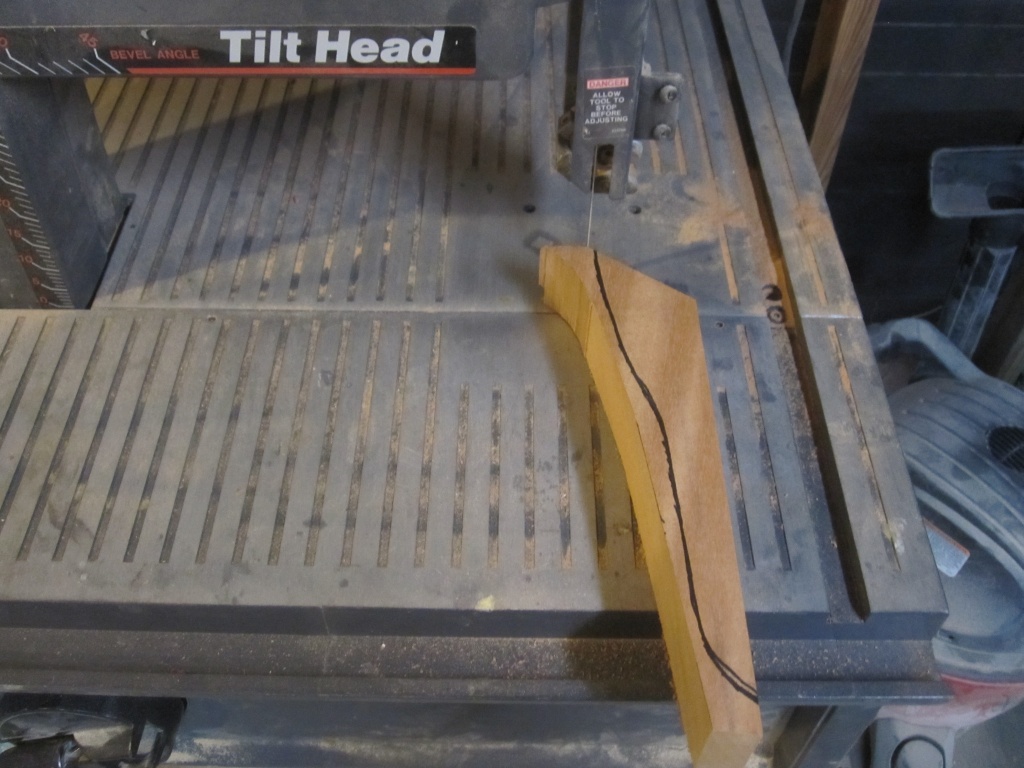
We'll have to avoid that crack.
Trim it on the bandsaw, then joint the edge again.

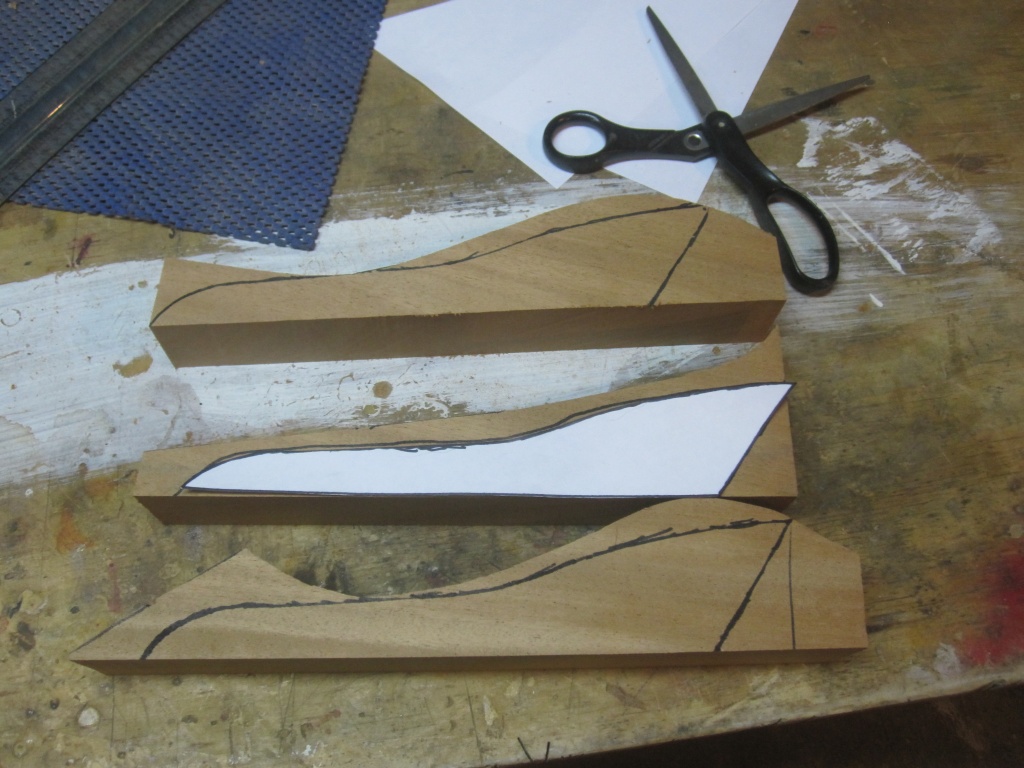
While I'm at it, I think I can get two stands out of that other piece.

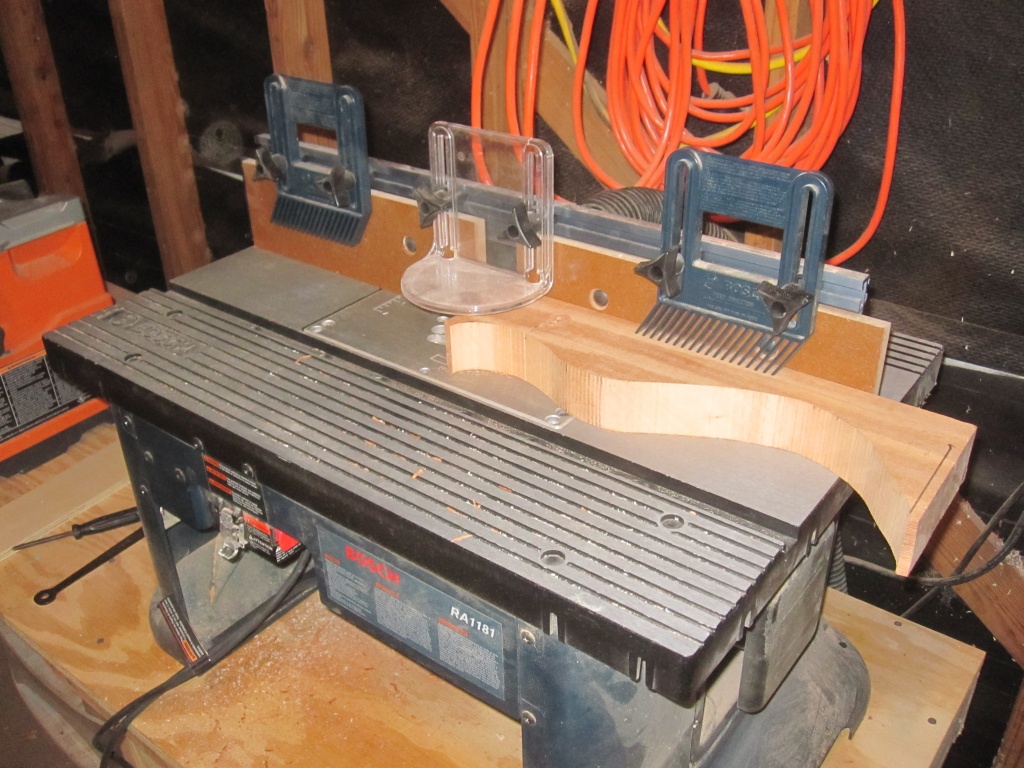
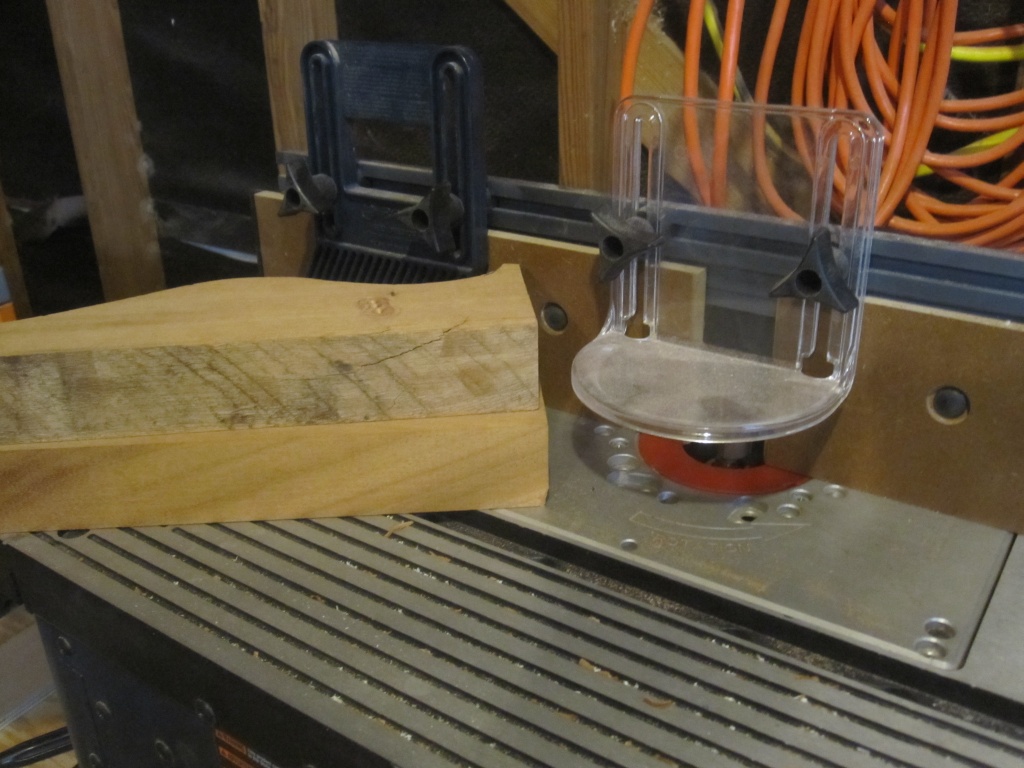
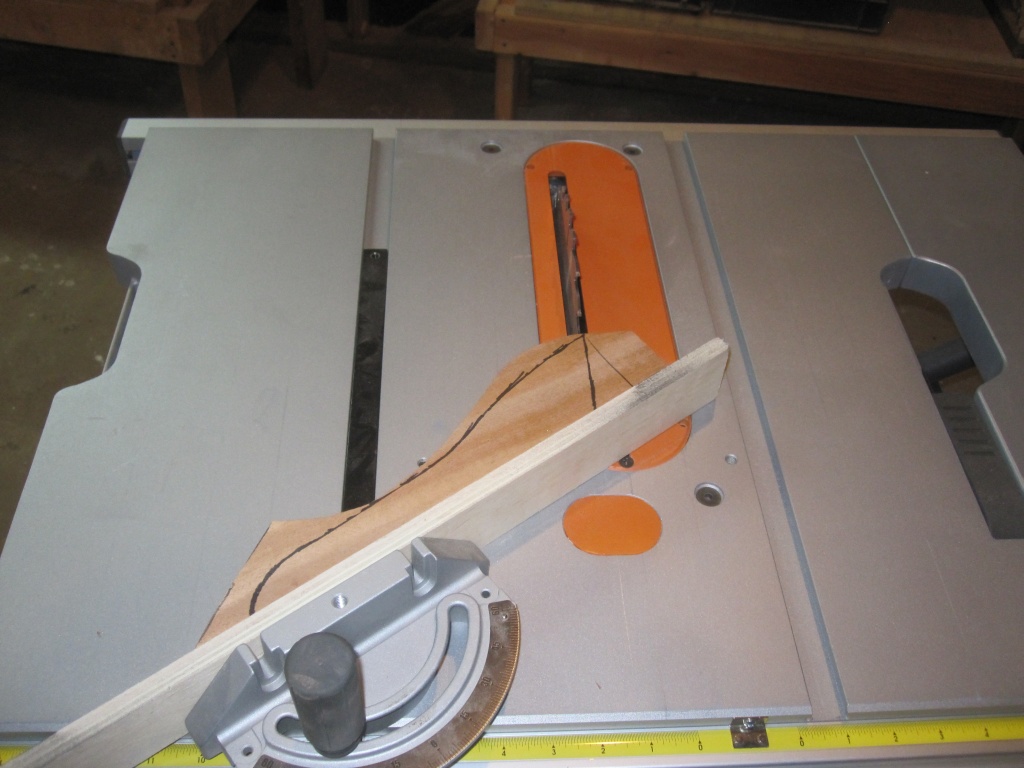
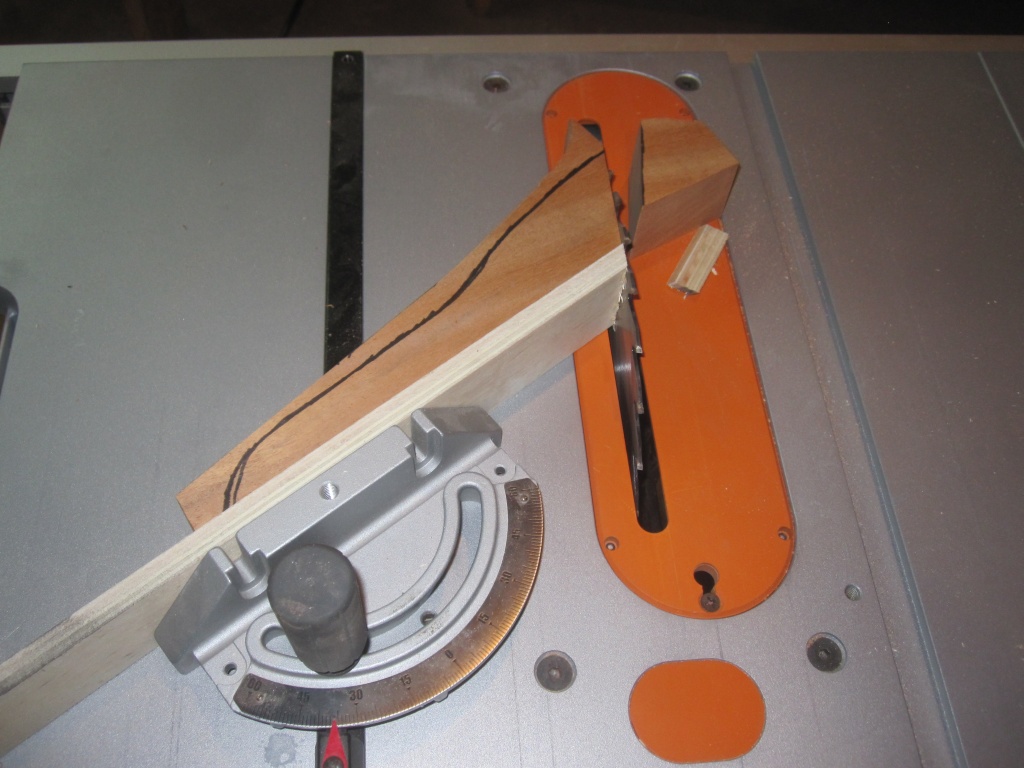
Cut the base angle on the tablesaw. Note the piece of plywood used as a backing -- this prevents chipping.
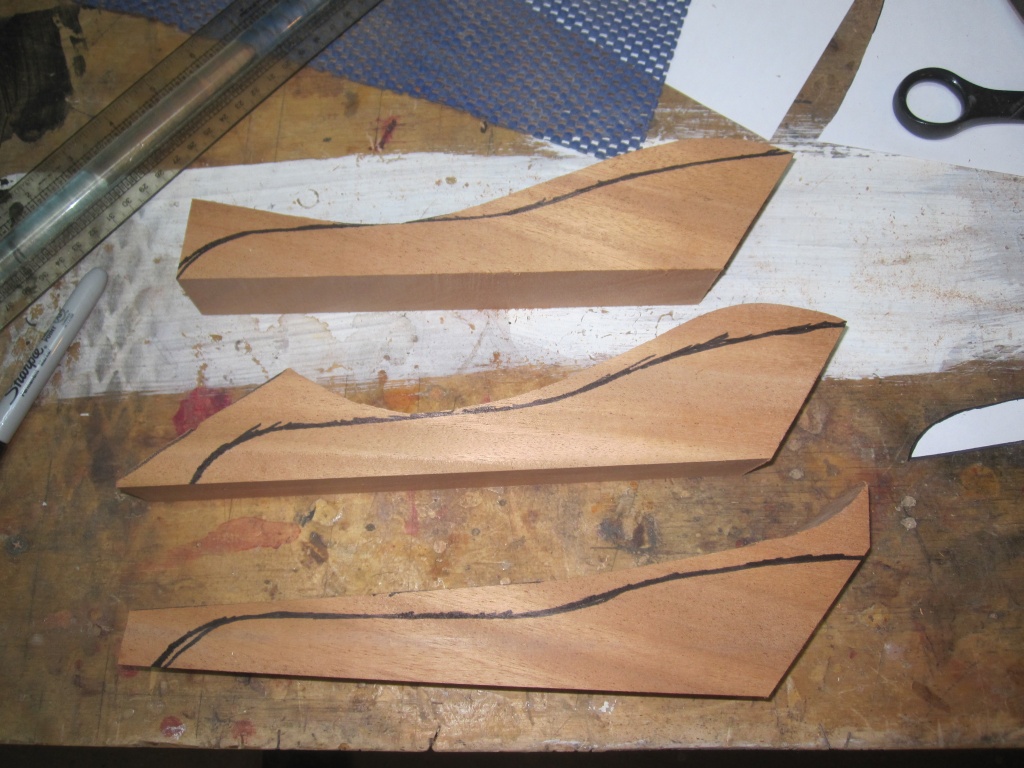
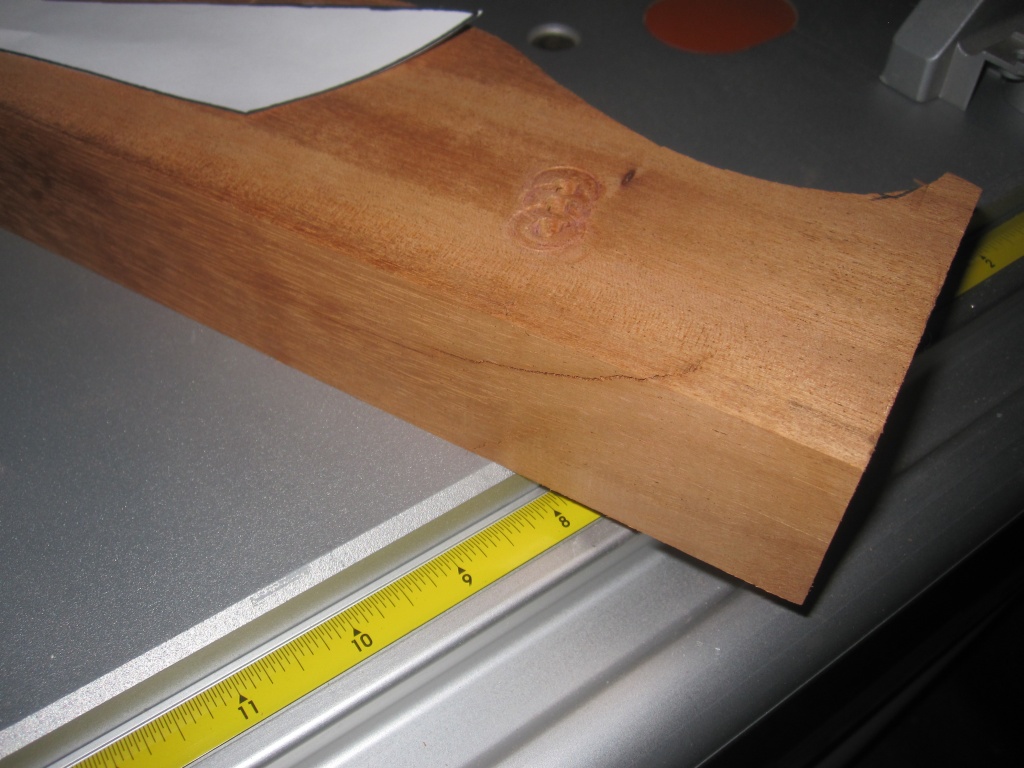
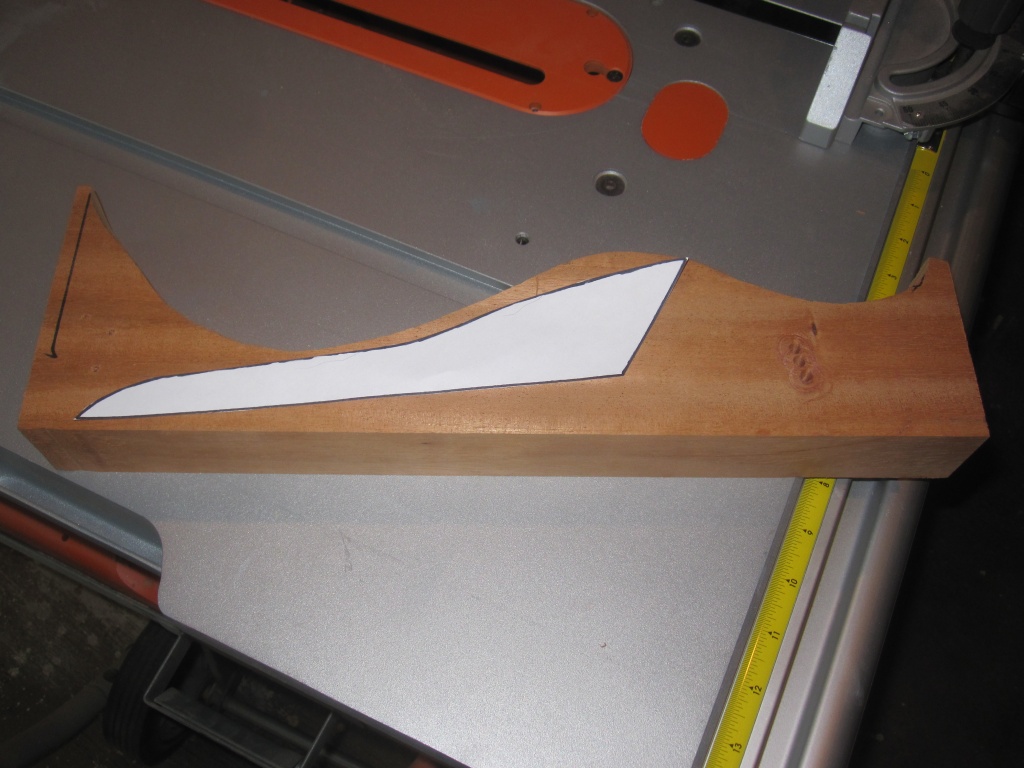
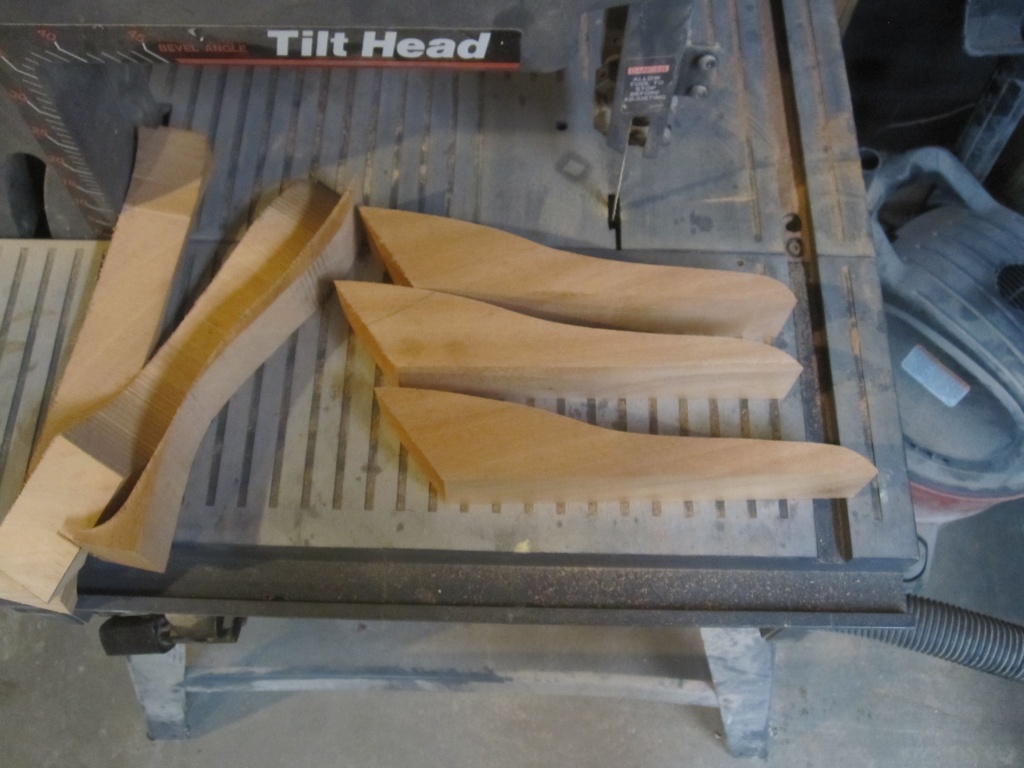
Cut to shape on the bandsaw.
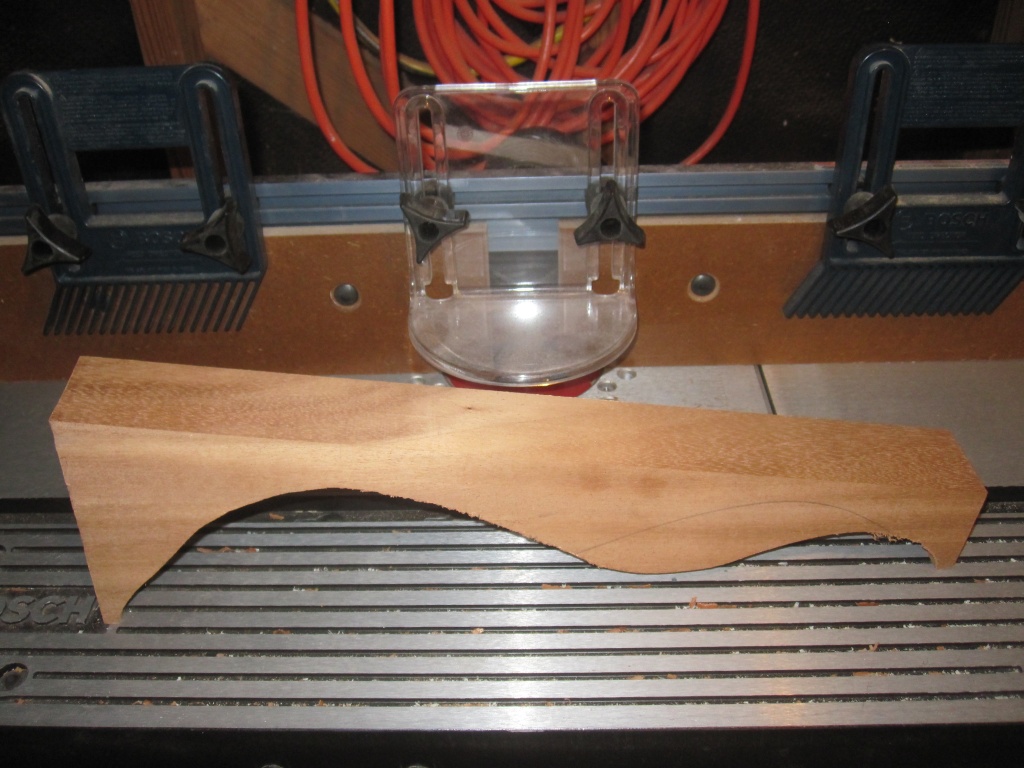
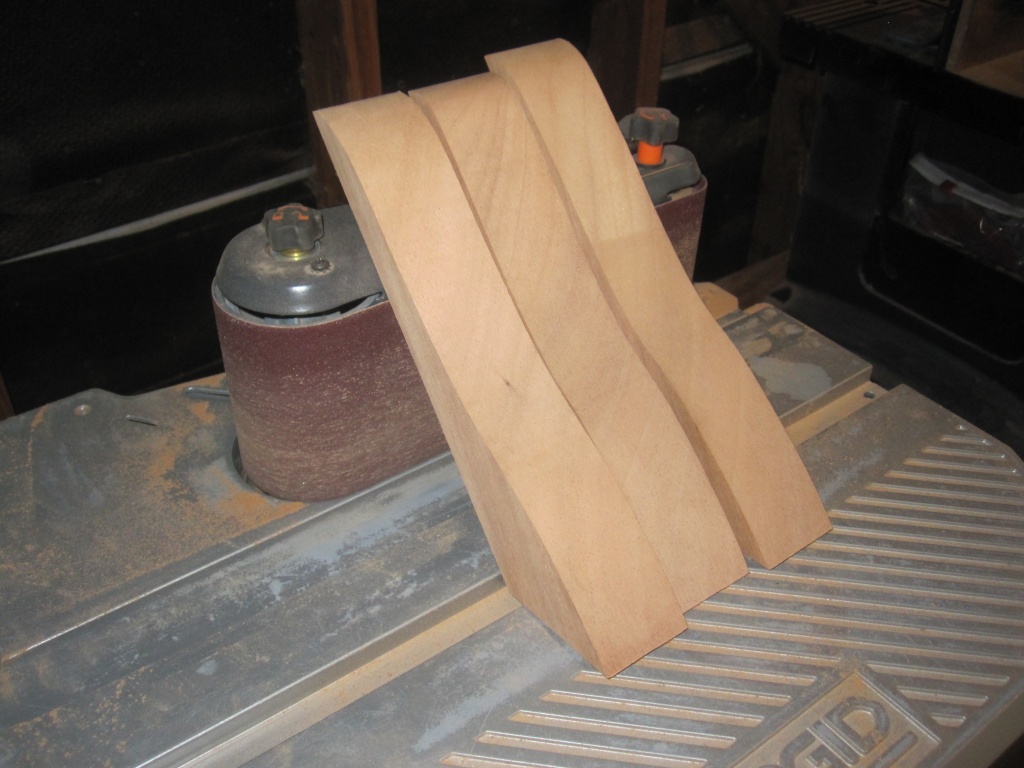
Smooth out the shape on the oscillating belt sander.

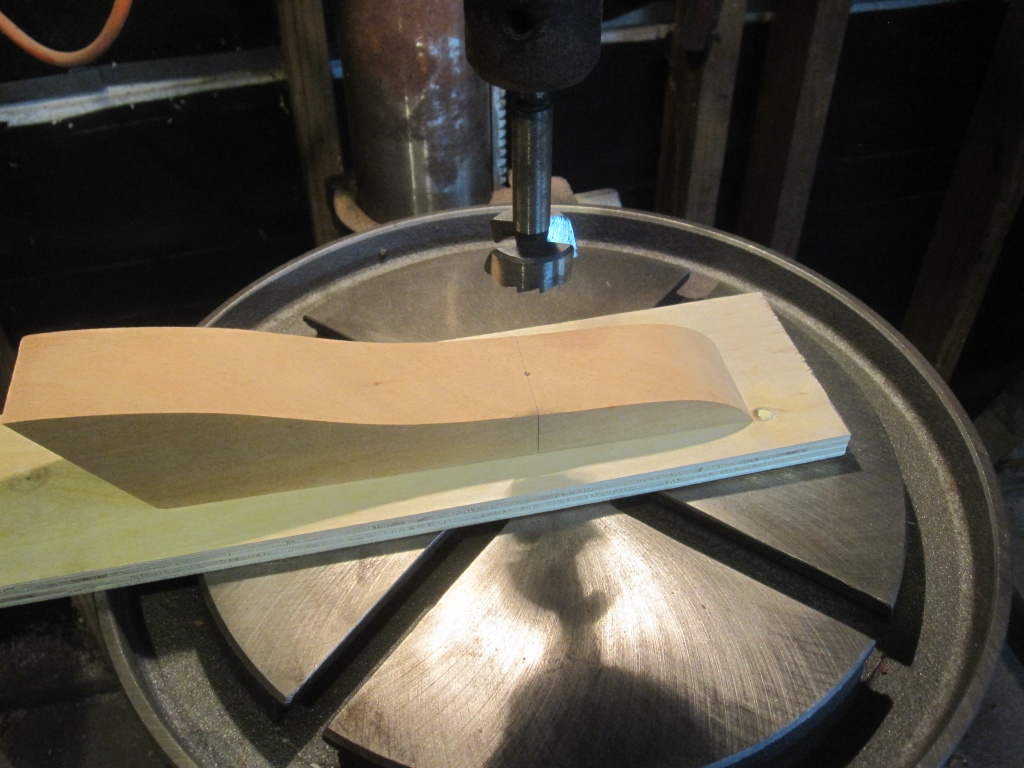
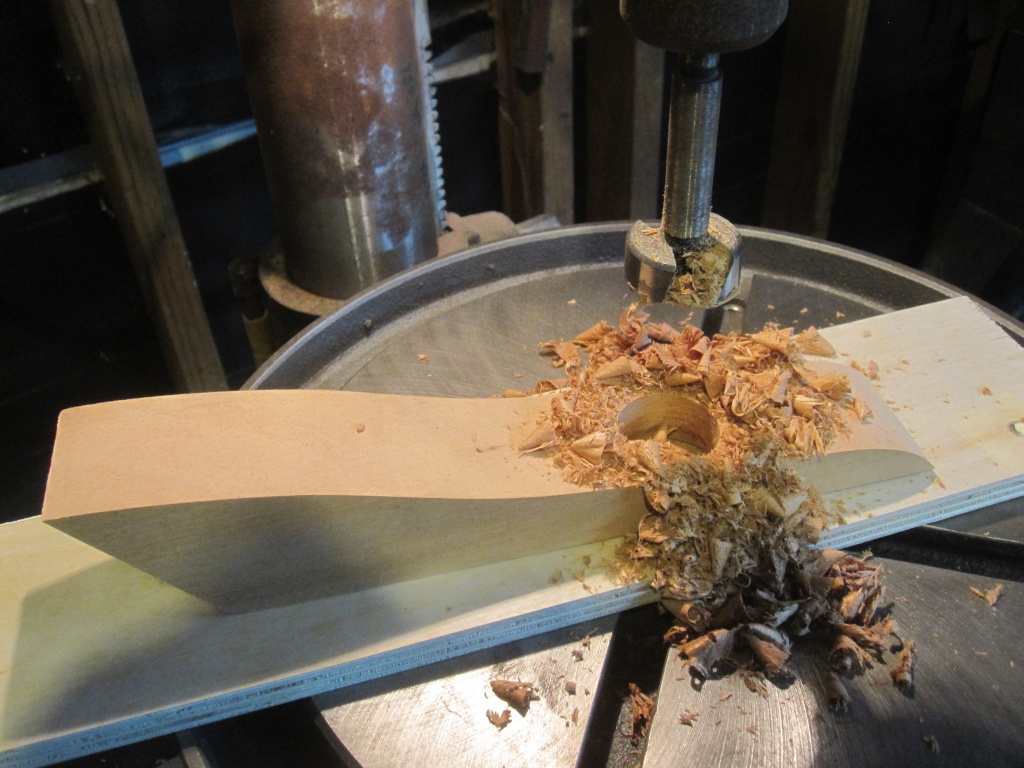
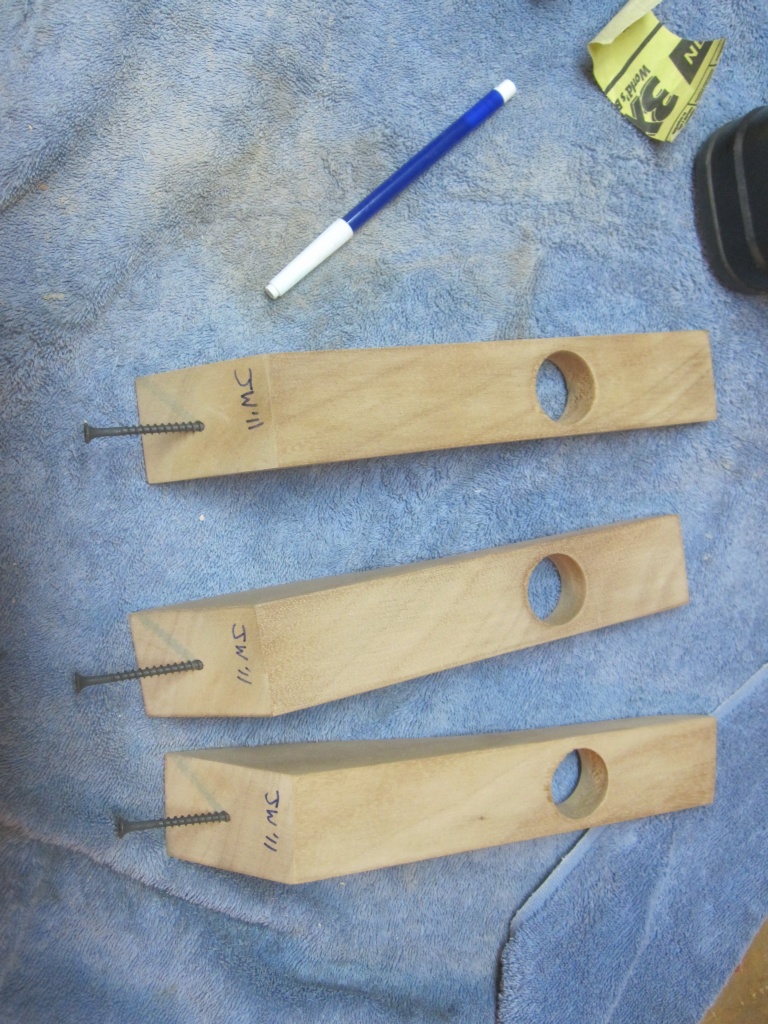
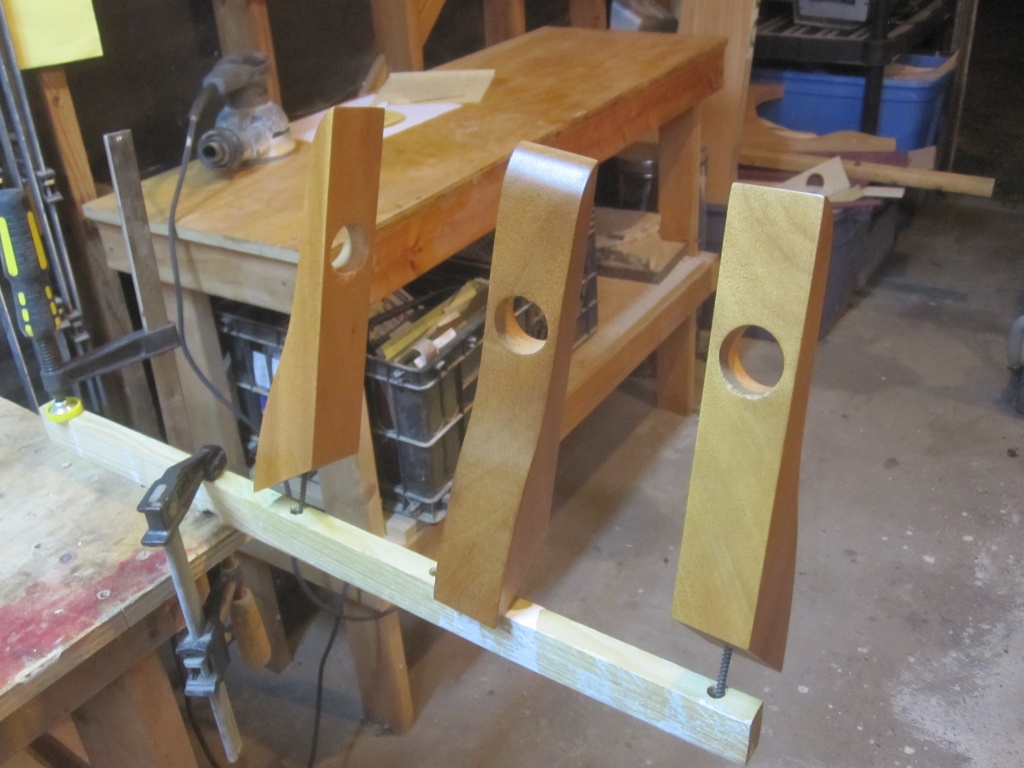
Mark and drill the hole for the wine bottle neck.
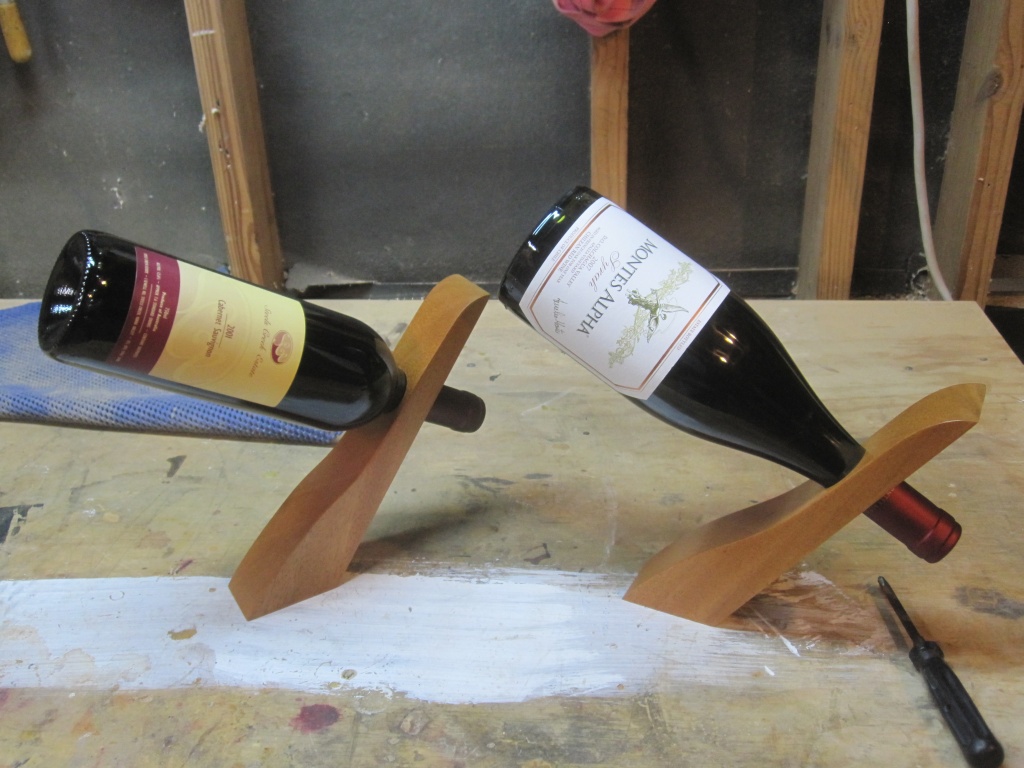
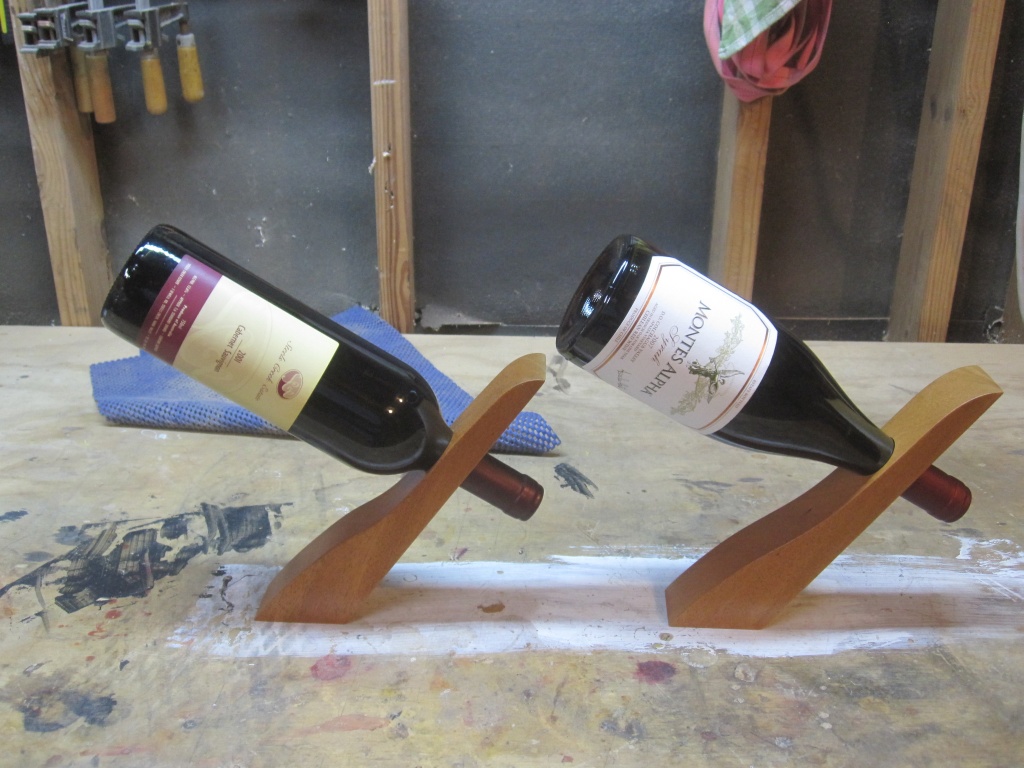
Might as well test them out before going any further. As expected, they balanced everything I threw at them.
Sand them out and mount them for finishing.
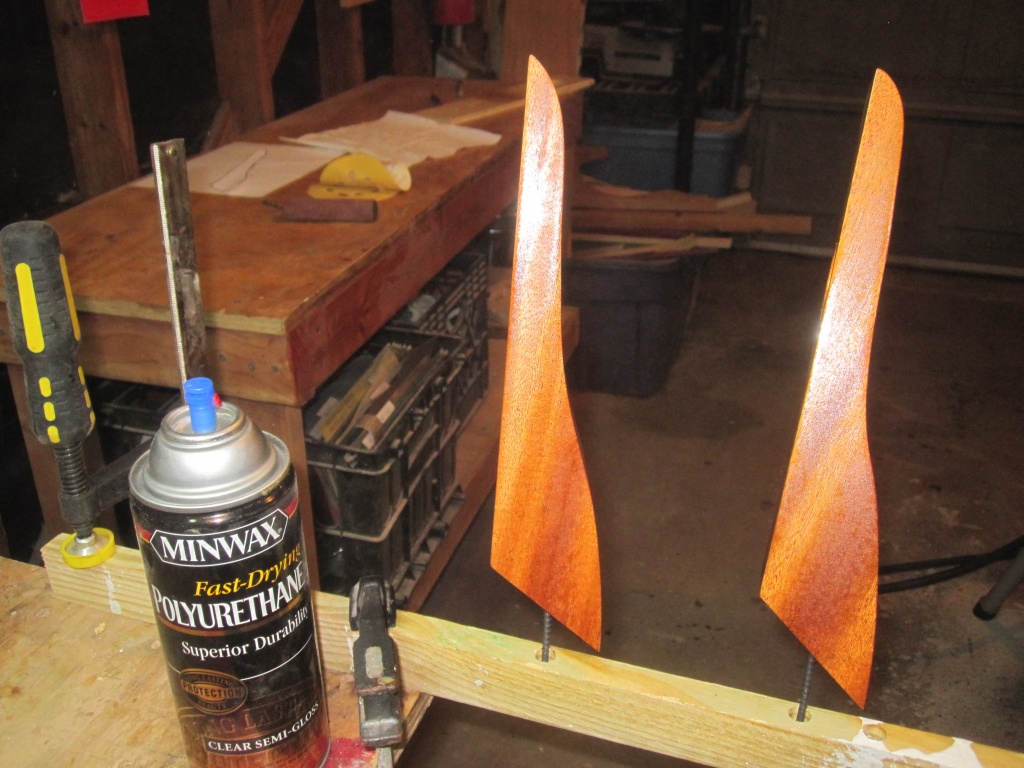
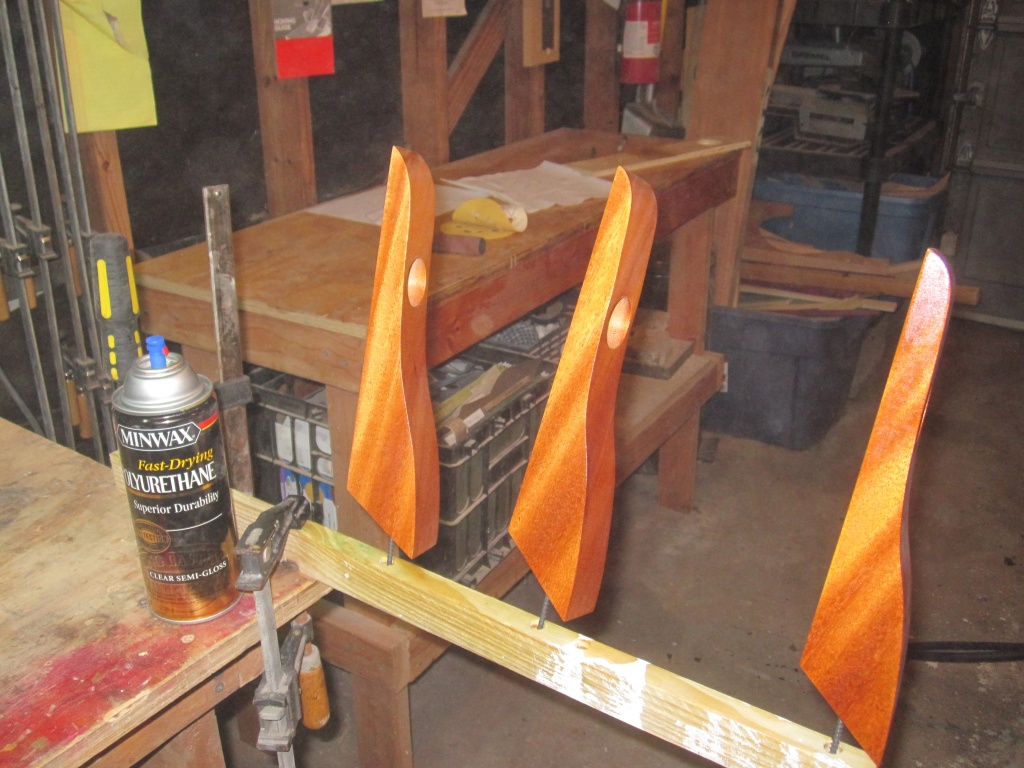
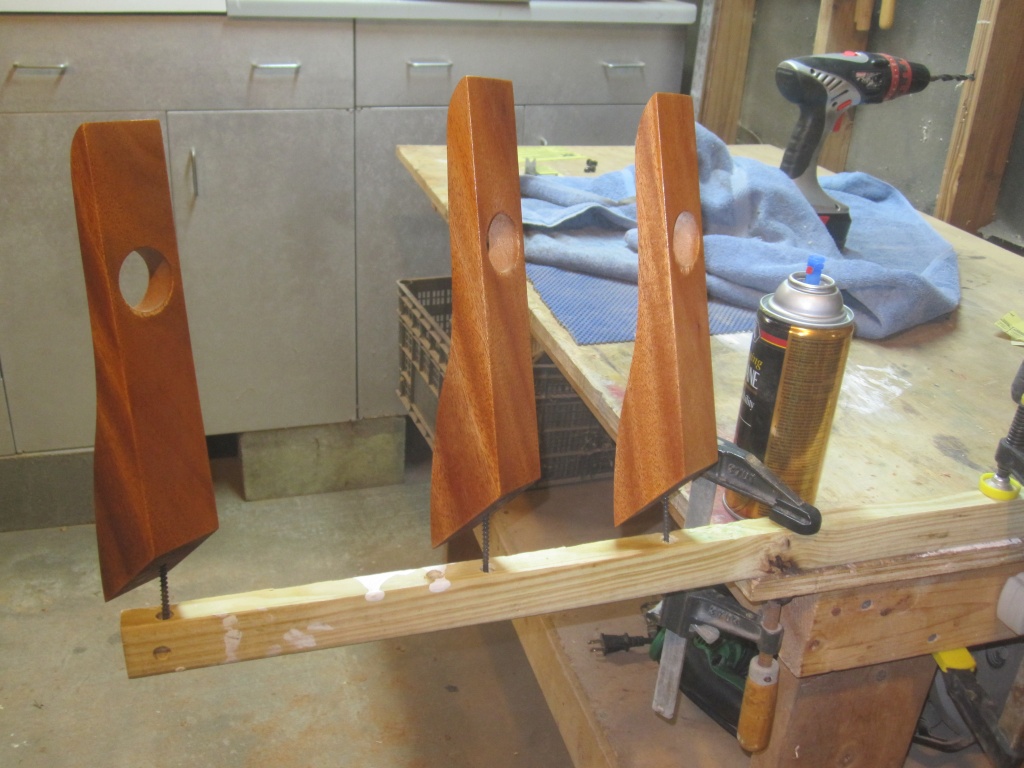
Spray a few coats of varnish.
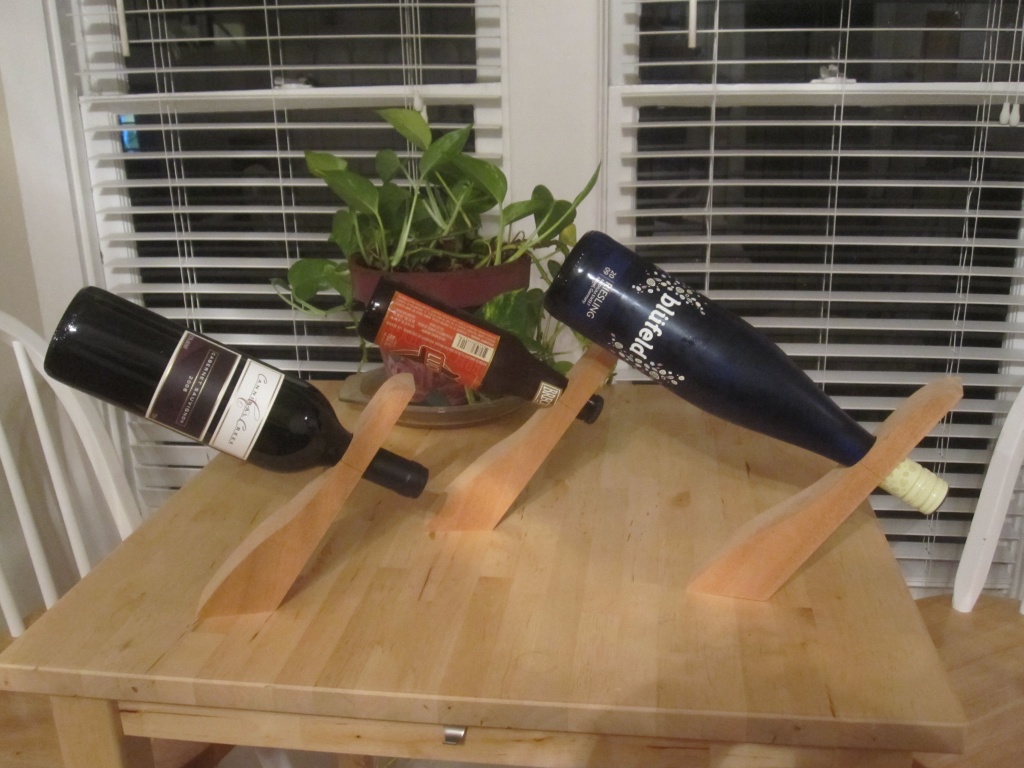
The completed stands. By the time I got around to taking pictures of the finished stands, one had already been given away. They go fast!

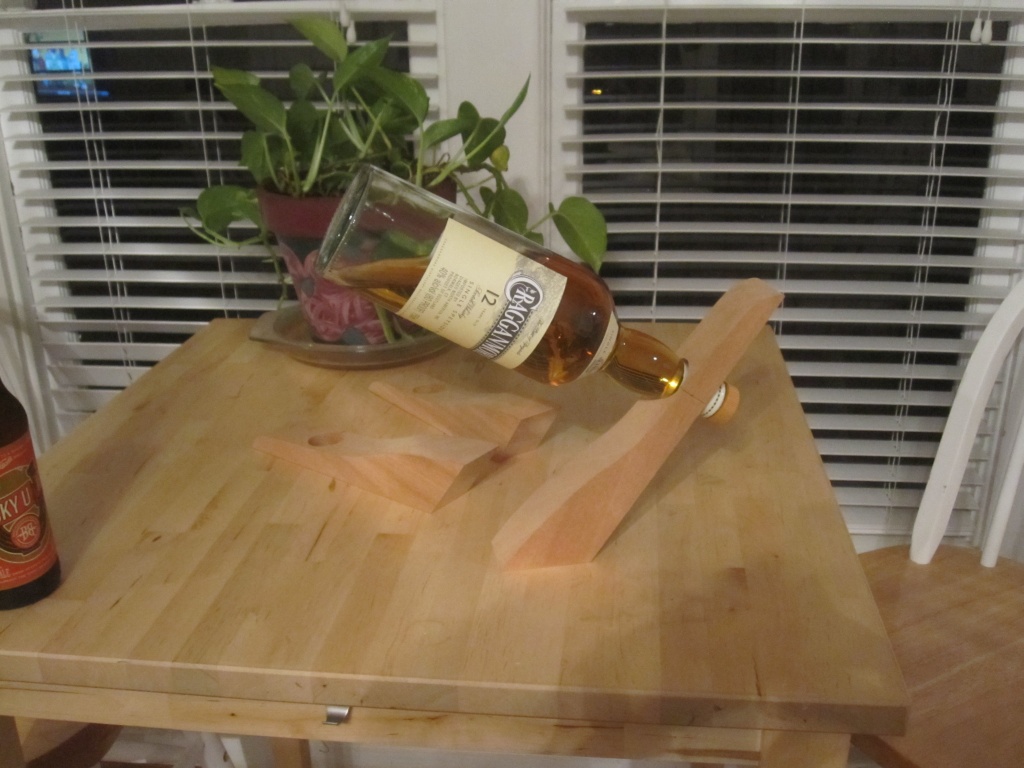
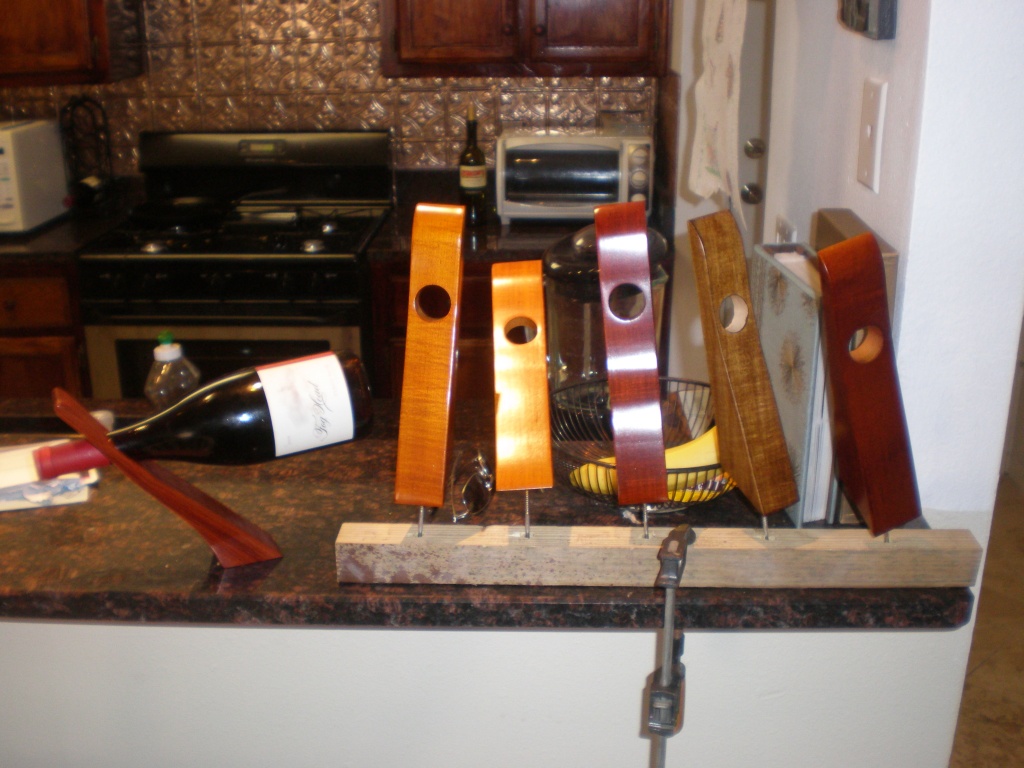
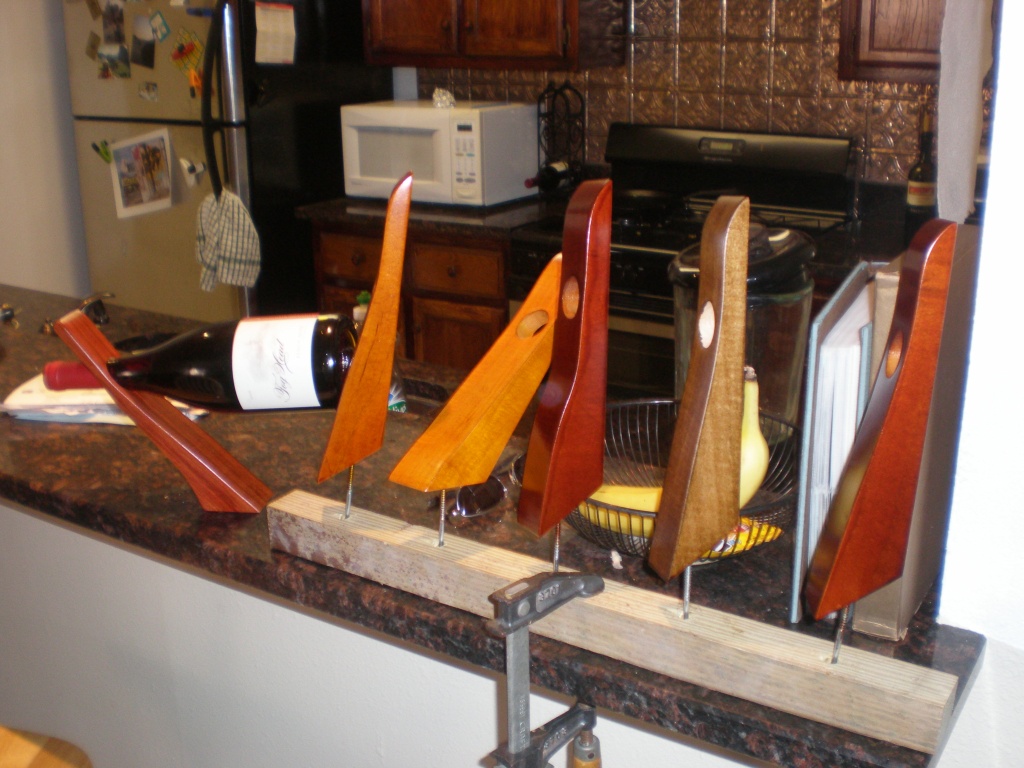
Here is another batch of five I made a while ago. These were given out as Christmas presents. The red stand on the left is made from padauk and was received as a gift. Note how the bottle balances more horizontal than my stands -- it cannot balance longer bottles. The rest of the stands are maple and were shot with tinted lacquer.

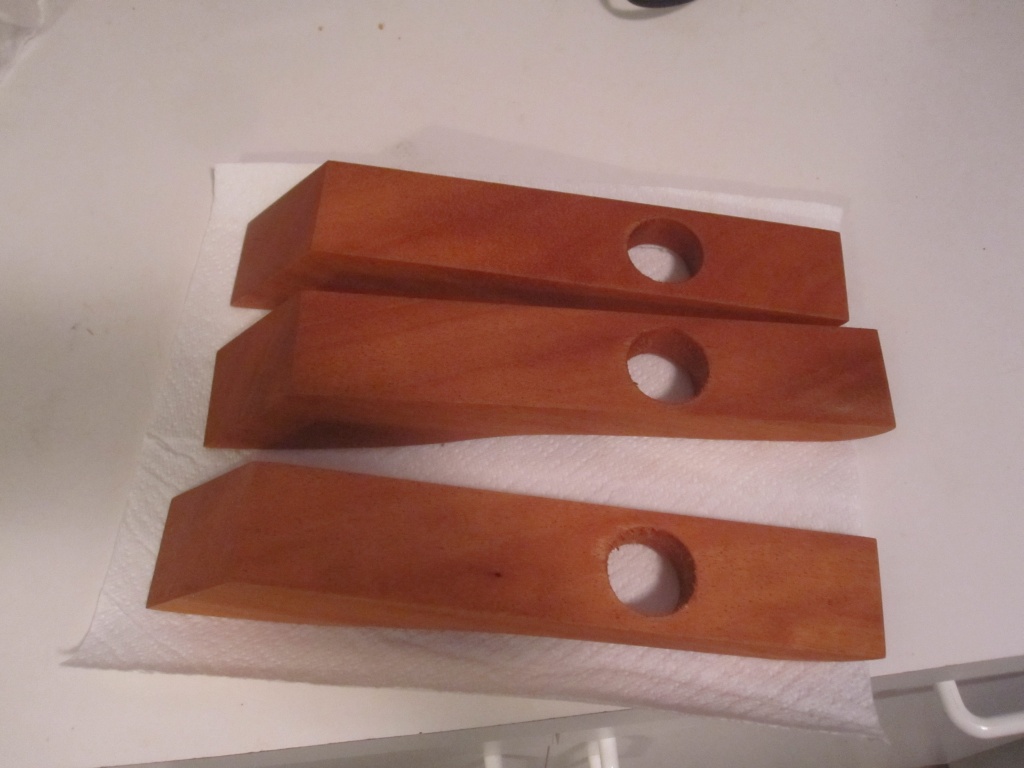
This is a batch of cherry stands. They were unfinished at the time I took this photo, but I later finished them in semi-gloss polyurethane. There is also a mahogany stand of slightly different design hiding in the background.
