
The Quest M3 is an excellent roaster for people like myself that want to experiment with small batches of a lot of different coffees. With an optimal batch size of 150-200g, it's bigger than a typical sample roaster, but still small enough that I can drink a whole batch in a couple days. The M3 is a very simple roaster -- no digital displays, no programmed roasting profiles. Just controls for heat and air flow, and a bean temperature probe. This simplicity makes it a great platform for modifications.
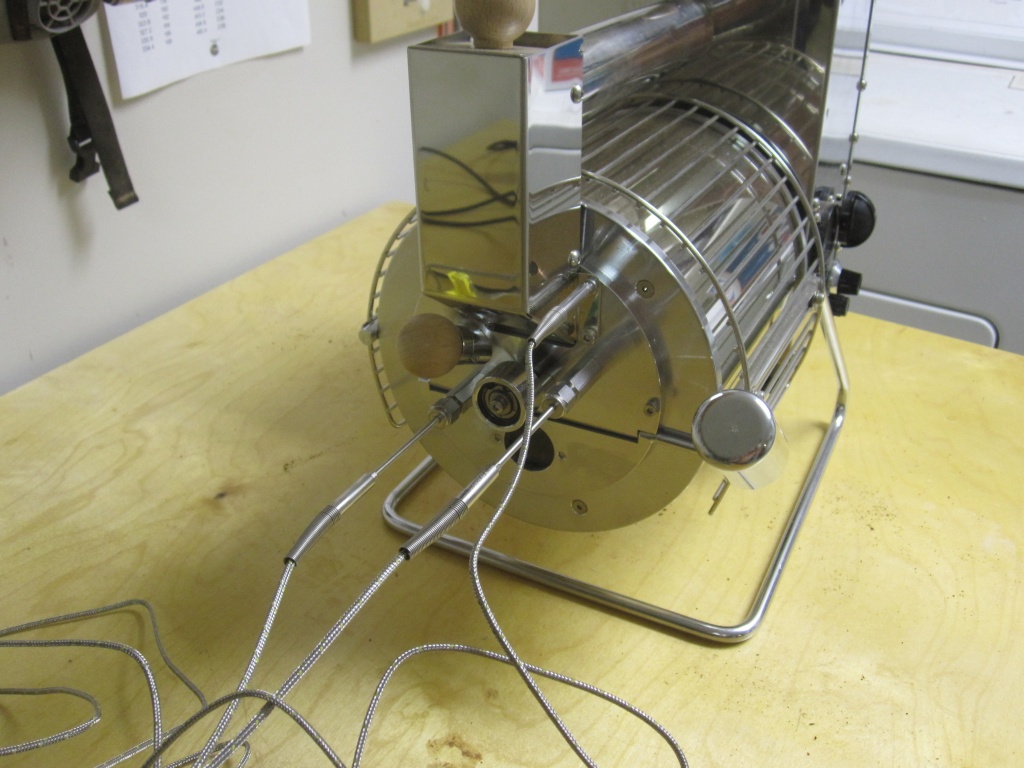
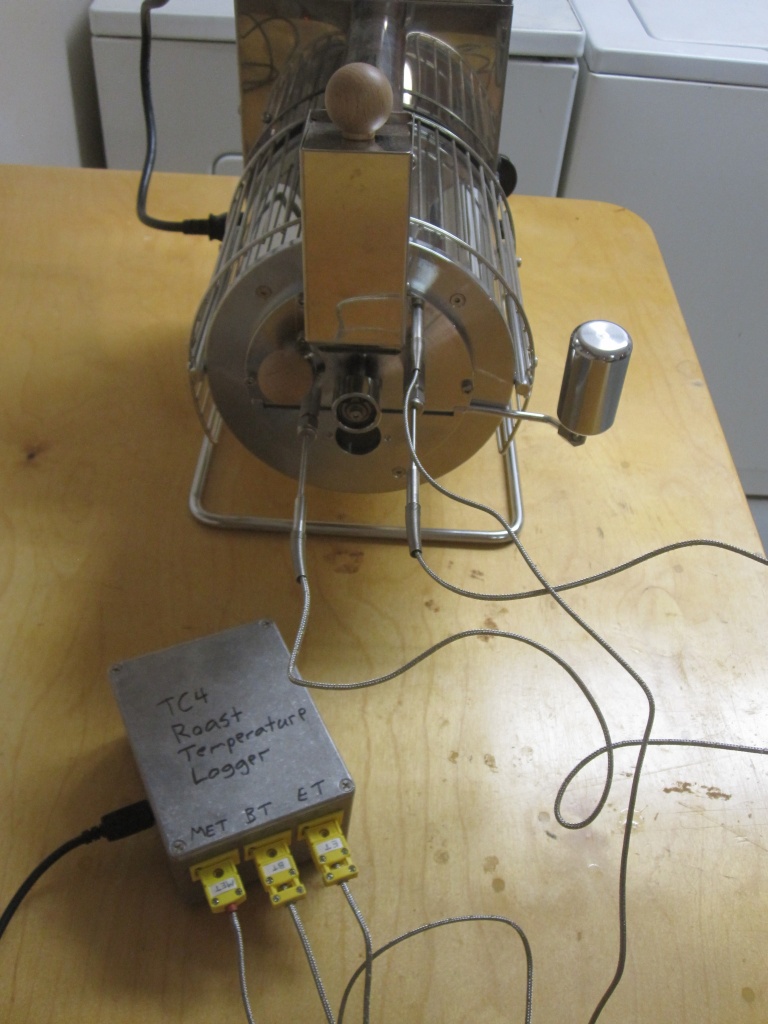
Soon after I got the Quest M3, I added thermocouples to measure bean temperature, environmental temperature (air inside the drum), and drum temperature. I hooked these probes up to a computer running Artisan using the TC4 system. Below are some pictures of this early setup.
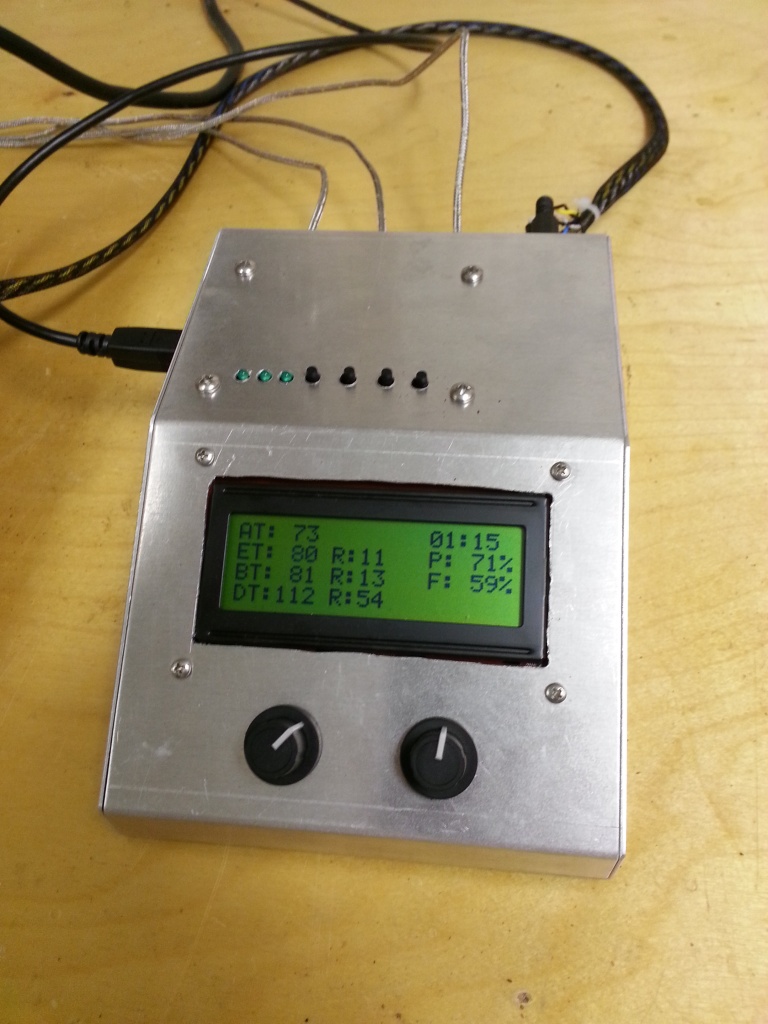
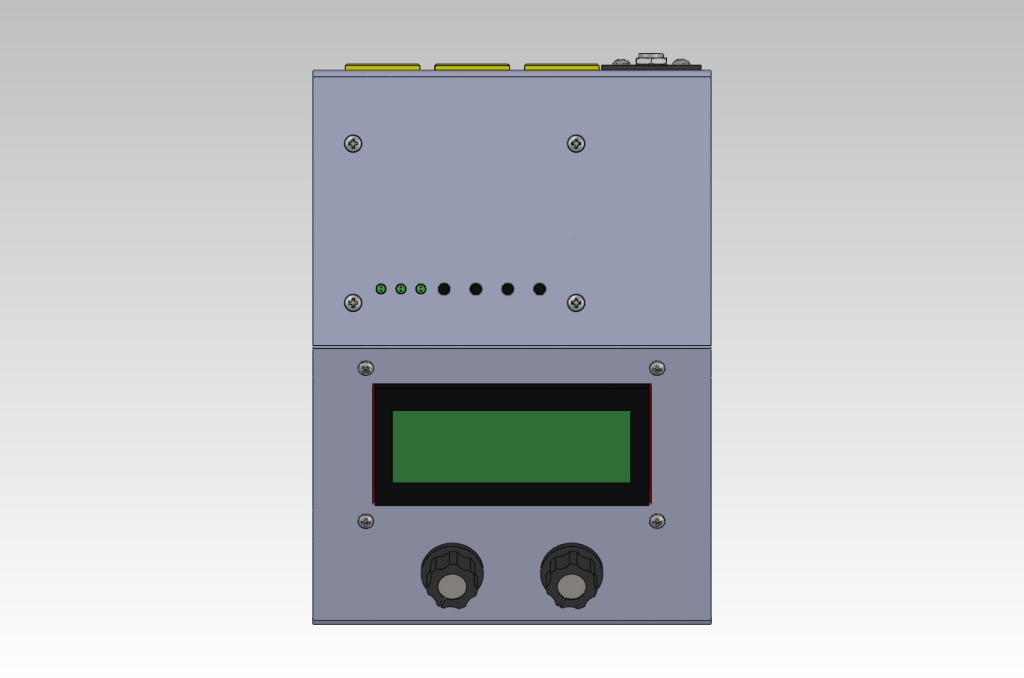
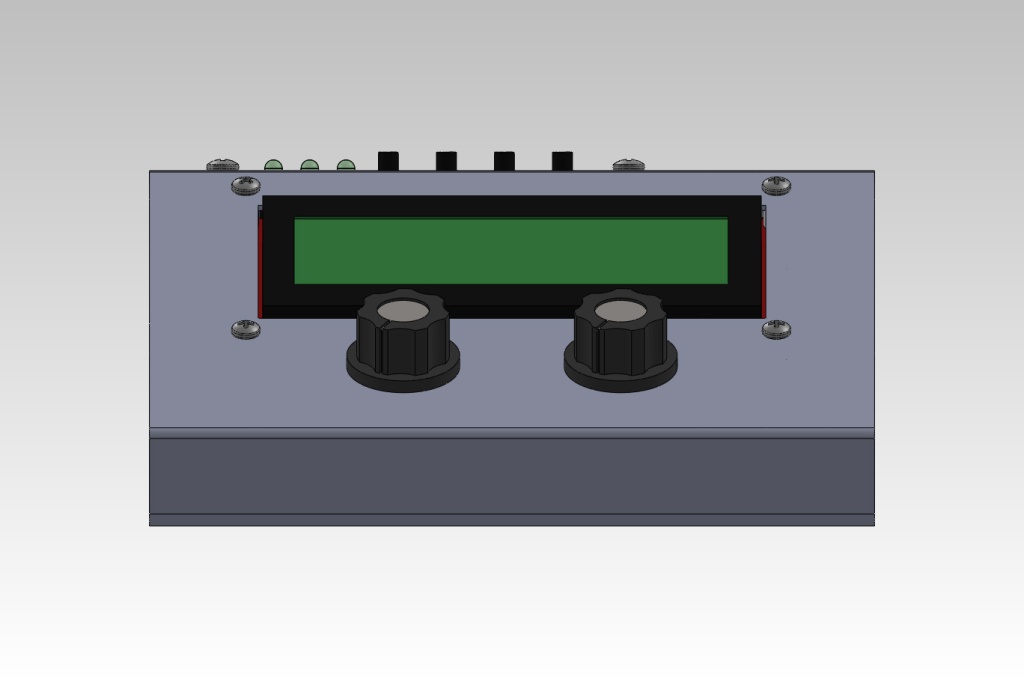
After about a year of use it became apparent that I needed a way to log and control the heater and fan inputs. I decided a dedicated screen showing temperatures and rates of change would be useful as well. I used Bill Welch's wiring diagram as a basis.

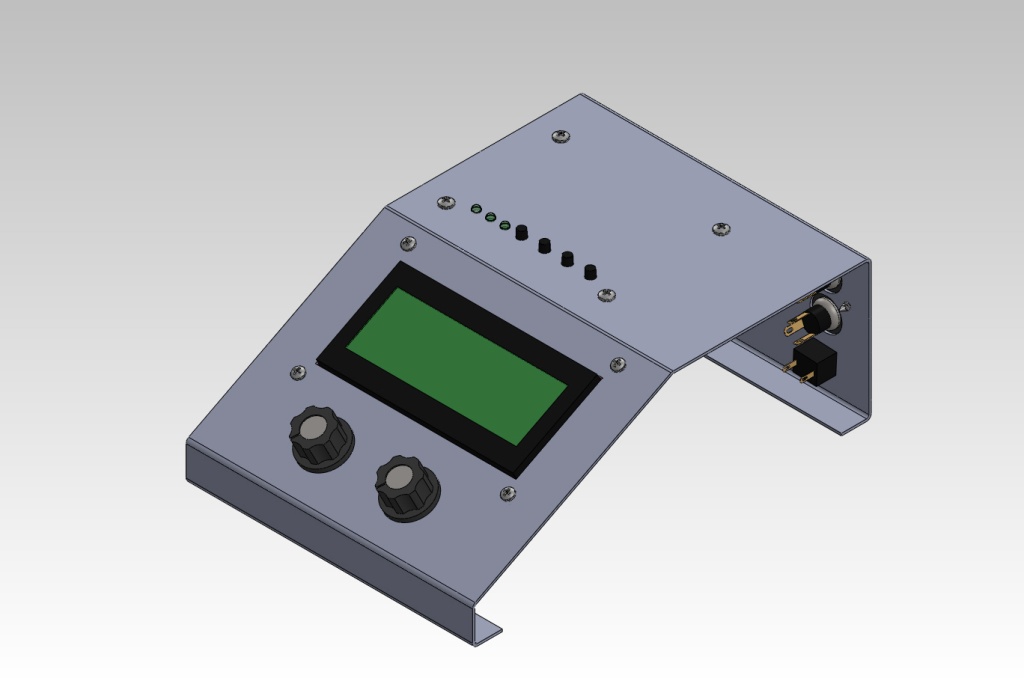
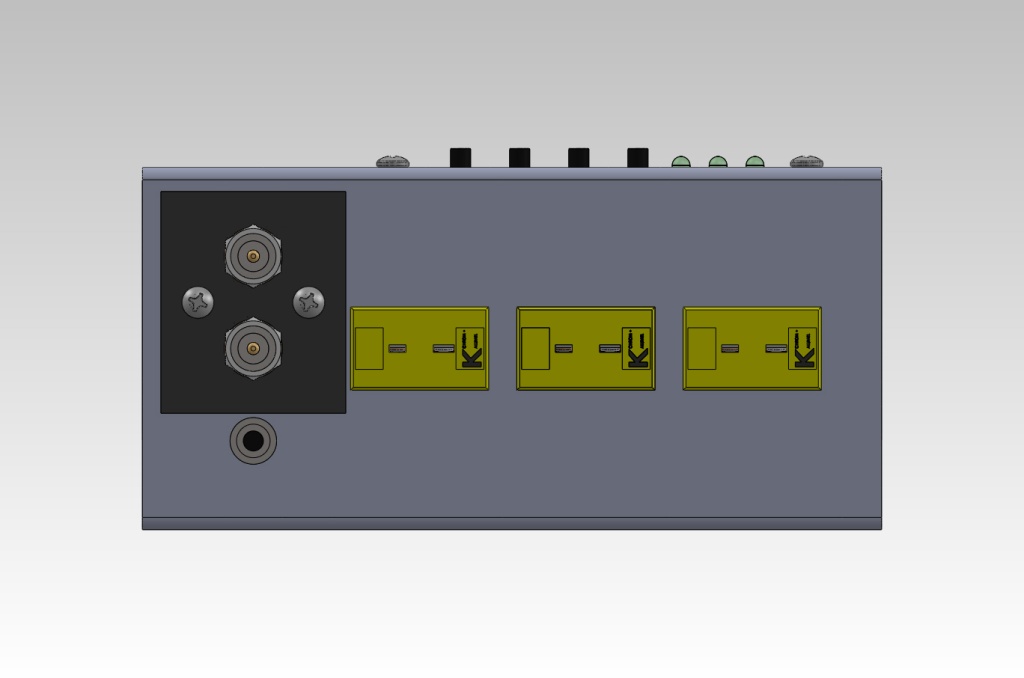
I modeled an enclosure for the TC4, screen, controls, and I/Os. Although this is a lot of up-front work for a one-off box, I find being able to visualize everything in 3D before starting helps eliminate mistakes down the road. I didn't happen to take any pictures of the box as it was being built.

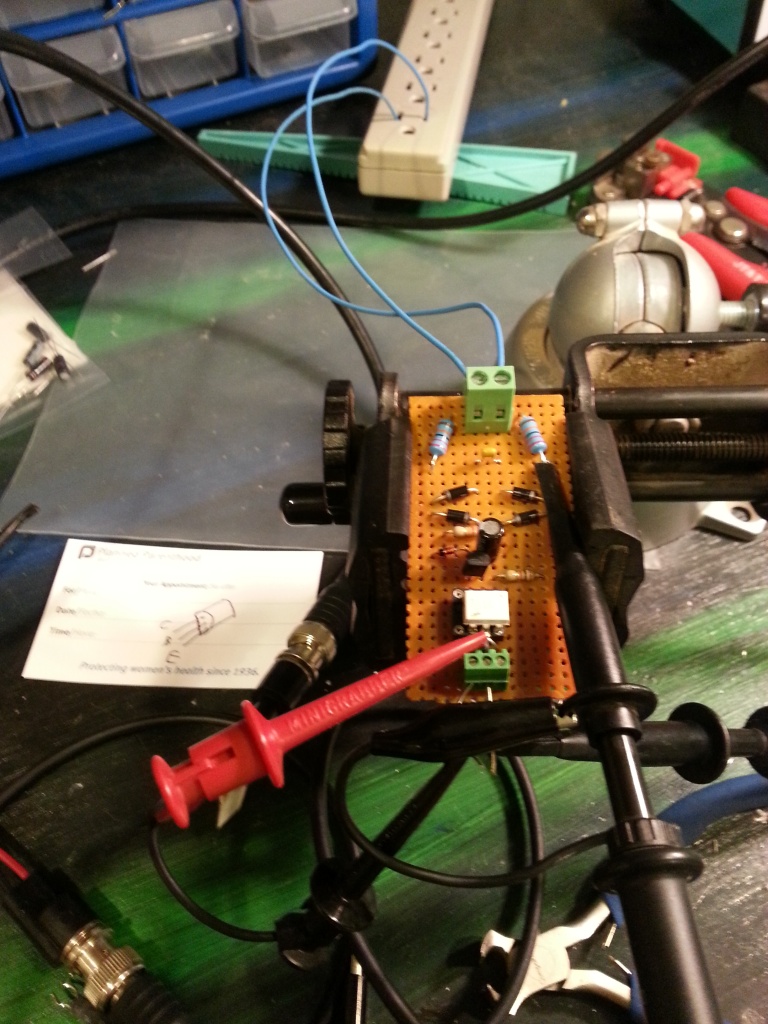
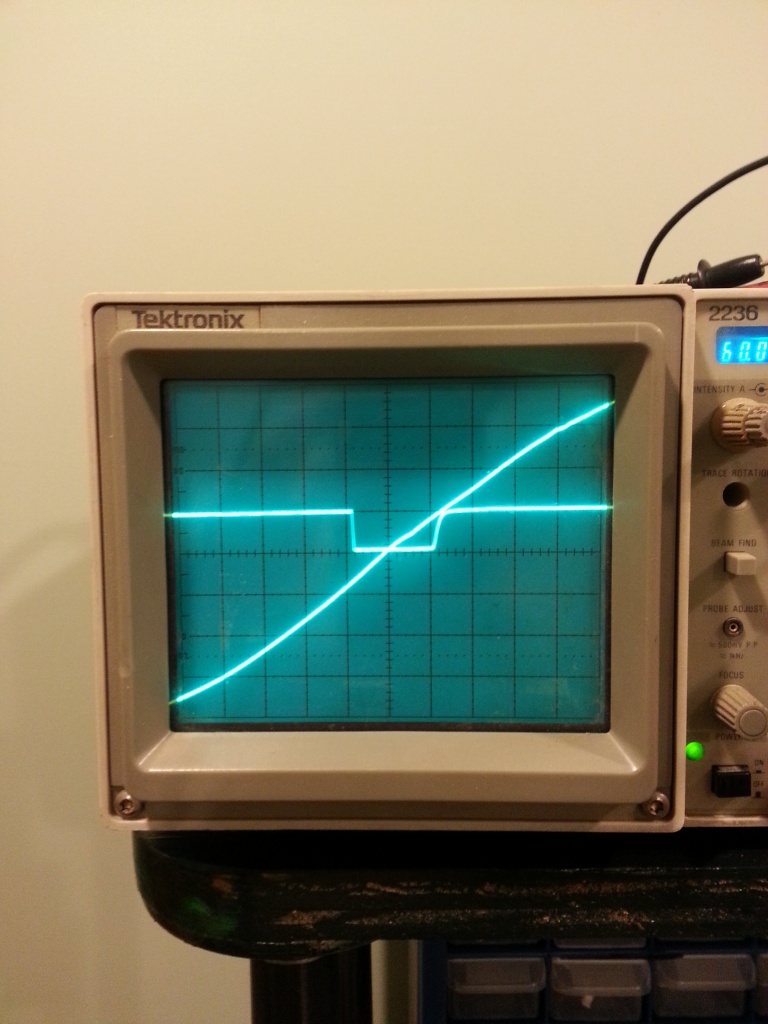
Because the TC4 uses phase angle control via a random fire SSR to control the fan speed, a zero crossing detector (ZCD) is needed to sense when the AC mains voltage crosses. I built this design on protoboard.


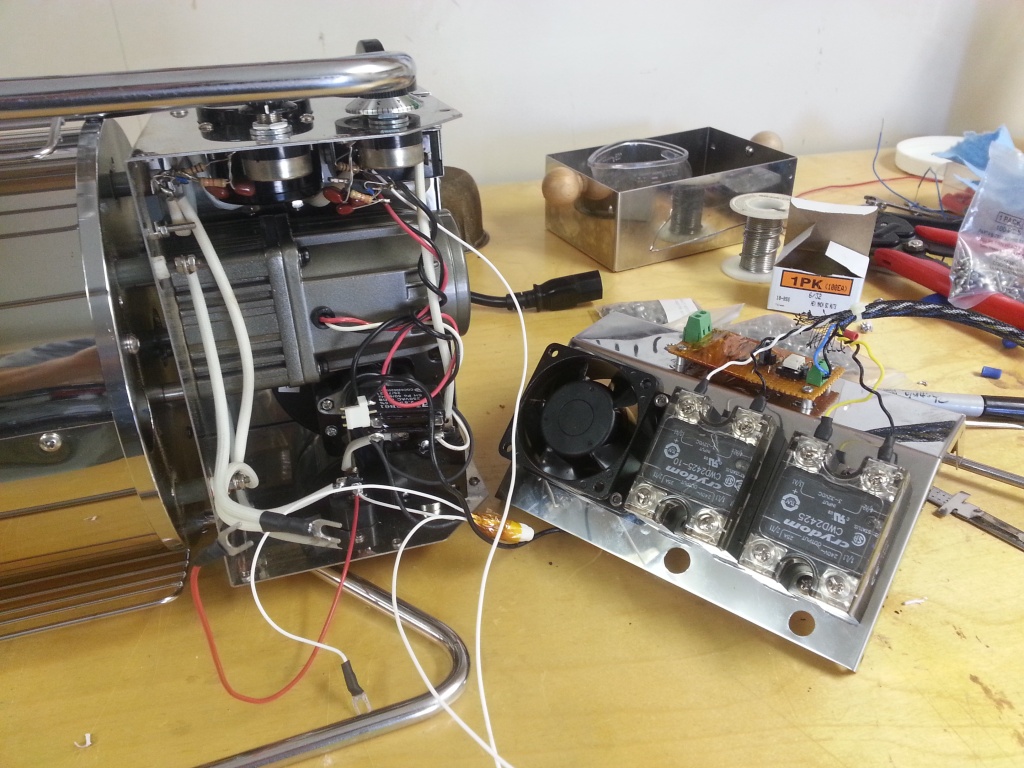
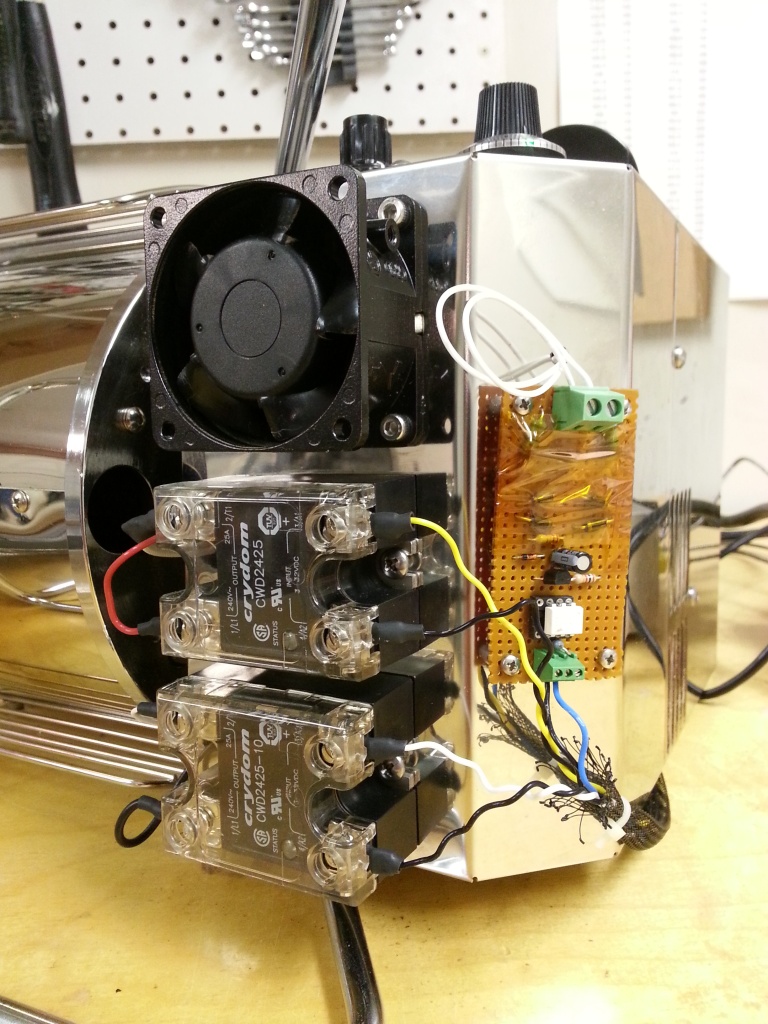
I installed both SSRs and the ZCD on the bottom of the Quest M3. I tried to keep the electronics away from heat sources and out of the way of being accidentally touched, and so far this has worked out quite well. Many surfaces on the roaster are hot (drum temperatures reach as high as 550F), so I'm generally very wary of touching anything as is.


Some minor changes to the firmware were necessary to get the display laid out the way I wanted, and make sure the correct information was being sent to the PC.
I've been using this setup for over a year now and it has been working quite well. The ability to log roast inputs has eliminated a tedious logging step from my roasting routine. I can now focus more on the roast itself. Full PID control is a possible future upgrade, although I rarely roast the same coffee multiple times. I'm not sure of the utility for a non-production roaster like myself. The ability to glance at the LCD screen and get current temperatures and rates of change (ROC) is very useful as well. I could confidently roast with only this information and no PC if needed. The ROC values are especially useful for predicting the progression of the roast.