

In 2005 I bought my first real espresso machine on eBay. Though the seller claimed it was fully functional, it arrived with a cracked boiler and a portafilter gasket that had hardened beyond usability. I have a feeling the person that sold it to me knew essentially nothing about how the machine should work, because the rust on the inside of the chassis showed that he had been using the machine with a cracked boiler for some time.
So, before I could even pull my first shot, I had to get the machine fixed. I replaced the portafilter gasket myself, learning in the process just what an enormous hassle that operation can be on these machines, and I took the machine to a local repair shop for the boiler replacement. This shop was the largest in my city. They mostly serviced the large commercial coffee industry, but they also did repairs and work for individuals. They had a very good reputation. Little did I know...
About a month later, I got my machine back. The boiler was fixed, the portafilter gasket was sealing properly, and everything seemed right. I began pulling shots, and quickly discovered that espresso is more complicated than it looks. Eventually, though, I was pulling shots that tasted every bit as good as those from my favorite coffee shops.
About six months later, I began to notice some problems with the machine. It was leaking water again. Not wanting to spend another $80 and deal with the month of downtime associated with a "professional" repair, I decided to fix the machine myself. The water was coming from the seal between the group head body and the boiler. Upon taking the machine apart, I discovered just what a poor job the shop had done six months earlier. The repairman used plain steel screws to assemble the boiler group. As you might imagine, these screws were heavily corroded and had frozen in place. I managed to remove three of the four screws after cutting the heads off, but the last was too stubborn. I bored it out on a Bridgeport, then re-tapped the hole for 1/4-20 with a Heli-Coil. All this work sounds simple enough when condensed into a couple sentences, but at the time it was aggravating in the extreme. I vowed never again to pay some unknown fool to work on my machine. After that little hassle, I again had a working machine. I found that, though it looks complicated at first, the insides of a Gaggia Classic are actually pretty simple. Working on these machines is really no problem for anyone with even moderate repair skills.
With my machine in good working order, I settled into a consistent schedule of rework. I would disassemble the machine approximately every nine months to descale/clean it and replace the portafilter gasket. Somewhere along the way, I found the screen holder assembly was fused to the group head body, but I didn't pay it much attention. After all, the shots tasted ok. Later on down the road, I found that two of the holes in the screen holder were clogged. Being unable to remove the screen holder, and unwilling to pay to replace both the screen holder and the group head body, I just let it be. I knew this was far from ideal, but I had other priorities at the time. I was also well aware that the rust inside the chassis was bad and getting worse. It would flake off in good-sized chunks whenever I disassembled the machine. But it didn't really affect the operation of the machine, so I ignored it.
So, that brings us pretty much up to speed
Recently, the time to disassemble the machine for cleaning was again approaching. For a couple reasons not worth going into, I decided to finally replace the screen holder and group head body. Since I was already committing substantial money, I decided to go ahead and install the PID I'd been considering for so many years. And, hey, since I was already doing all this work, I might as well take care of the rust problem too.
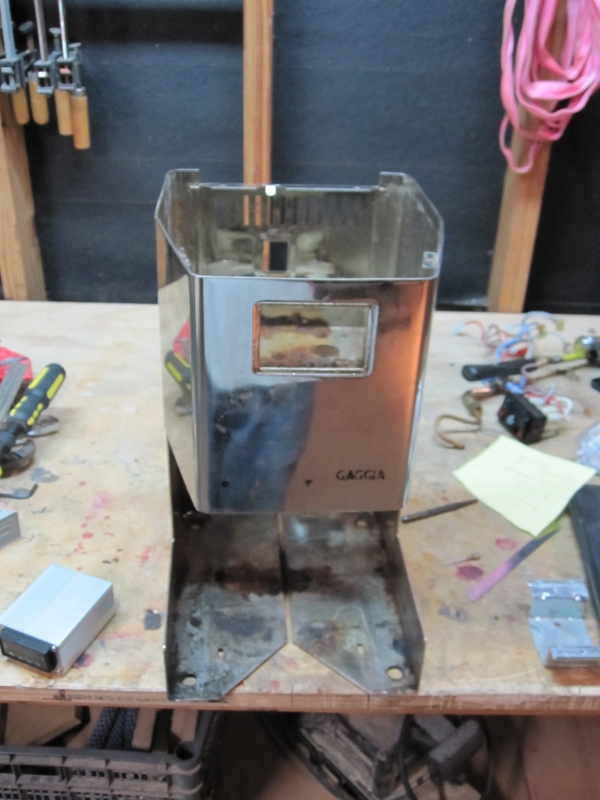
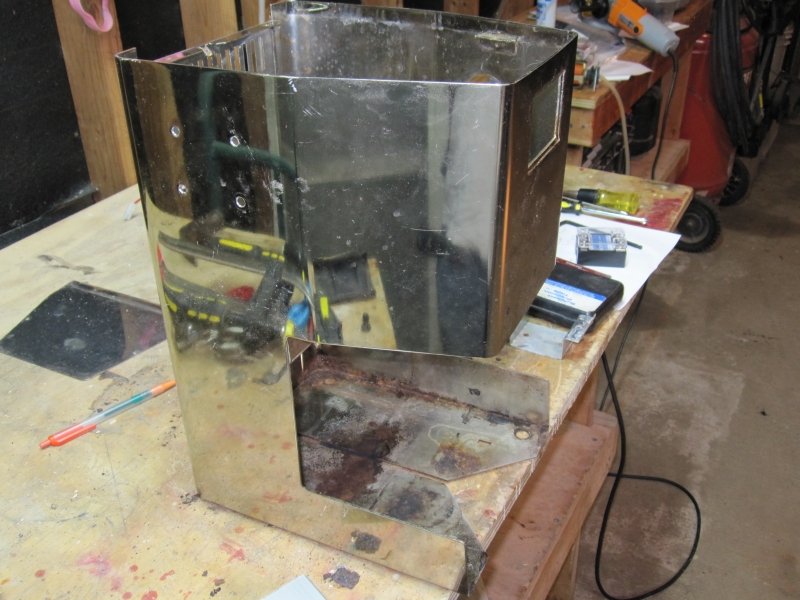
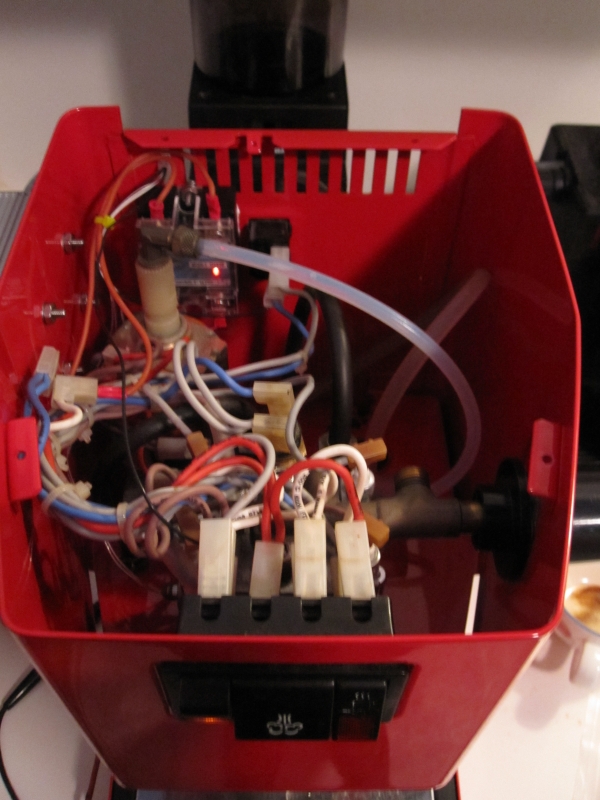
So with my parts on order, I disassembled the machine. The corrosion was worse than I had remembered:
My initial plan was to clean up the rust with a wire brush, paint the interior with some high-temp automotive enamel, and leave the outside of the machine unmodified. I quickly realized that masking would be an issue if I didn't want the machine to have an ugly appearance. Paint adhesion was also an unknown, especially along the masking lines. Worse yet, the wire brush wasn't removing the rust. I was going to have to have the chassis blasted.
The solution was obvious. If I was going to pay someone to blast the chassis, I should pay them to powder-coat it, too. Powder coating is perfect for this type of thing. It's tough, temperature and moisture resistant, long-lasting, very common, and fairly cheap. So I called around, decided an a shop, and dropped the machine off. Three days later, it was ready.
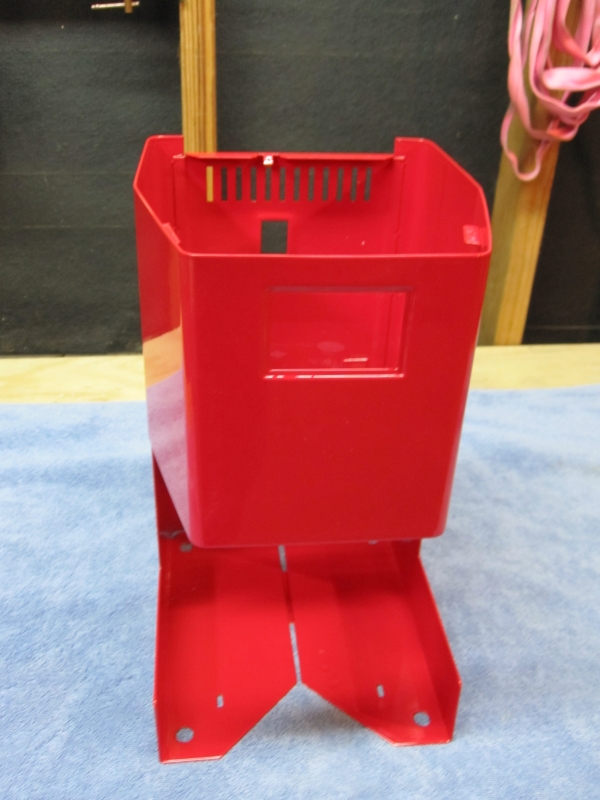
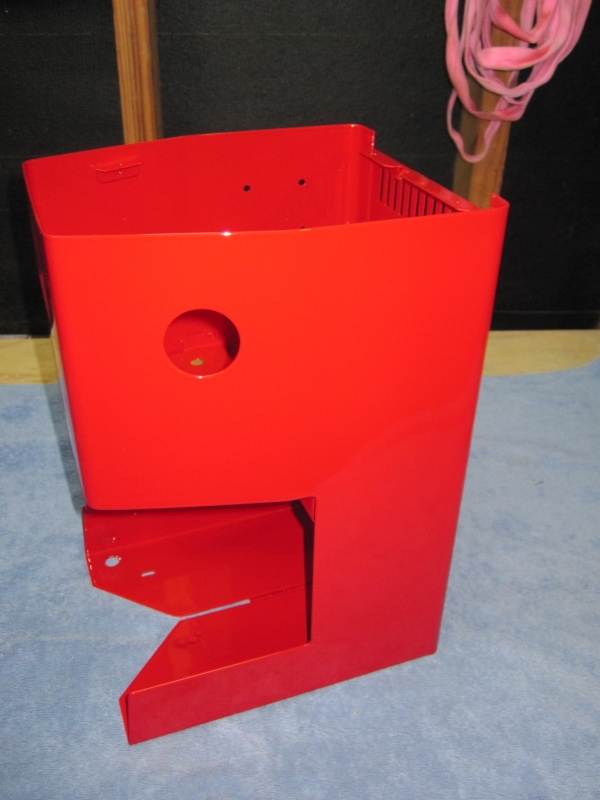
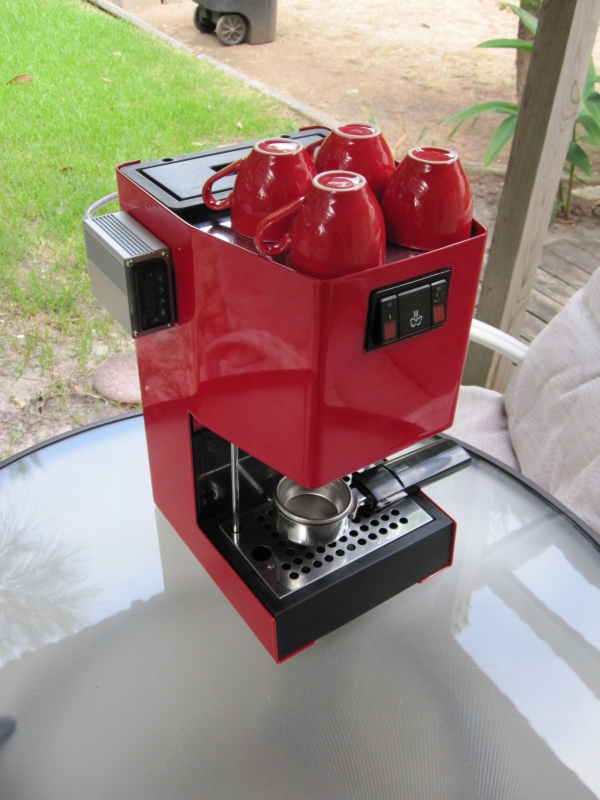
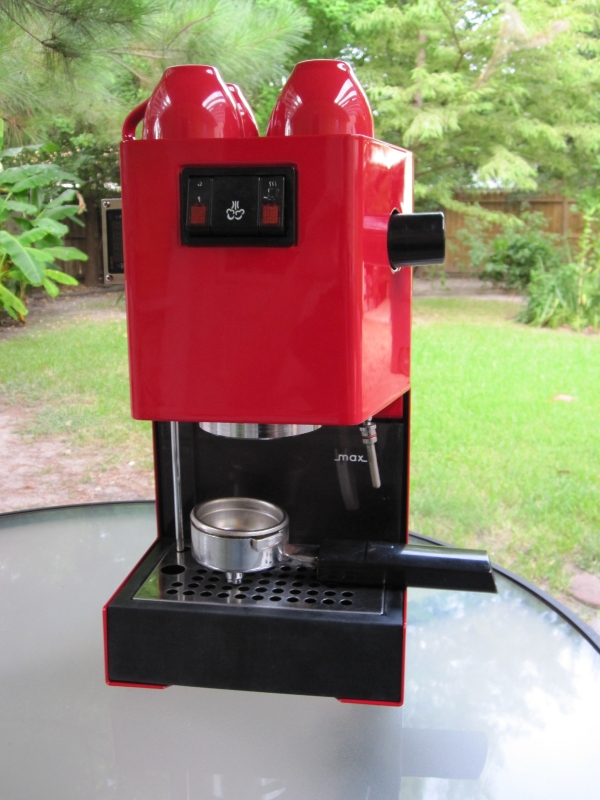
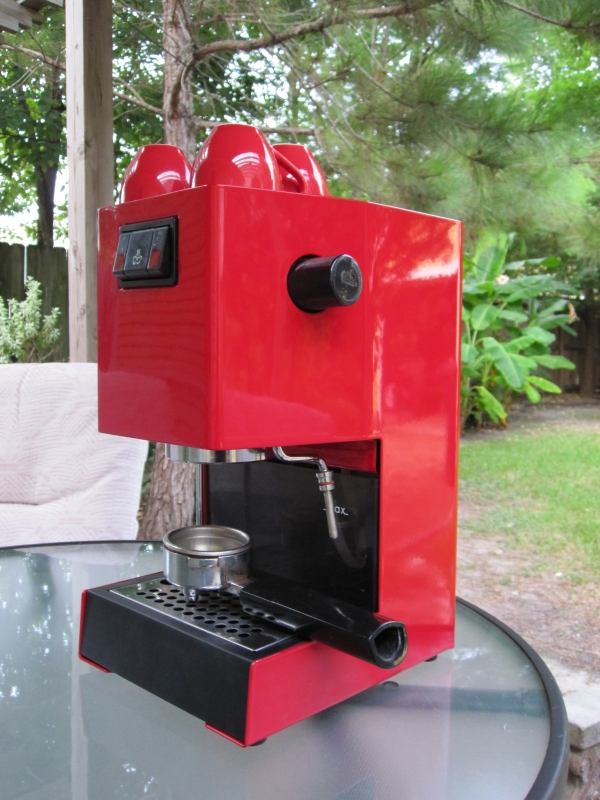
Much better! Yes, some of the metal is gone and will never return, but the machine is structurally intact, and further corrosion has been prevented. Also, it looks awesome! (By the way, if anyone is looking for a powder coating shop in the Houston area, I would definitely recommend these guys.)
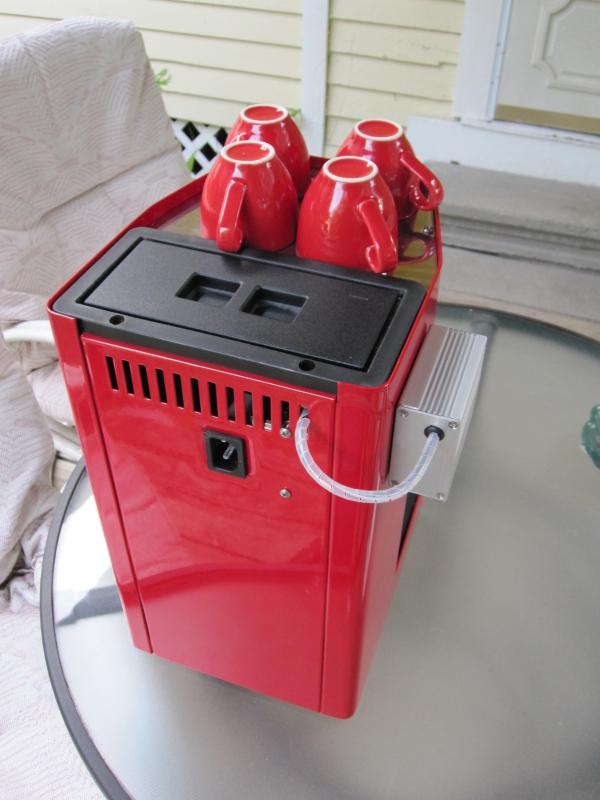
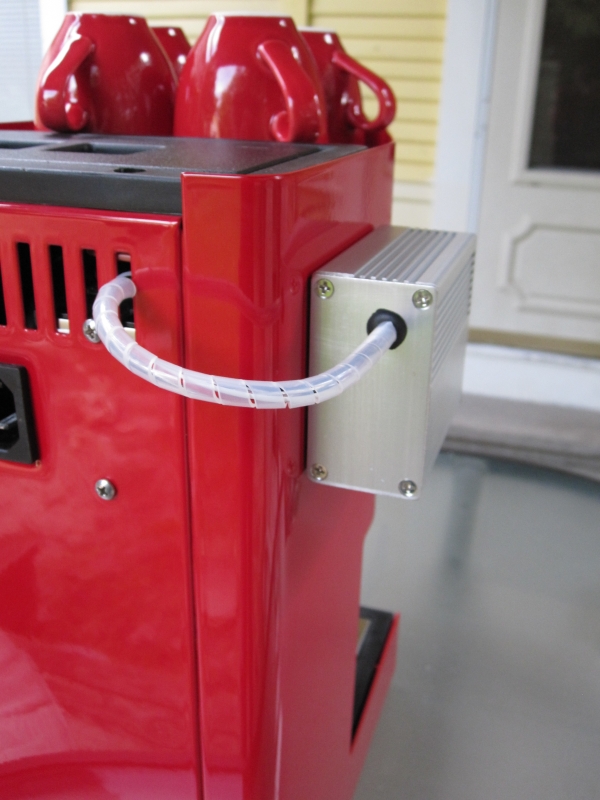
Next, I mounted the box for the PID. I purchased the Gaggia PID kit from Auber Instruments. It's a comprehensive, easy to install kit, but there was one thing I didn't like - the box containing the PID is mounted to the machine using double-sided tape. I'm sure it holds fine, but I like things a little more solid, so I bolted mine on using 8-32 machine screws.

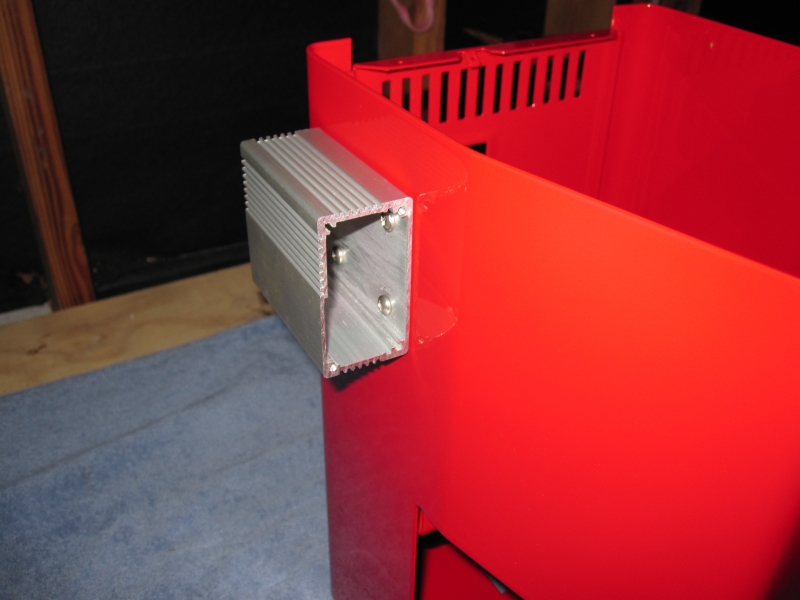
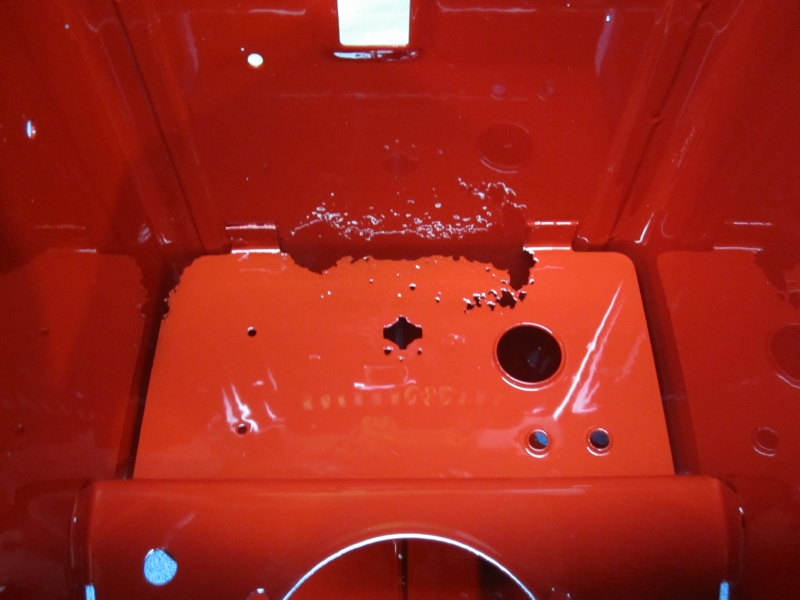
I drilled the holes for the box before I got the machine powder coated. That way there was no concern about chipping the powder coat, or exposing metal that could eventually begin to rust. Next, I began reassembly, having already cleaned/descaled everything while I was waiting for the powder coating. The next two pictures show the machine partially assembled. No electronics have been installed yet. The new thermostat for the PID is visible on the left side of the boiler.

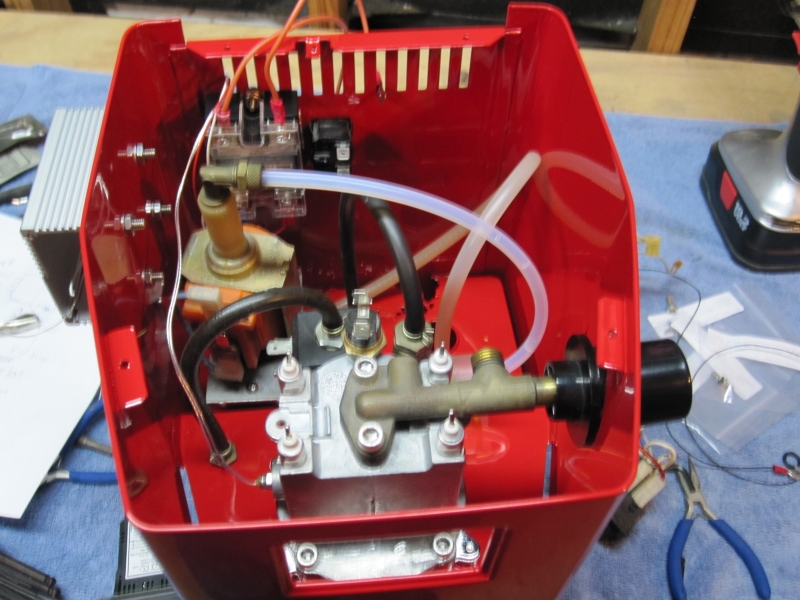
Before closing the machine up for good, I checked it for leaks. This was a good opportunity to make sure the PID was functioning correctly, too. Turns out it wasn't. I had hooked it up to remain on at all time when the machine was plugged in. Sorting this out took very little effort, thanks to Auber's excellent instructions.
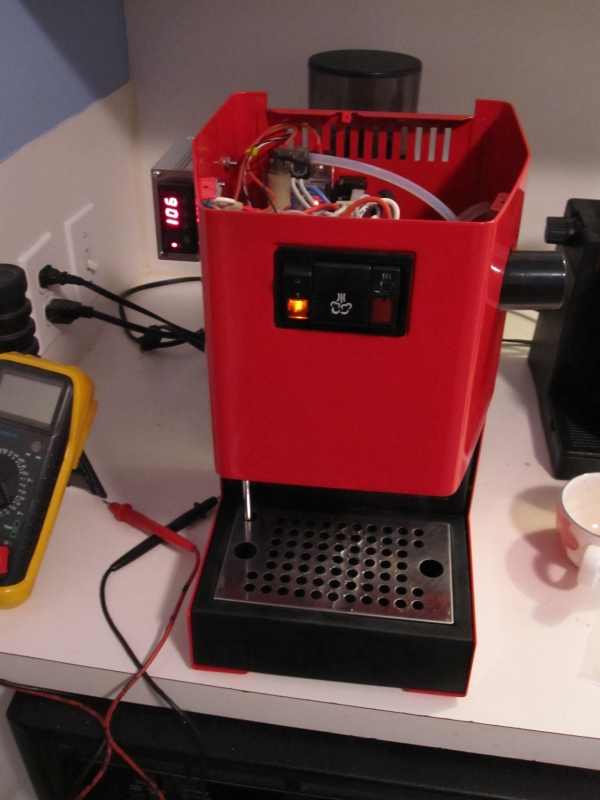
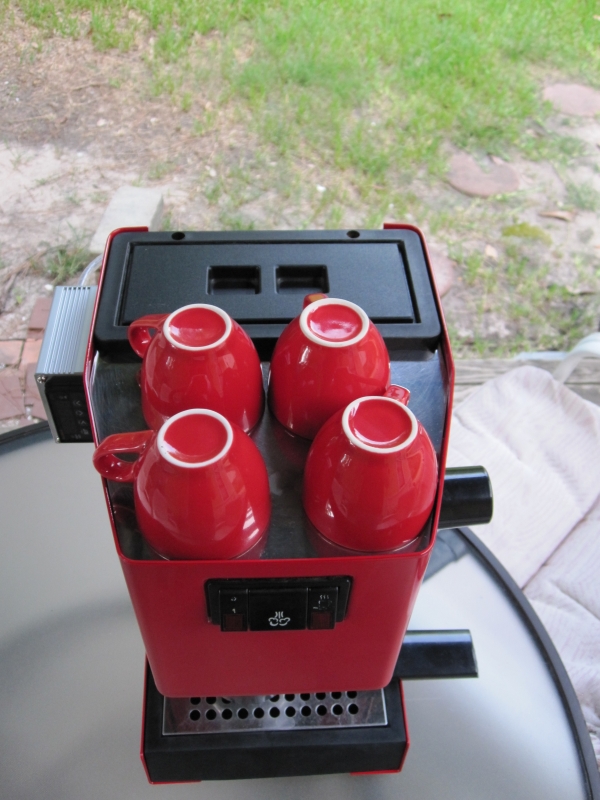
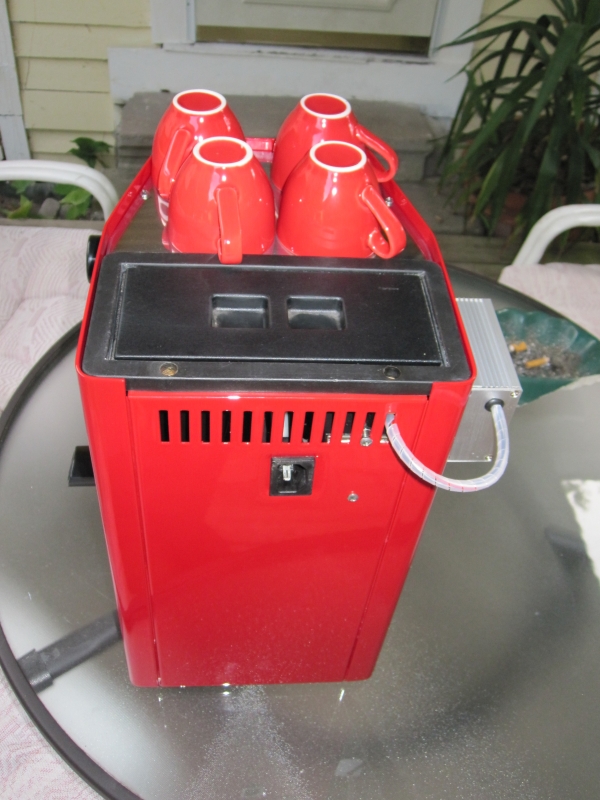
I think the results speak for themselves. The machine looks great and functions better than it has the entire time I've owned it - probably better than when it was brand new, too.


There are still a couple things I'd like to do to this machine. The most involved is the addition of a hot water reservoir attached to the boiler. This will help improve temperature stability during the brew cycle, but it's a fairly involved mod. I won't be able to start thinking about it until I have access to a milling machine again.
I've also considered adding an integrated shot timer. Something that would replace the current switch panel, and add a two-digit display. This would be controlled using the brew switch so that every shot is automatically timed with no intervention. The "cool factor" here is high, but the actual payoff is low. It's not that hard to to operate a timer. The effort is also non-trivial, as it would require either a fairly involved hack of a suitable device or a ground-up circuit/PCB design. Definitely possible, but this one will probably remain in fantasy land.
Finally, I'd like to add a decal of some sort, as the front looks just a little plain. Cut vinyl is probably the best way to go, provided it can stand the temperature. All I have to do is come up with something that looks good.