fEARful (TM) is a series of bass cabinet designs published by greenboy. Some good resources for building fEARful-based cabinets include greenboy's fEARful website and the fEARful entry on the TalkBass wiki. There are also a number of fEARful-related threads on the TalkBass forums (e.g. 1, 2, 3, and so on).
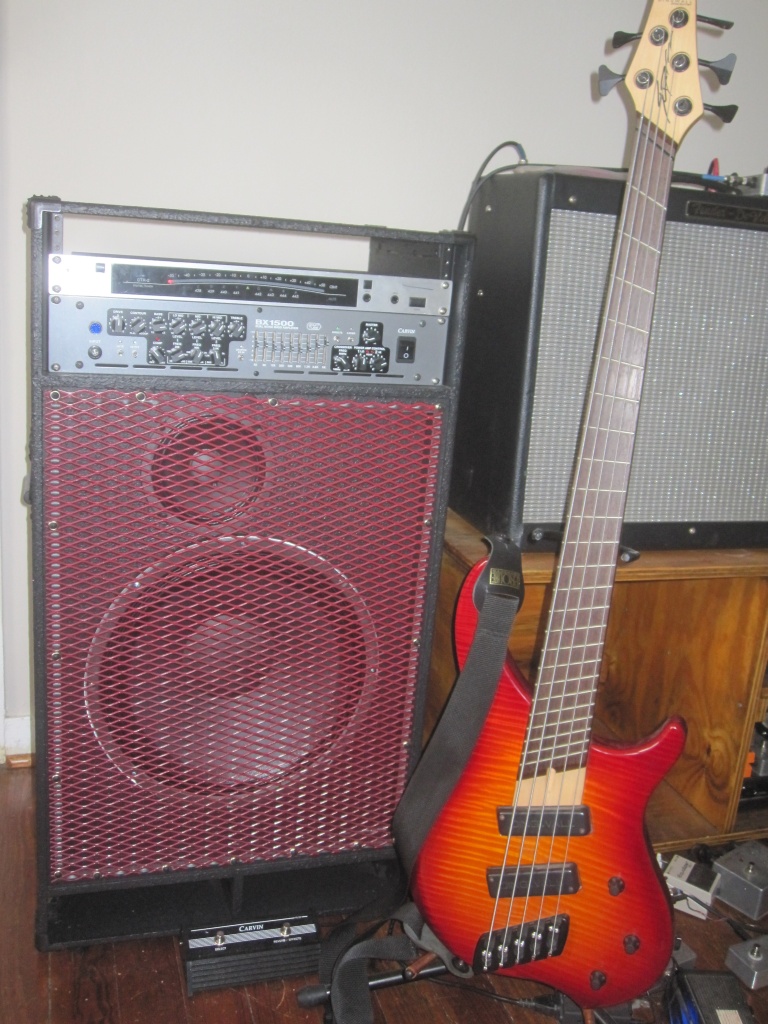
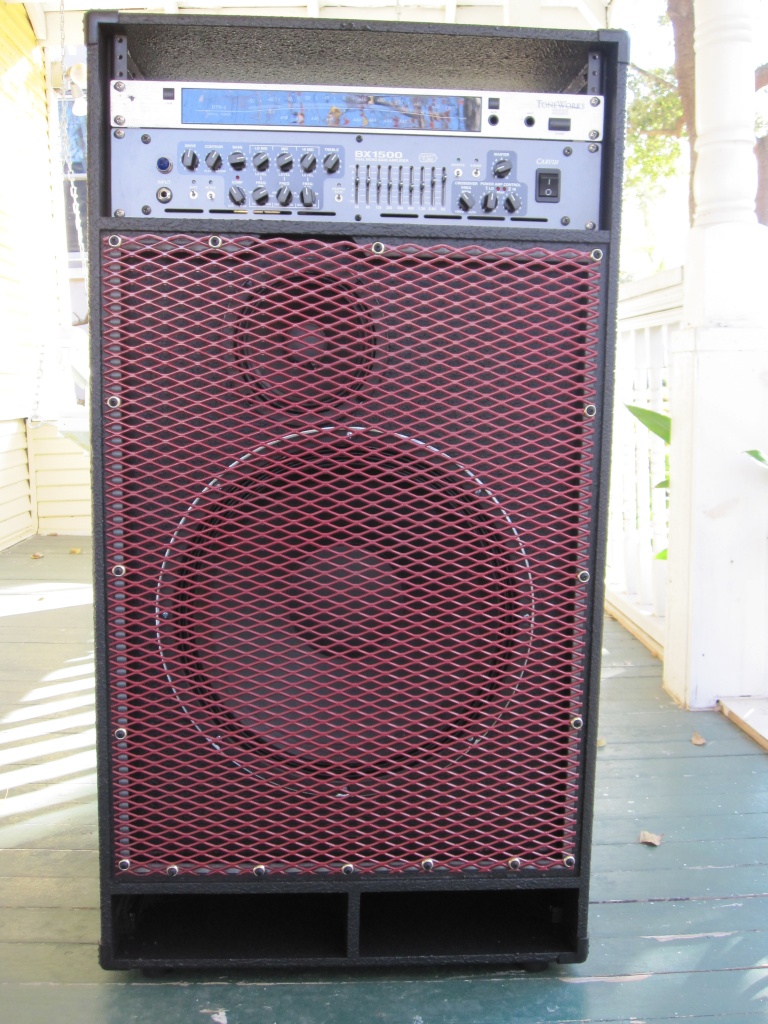
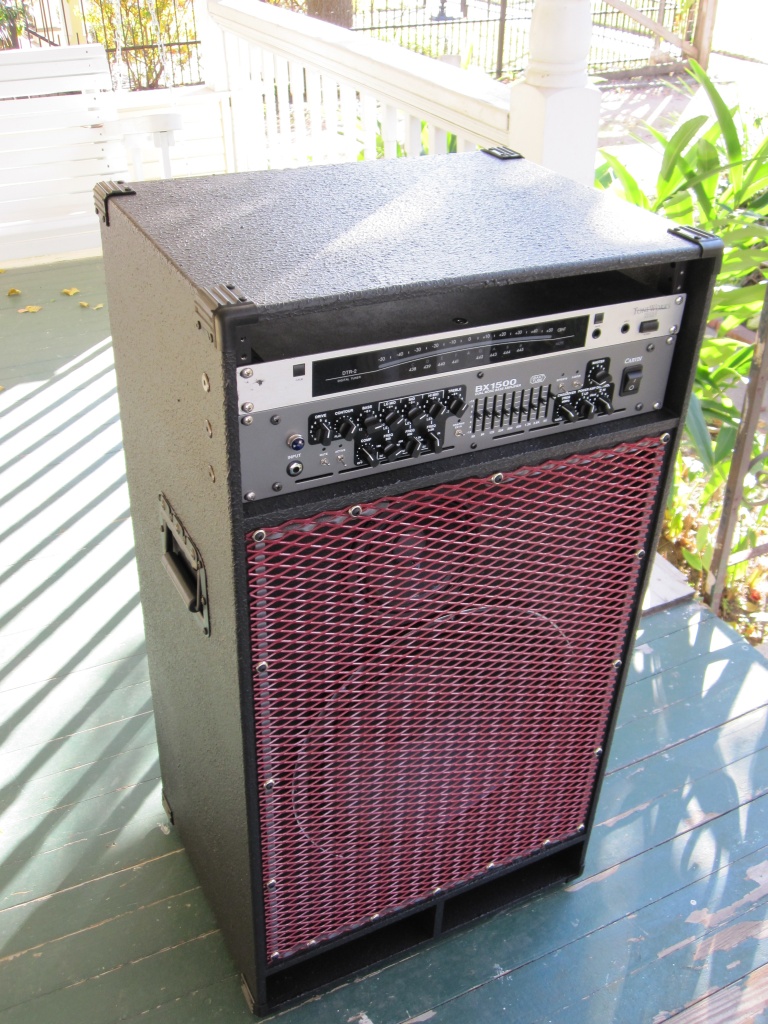
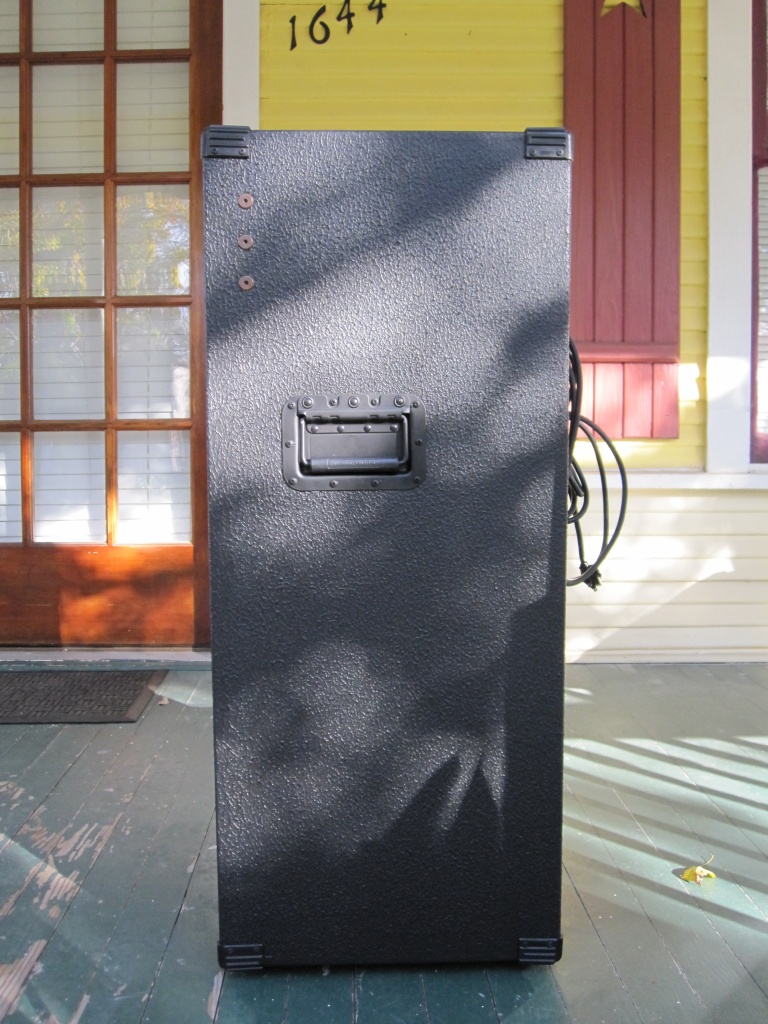
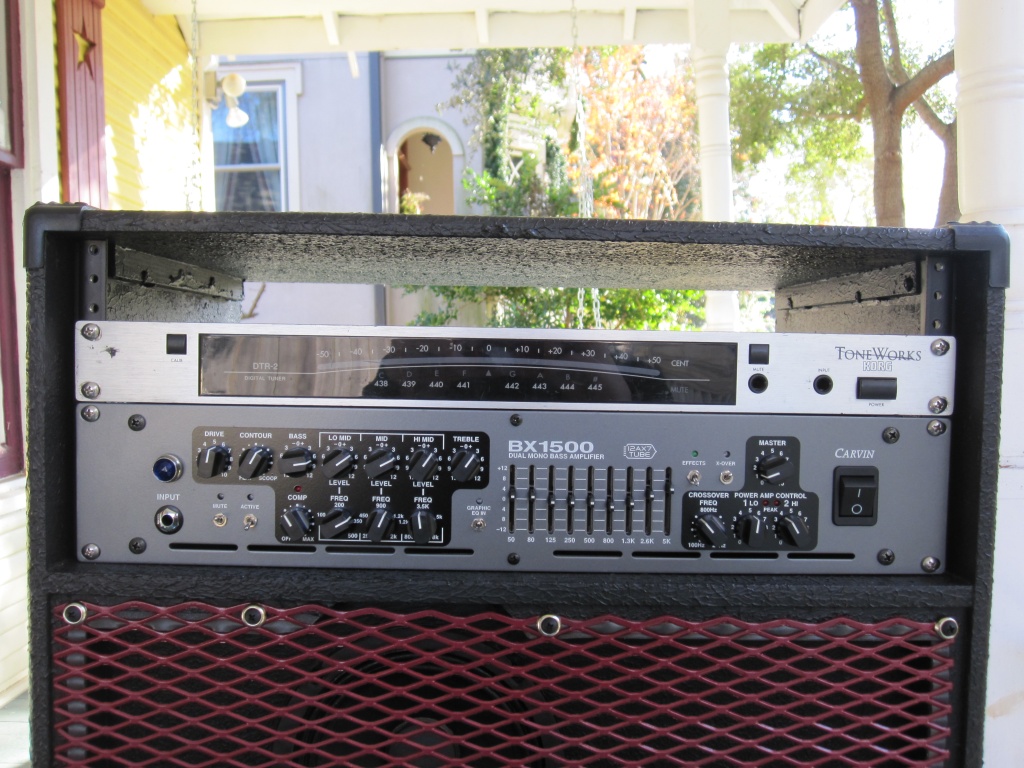
My particular bass cabinet is based on the "15/6" design, which features an Eminence Kappalite 3015LF 15" Neodymium woofer and an Eminence Alpha 6A 6" midrange (other midranges are also suitable). I opted to leave out the tweeter as I've never really liked the sound of tweeters on any bass cabinets I've tried. The cabinet is finished in AcryTech Duratex roller-grade speaker cabinet coating. The drivers and most of the hardware were purchased from Parts-Express, except for the feet, corners, and damping material, which came from BLT Sound. The grill material is expanded metal from Westbrook Metals in Austin, and the cabinet itself made with 1/2" birch plywood from Clark's Hardwood.
The main difference between the standard fEARful and my cabinet is the addition of an integrated 4U rack. Also, my cabinet has no passive crossover -- it is biamped using my Carvin BX1500 (crossover frequency is about 600Hz). Finally, I adjusted the bracing as I went along, both for convenience during the build, and to reinforce panels I thought needed it.
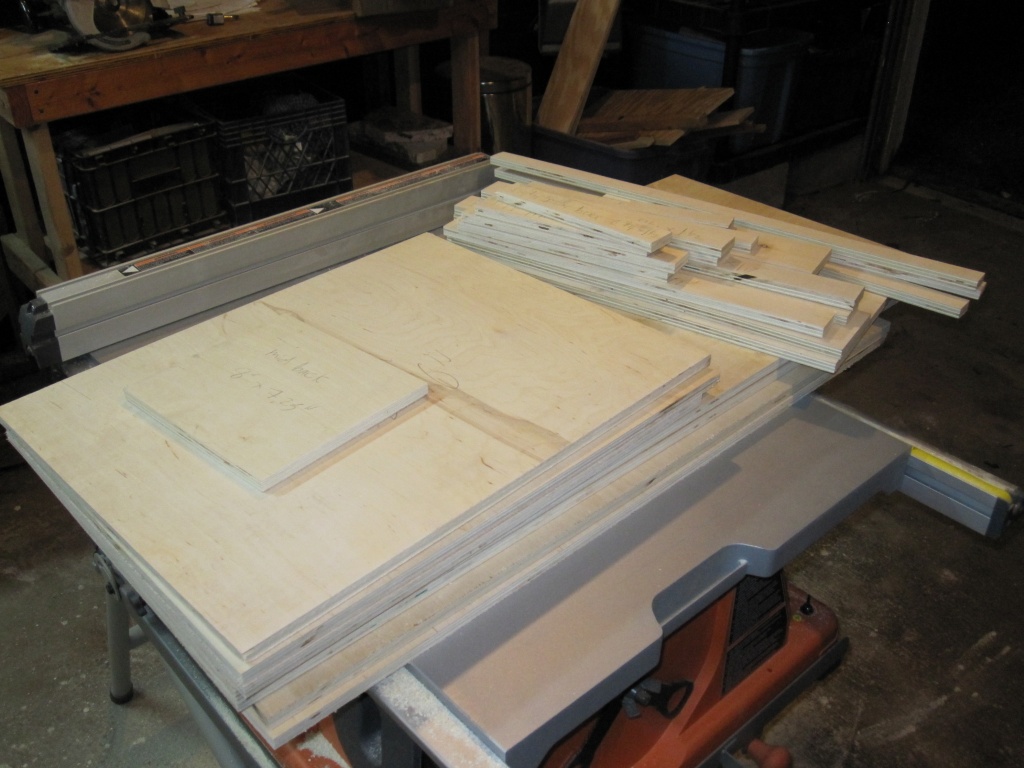
Below are the plans I used to build my cabinet. Click the image for a download-able PDF version. The first 3 pages in the PDF file are the standard drawings available from greenboy's website, while the 4th page has a material list, sketch, and full-sheet cut pattern for the cabinet with 4U rack. This document is intended to be printed on 11"x17" paper.
This is actually a fairly easy cabinet to build, provided you have a table saw and a lot of clamps. The pictures in this section are not really intended as a step-by-step how-to, but they do represent most of the major build steps.
Using my trusty cut pattern (see previous section), it didn't take long to cut all the parts out on my tablesaw.

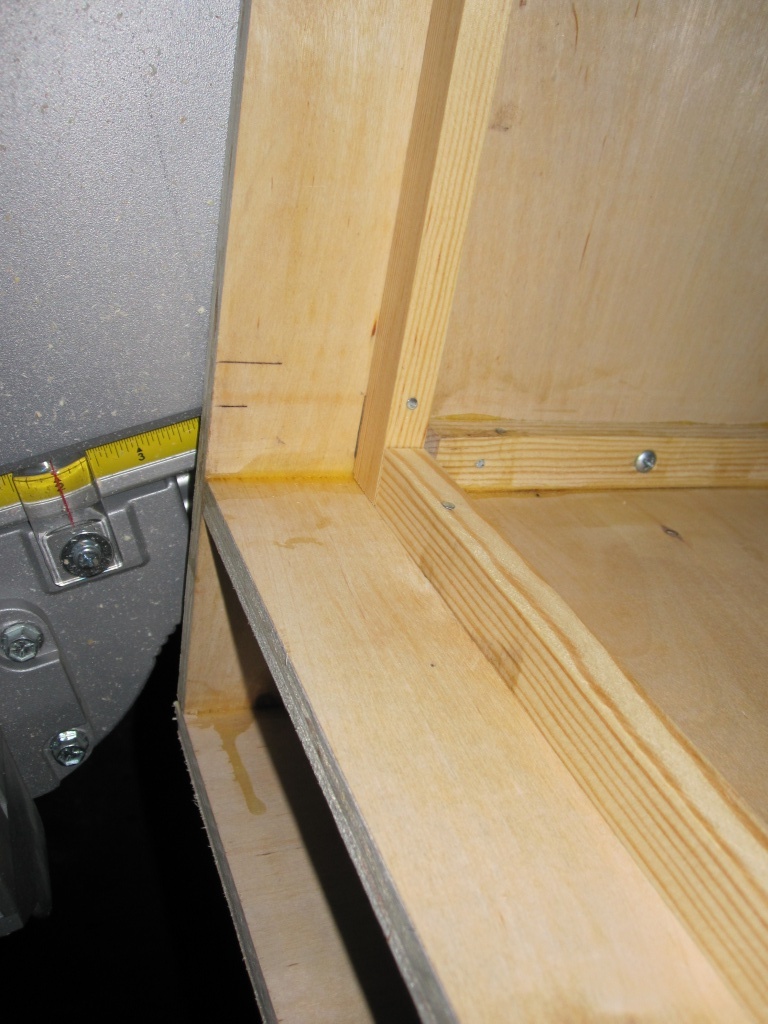
Next, I attached 1"x1" furring strips to the inside of the cabinet sides. These are to support the top, bottom, rack shelf, and vent shelf during gluing and in use.


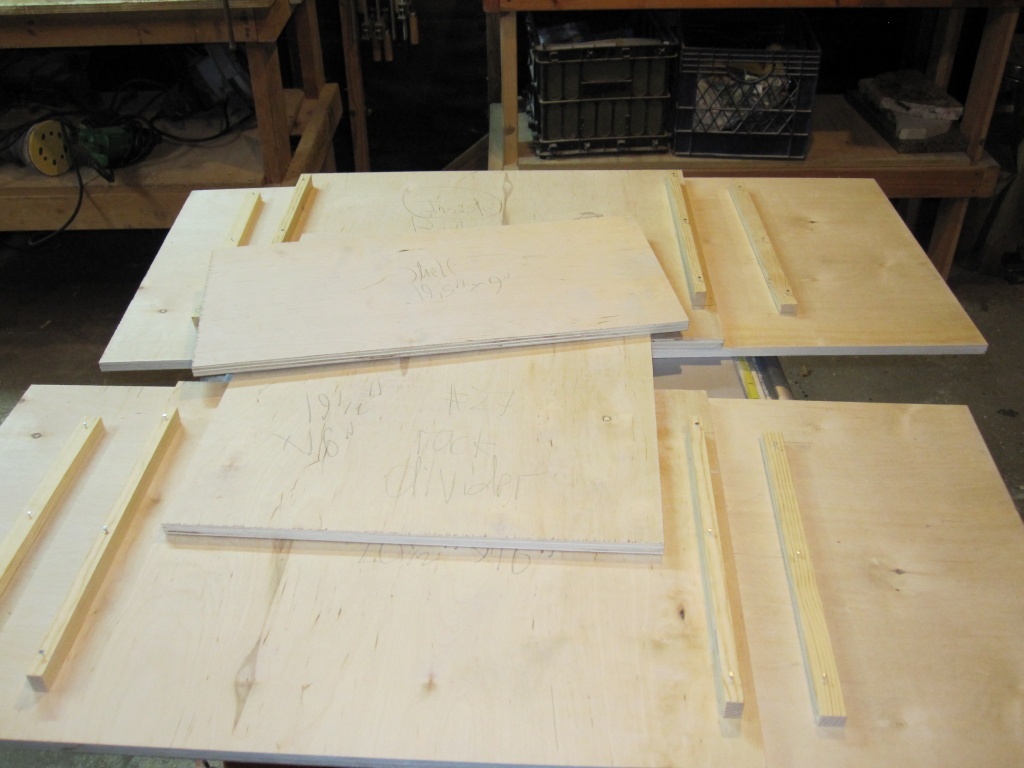
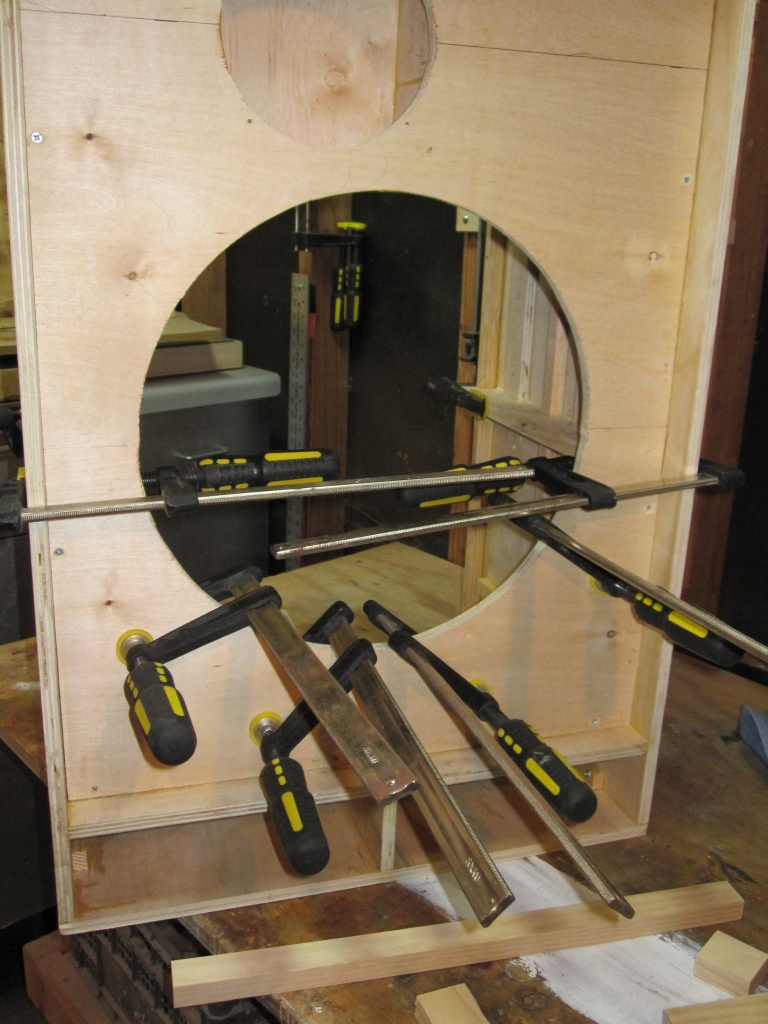
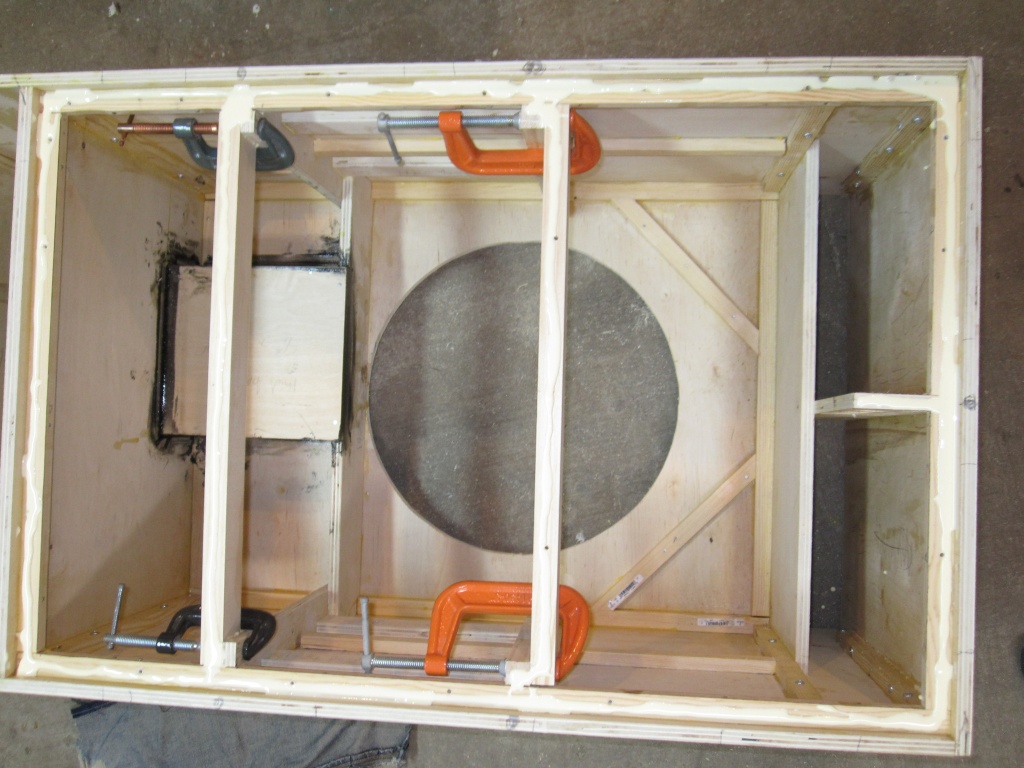
Then I glued up the the outside panels and the rack and vent shelves.


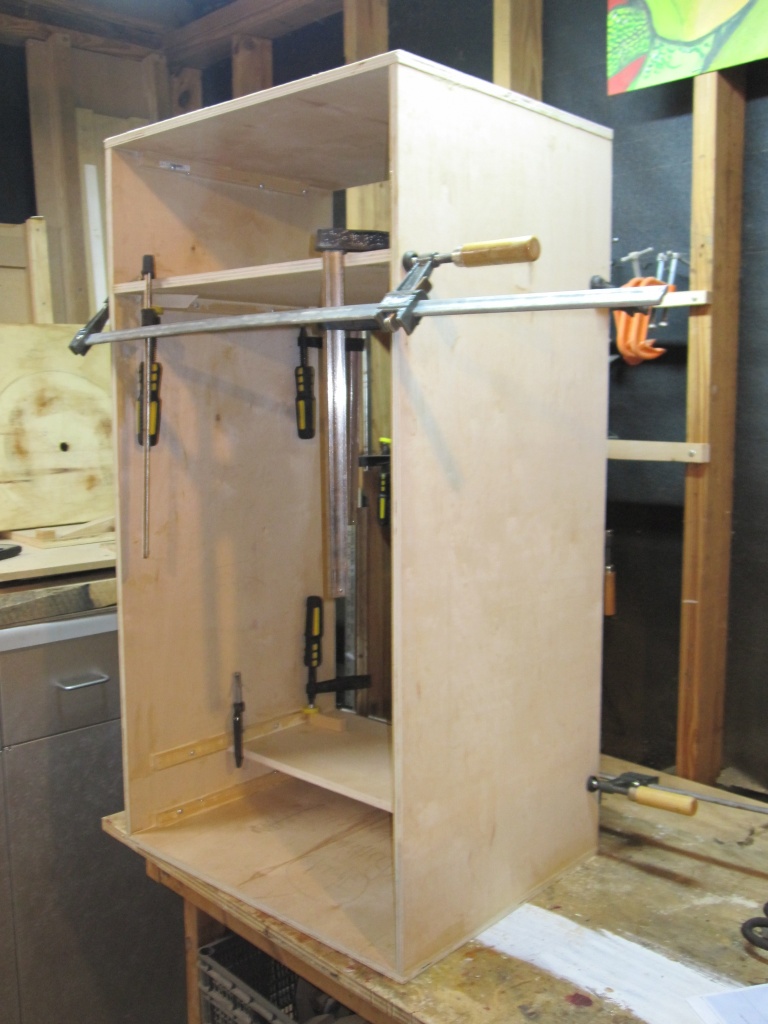
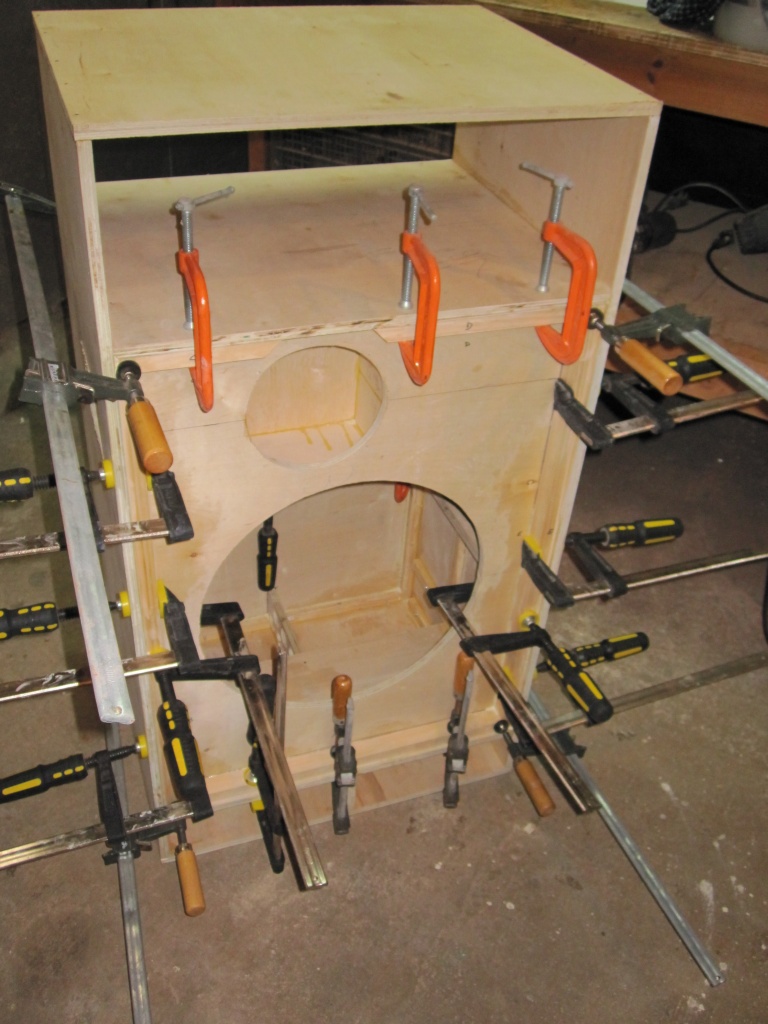
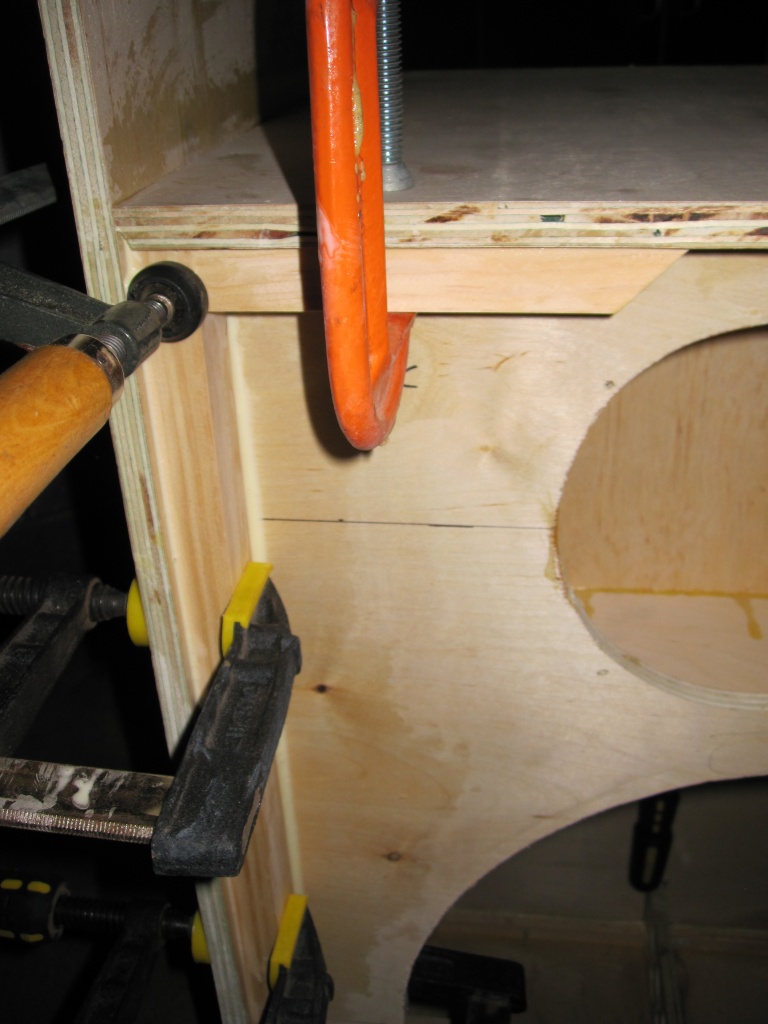
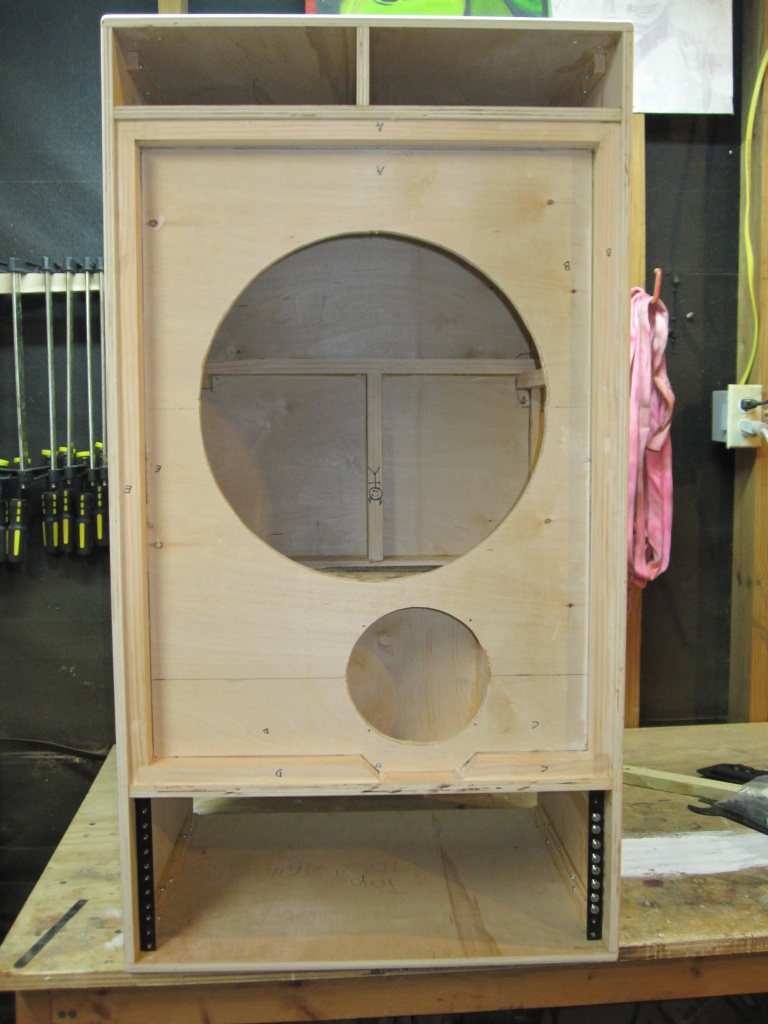
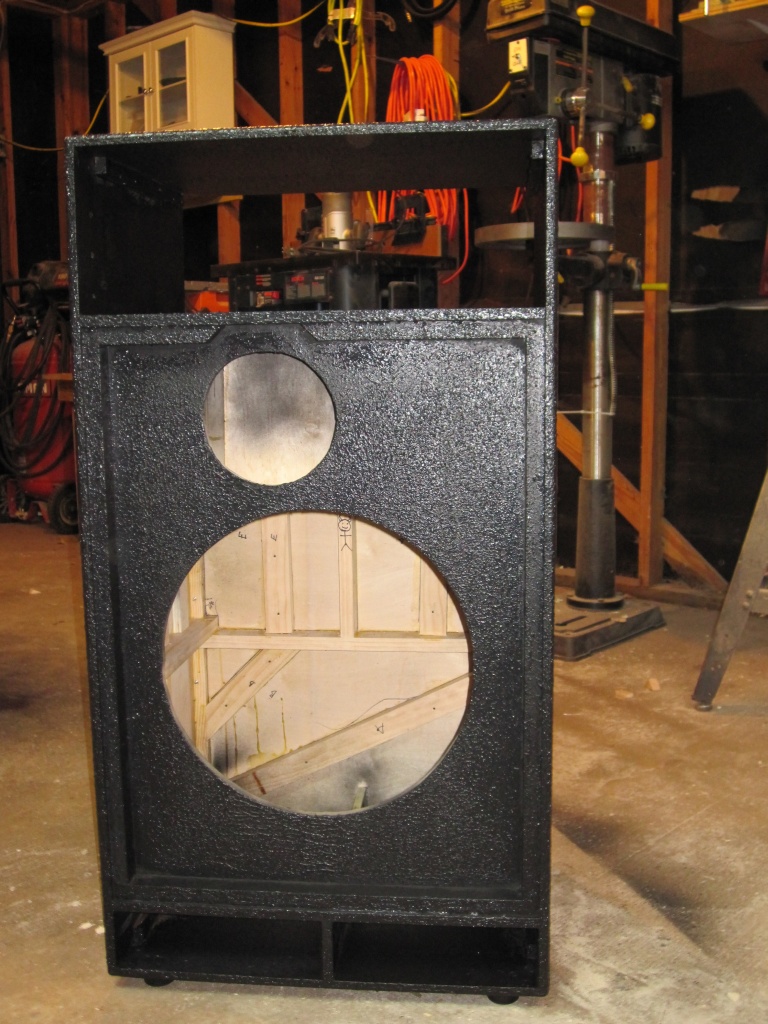
I marked the cutouts in the baffle using the the sharpie-and-string method, cut them with a jigsaw, and did a test fit. After that, I attached furring strips for the baffle and glued it in.
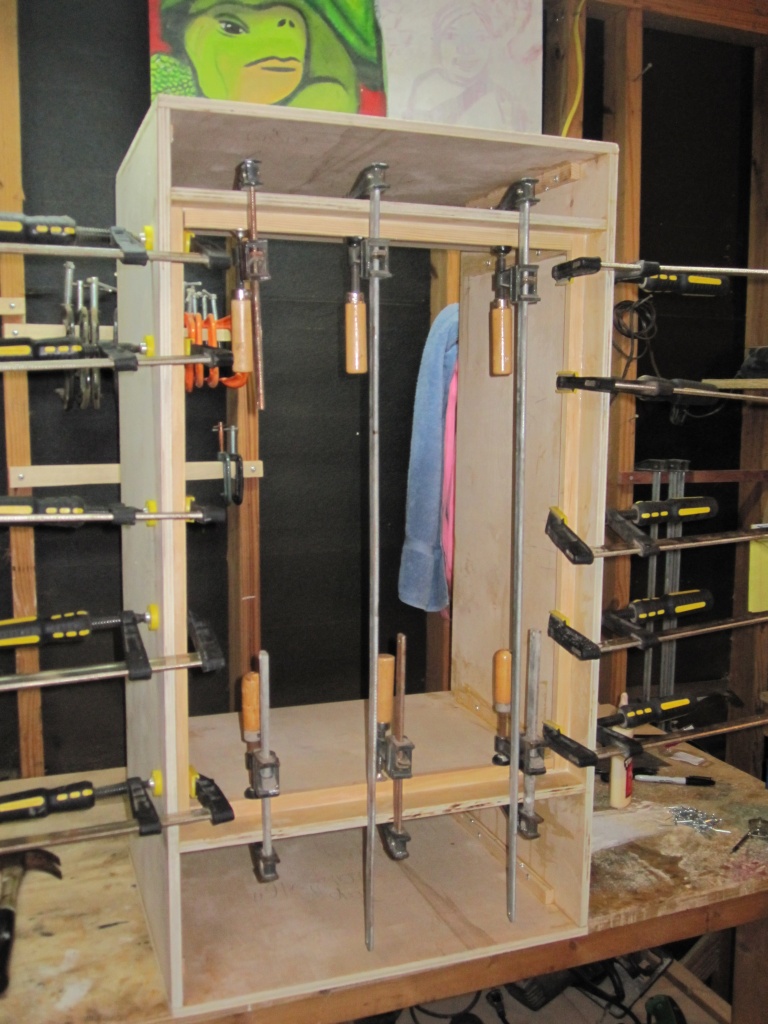

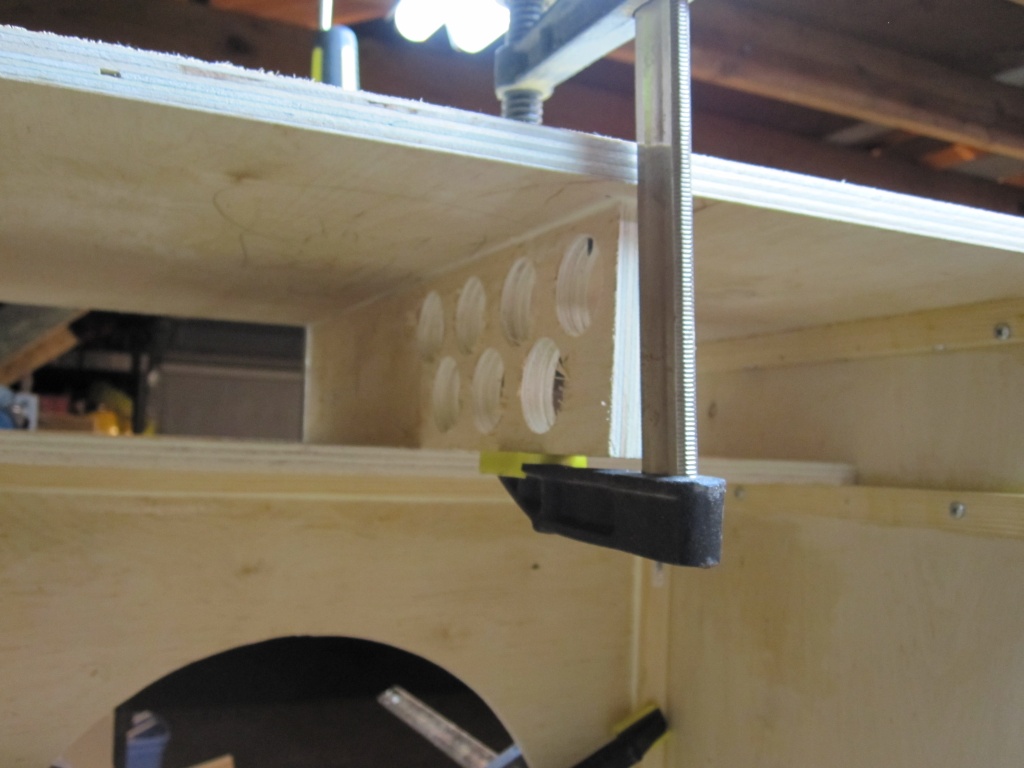
Gluing in the port divider.
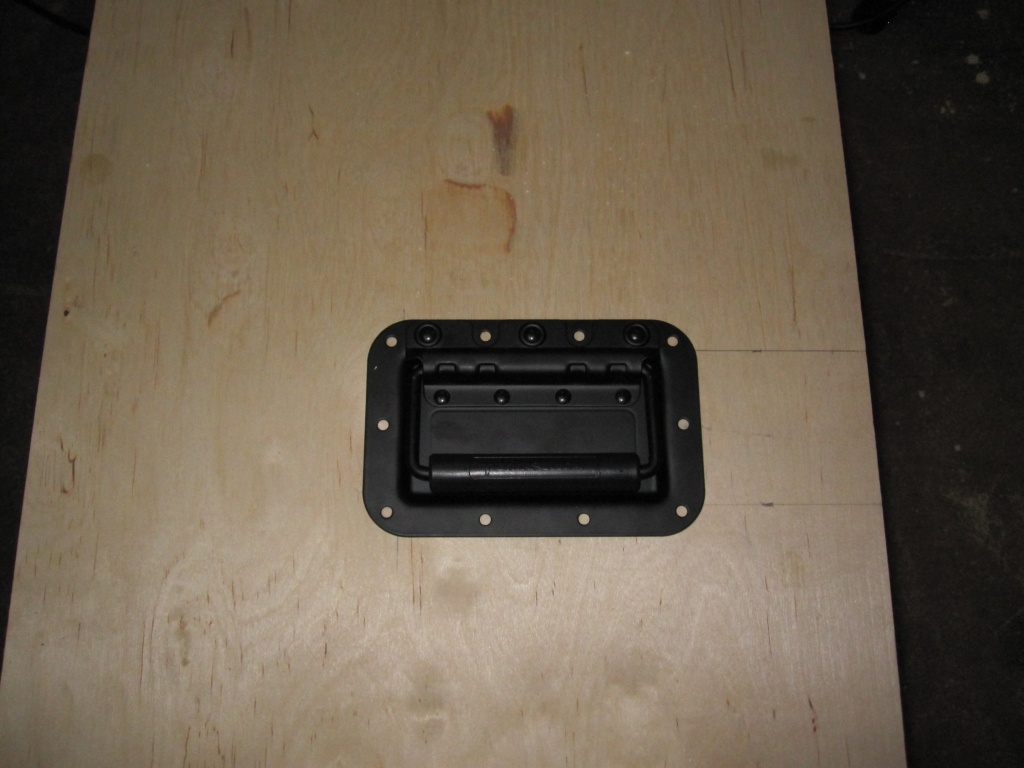
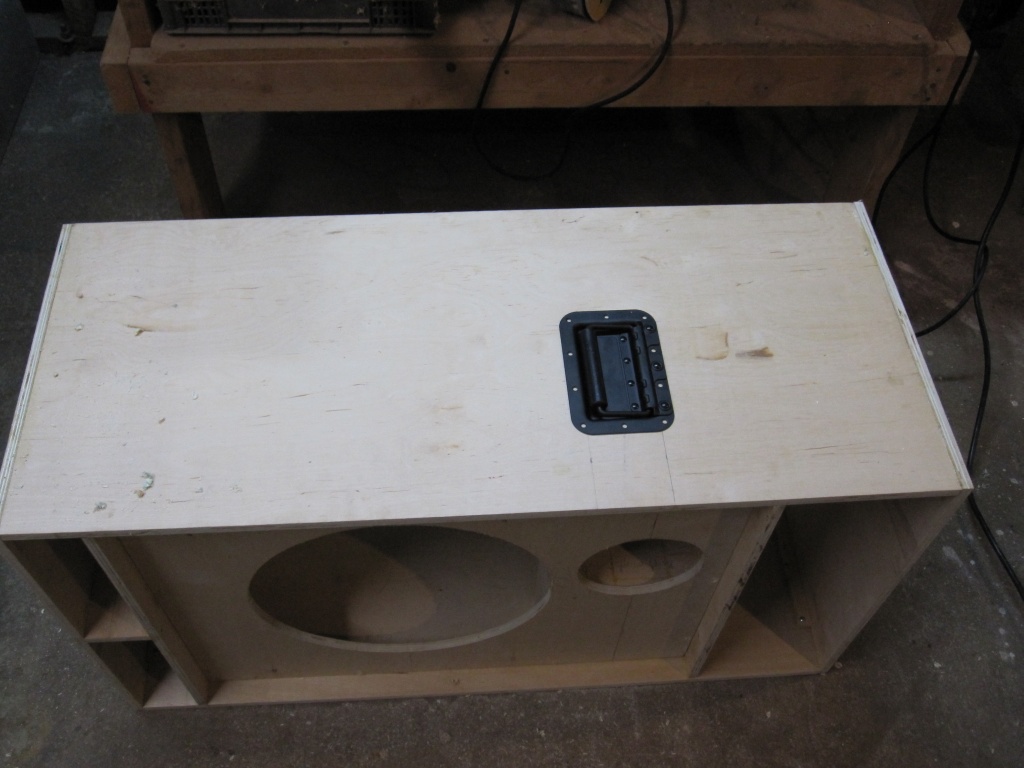
Fitting the handles.
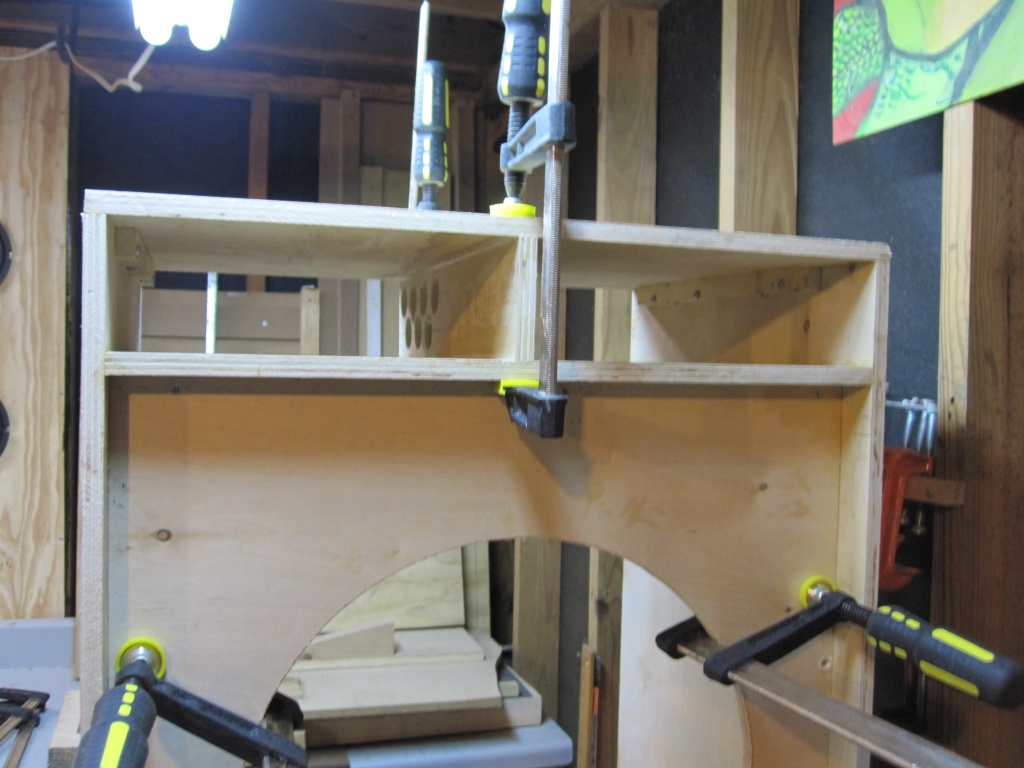
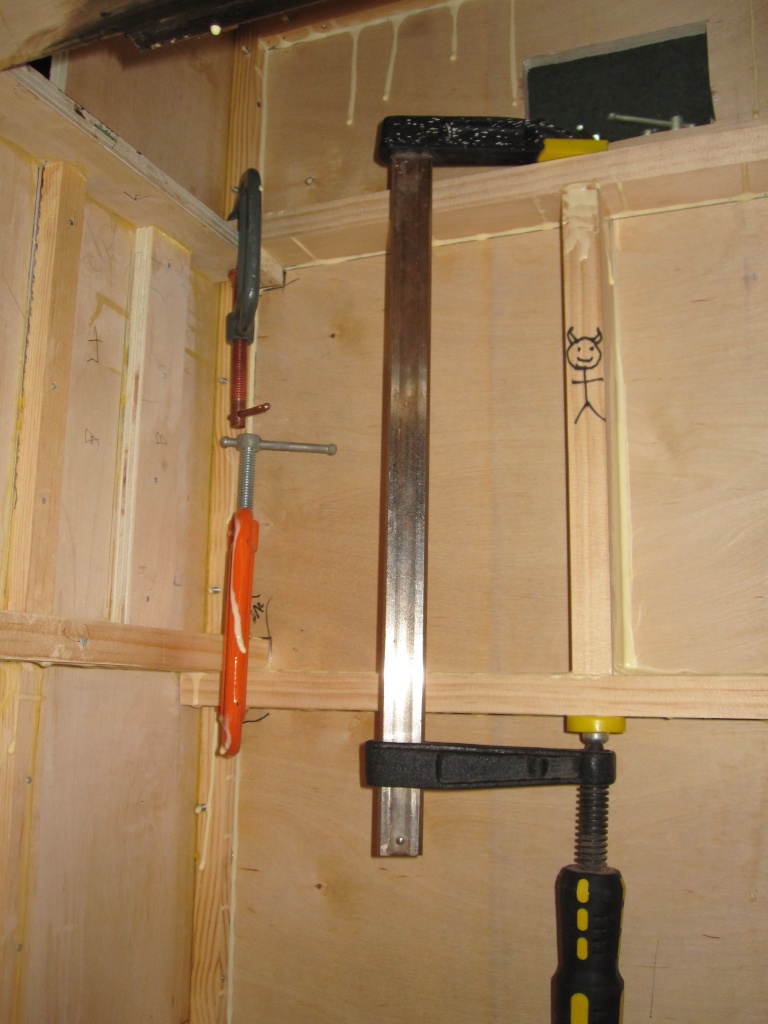
Gluing in various bits of bracing. The stick figure is there to keep the piece oriented. I suppose I could have written "up," but... I didn't.
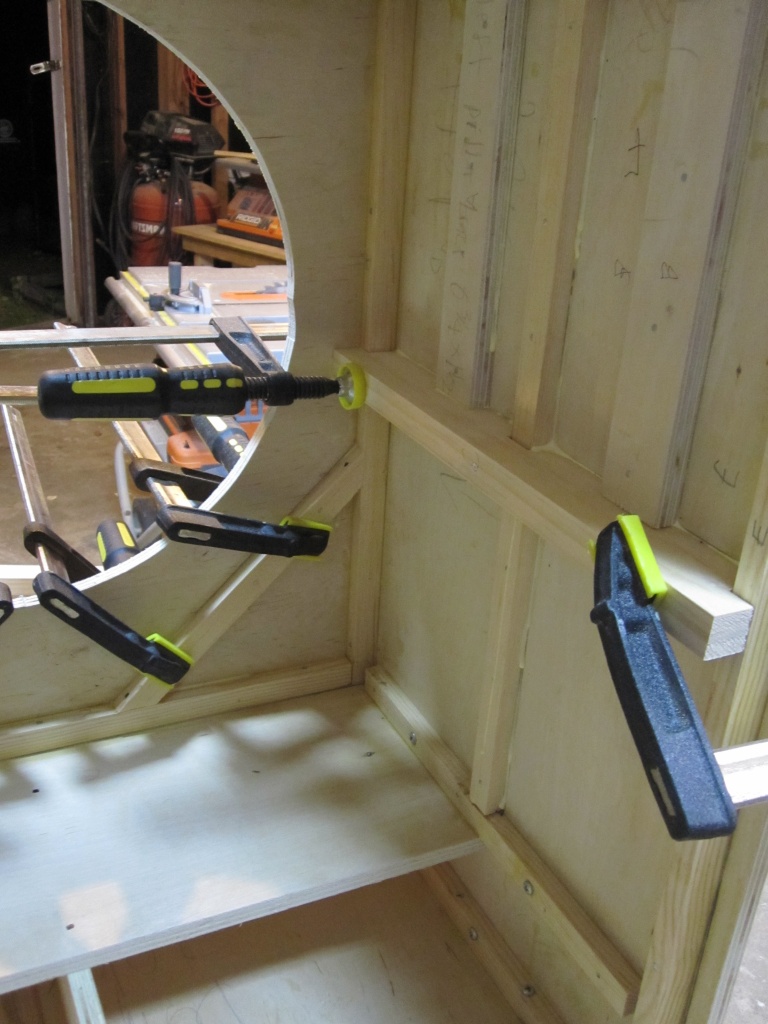

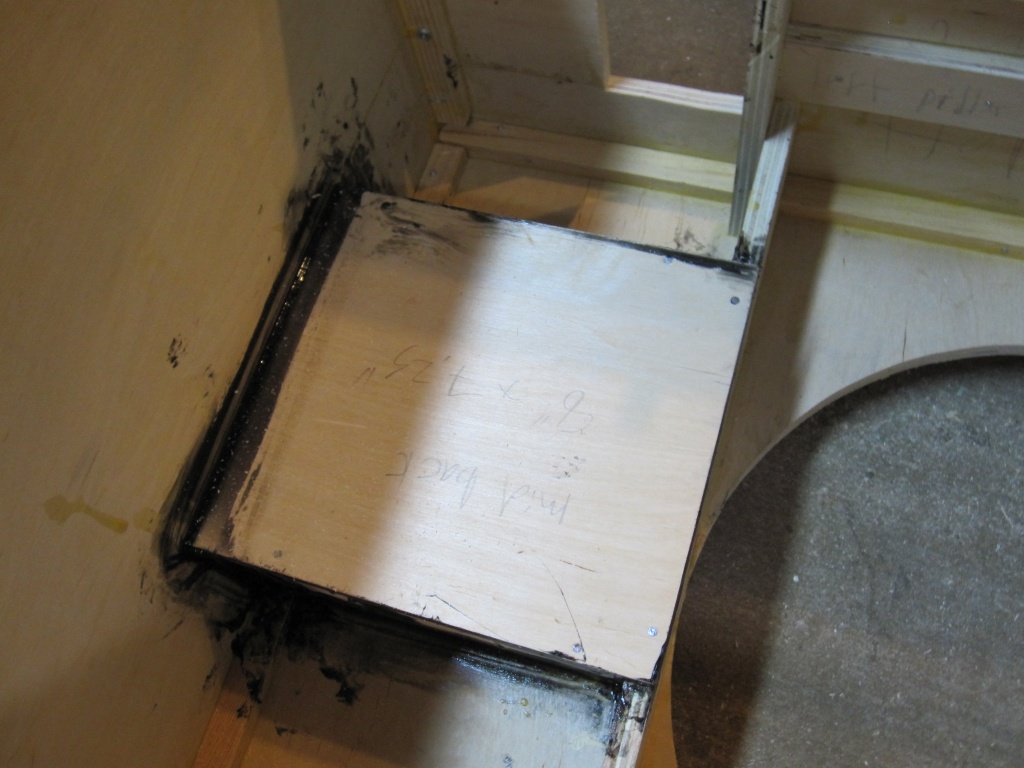
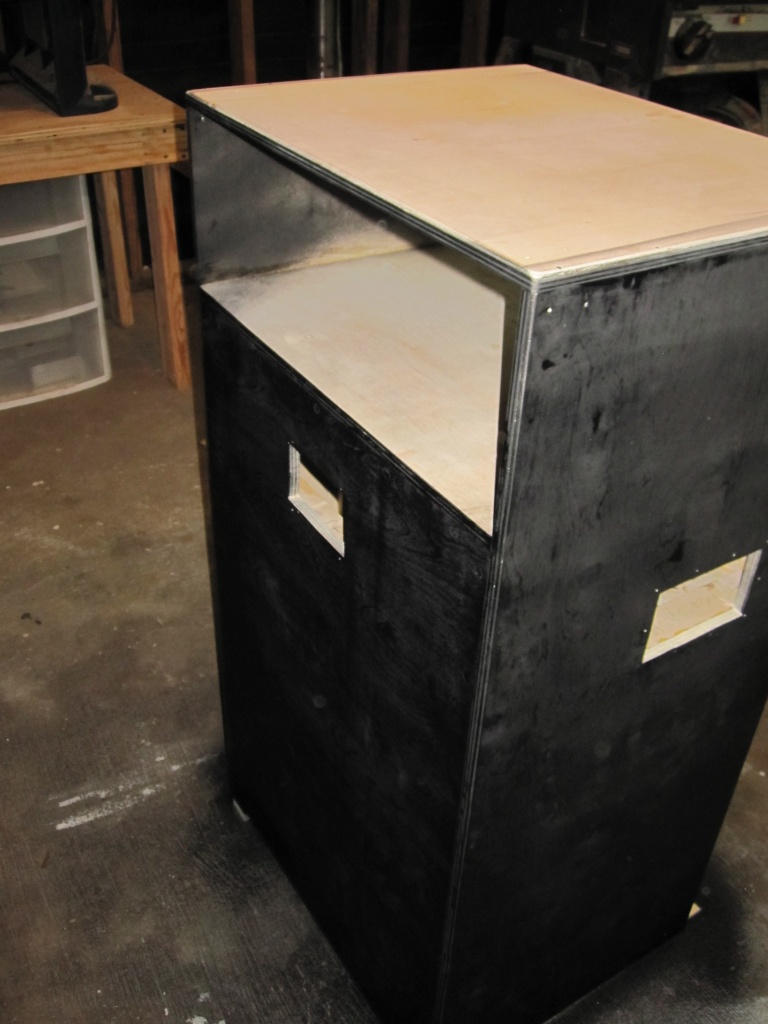
Attaching the furring strips for the back.

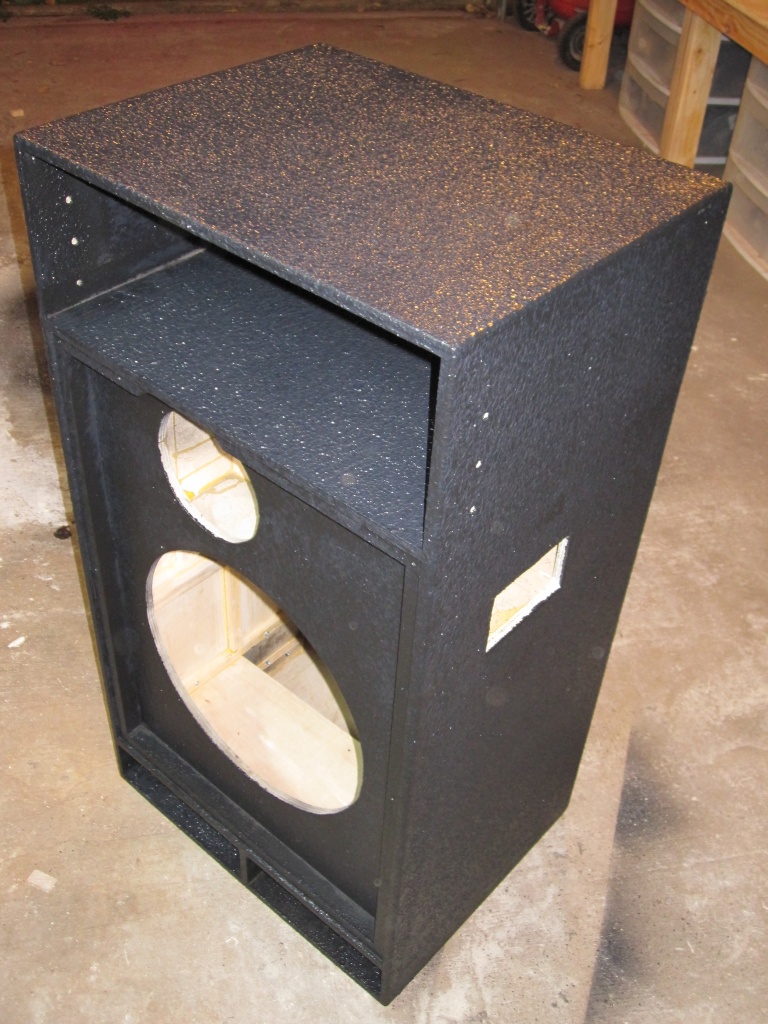
More bracing and the midrange chamber done.
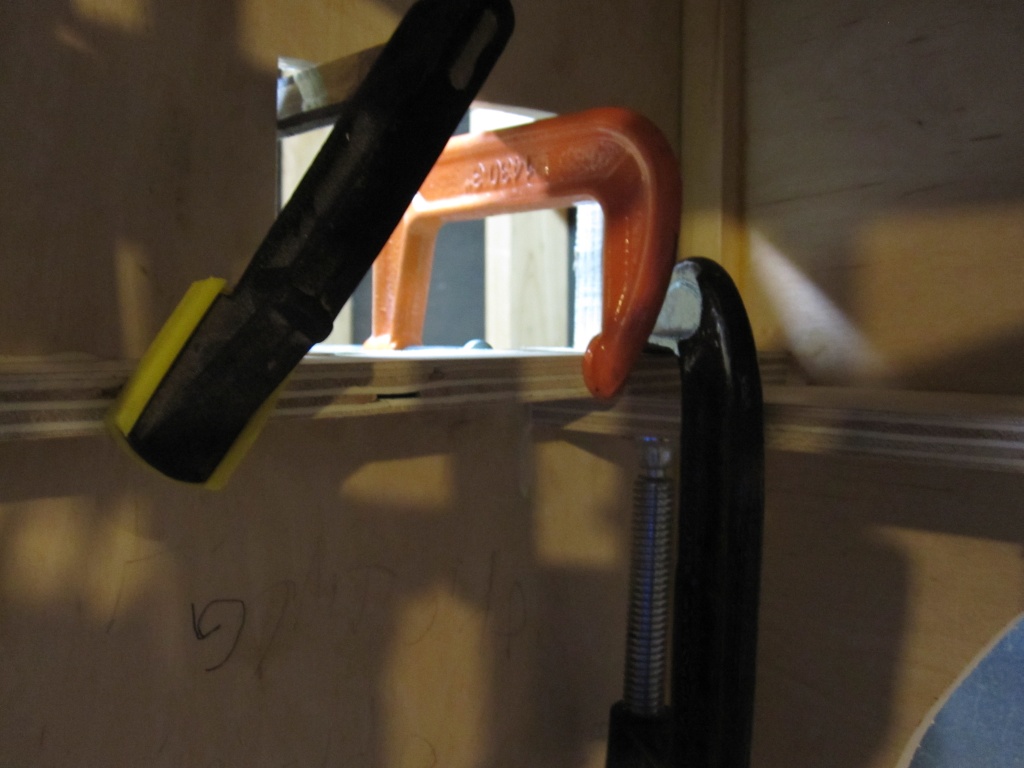

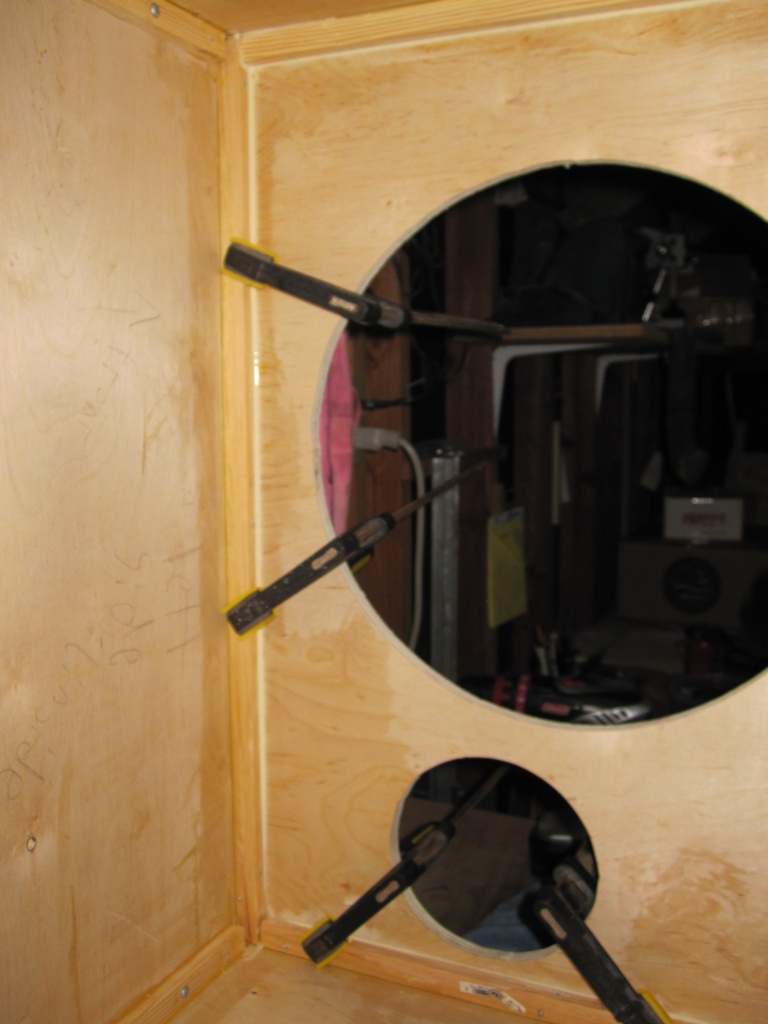
Gluing in the grill standoffs.

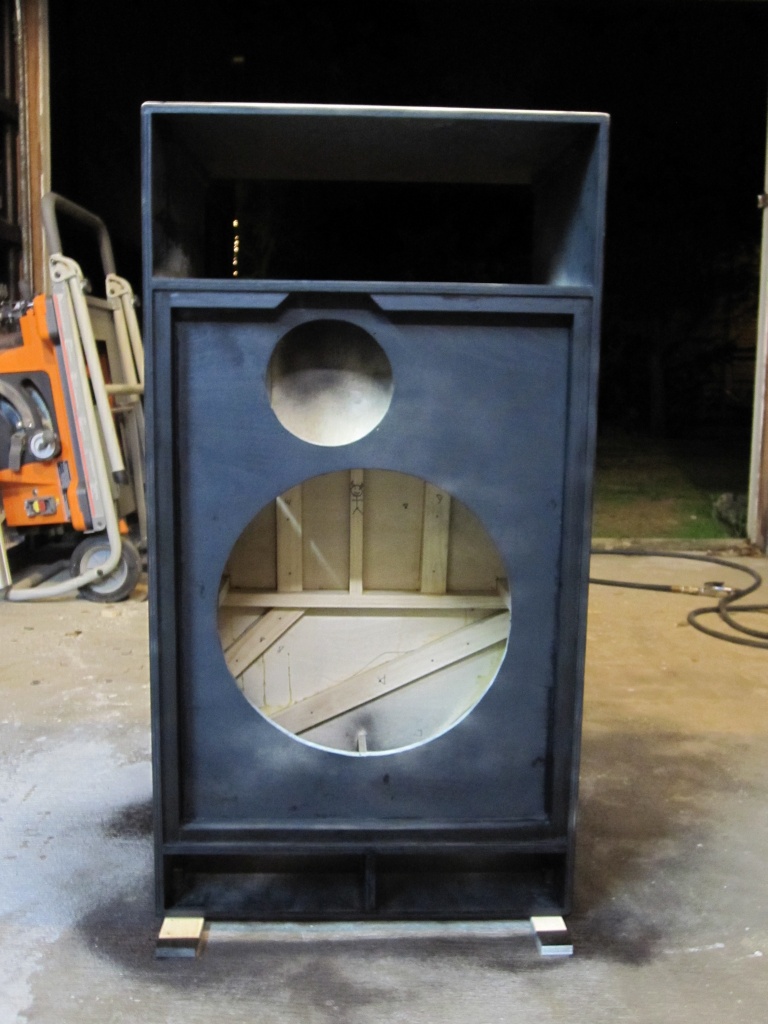
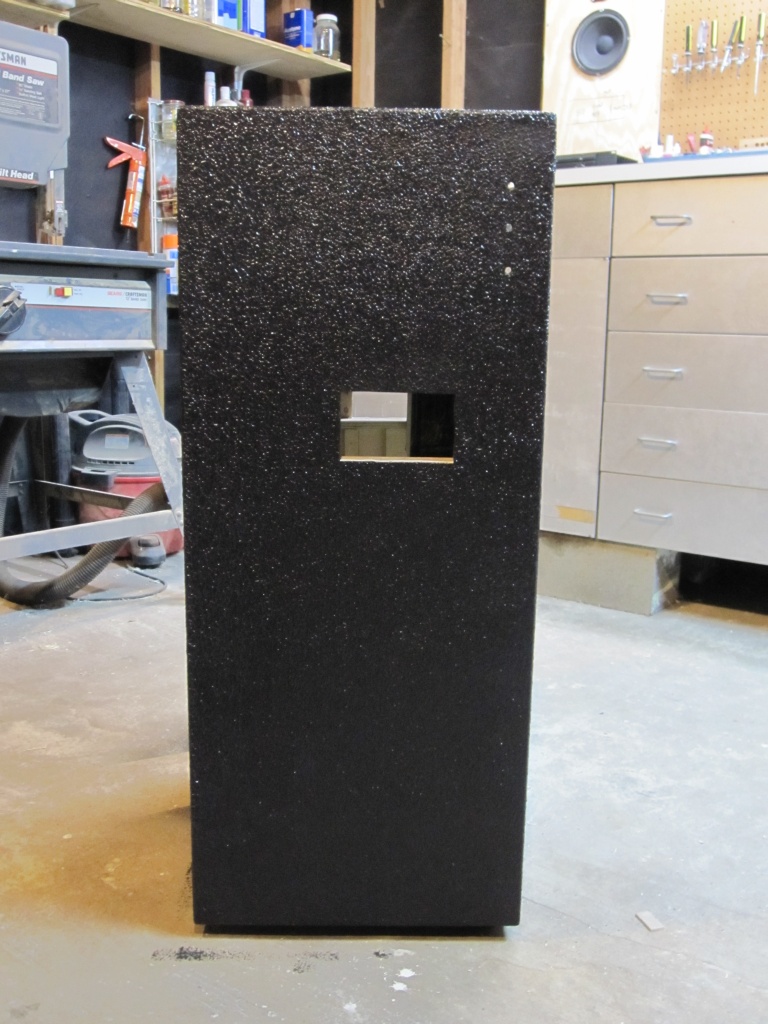
One last picture before paint.
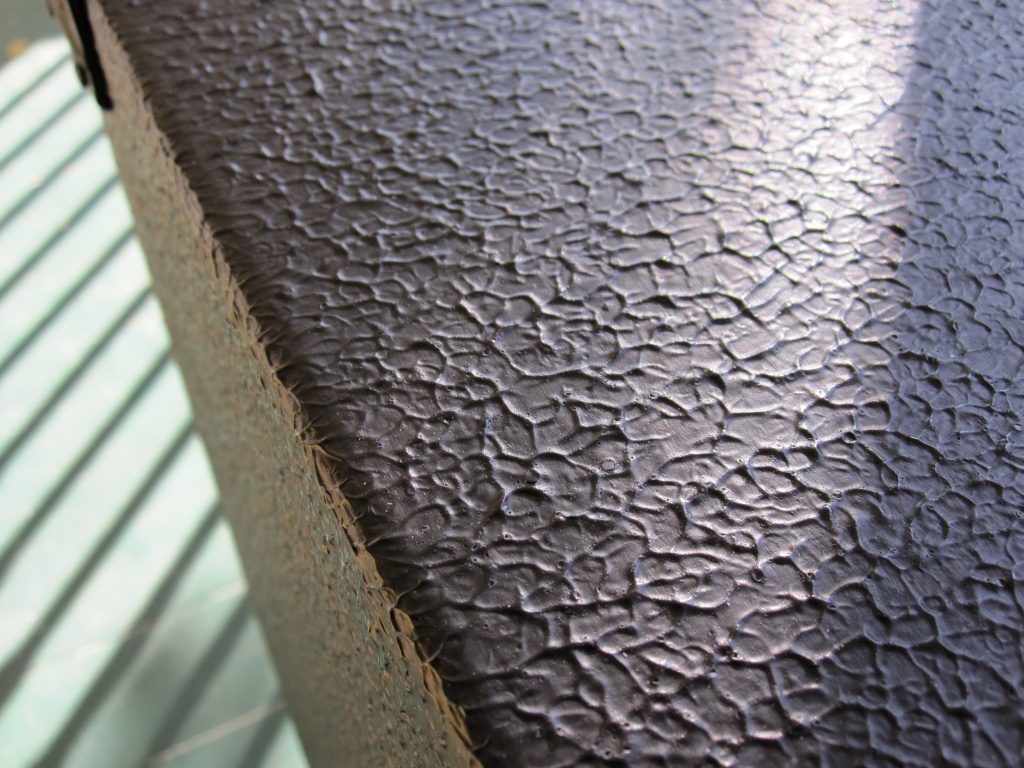
After sanding everything smooth and making sure the roundovers were to my liking, I sprayed the cabinet with a couple coats of black spray paint.


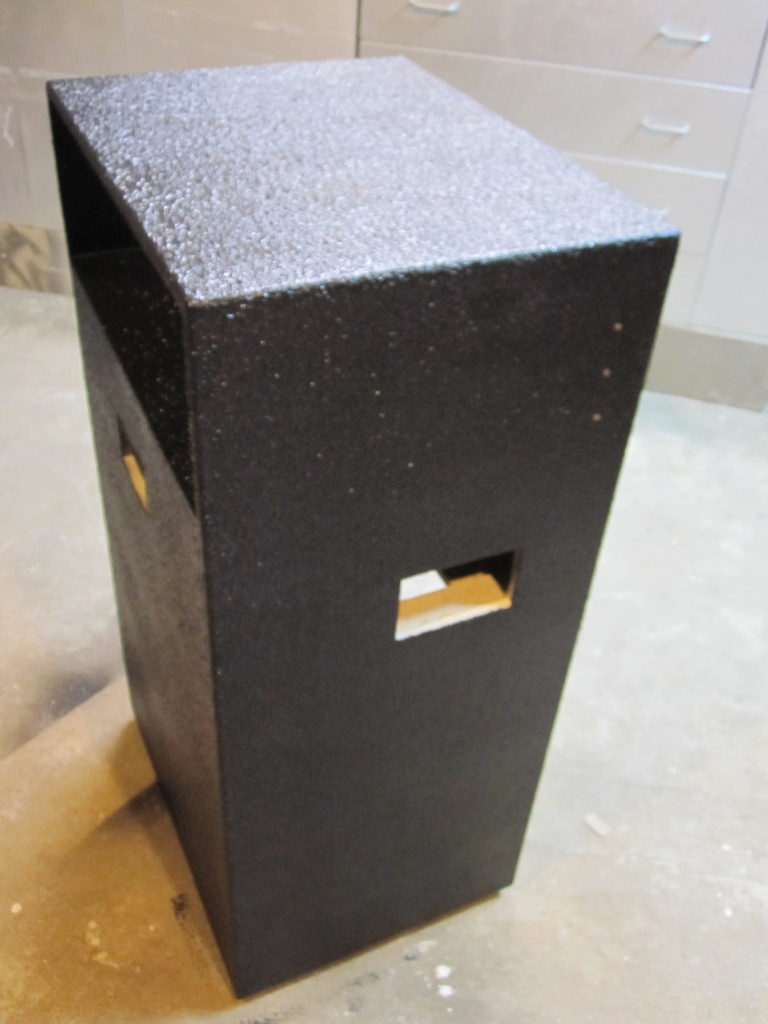
Finally I rolled on two thick coats of Duratex using the textured roller sold by AcryTech. I don't have any "action shots" of the finish going on, but application was smooth and easy.
I waited about a week for the finish to cure, then assembled the cabient. The cabinet interior is lined with damping material from BLT Sound, which is stapled in place. I sprayed the grill with a couple coats of red Hammerite while the finish on the cabinet was curing. Red wasn't necessarily my first choice, but I had some on hand from another project, and it is a unique look.
Anyway, the cabinet sounds great and it's plenty loud. It handles the low B on my Dingwall Afterburner with no problems. The integrated rack is nice, and the whole setup is very portable. I'm going to get a folding hand truck for it eventually.