

I've been wanting to do an Esquire for lot of reasons. First, simplicity appeals to me on romantic grounds. Most things I build (not just guitars!) are designed for maximum flexibility and are covered in knobs and switches, or otherwise burdened with features. For once, I'd like to build something that does one thing and that's it. Second, I wanted to build this as fast as I could... mostly to see how fast I could build something. And third (and best of all!) I'm not painting this guitar! It's being painted by a friend of mine. I wanted to leave her as much open space to work with as possible, hence the single pickup/volume only layout.
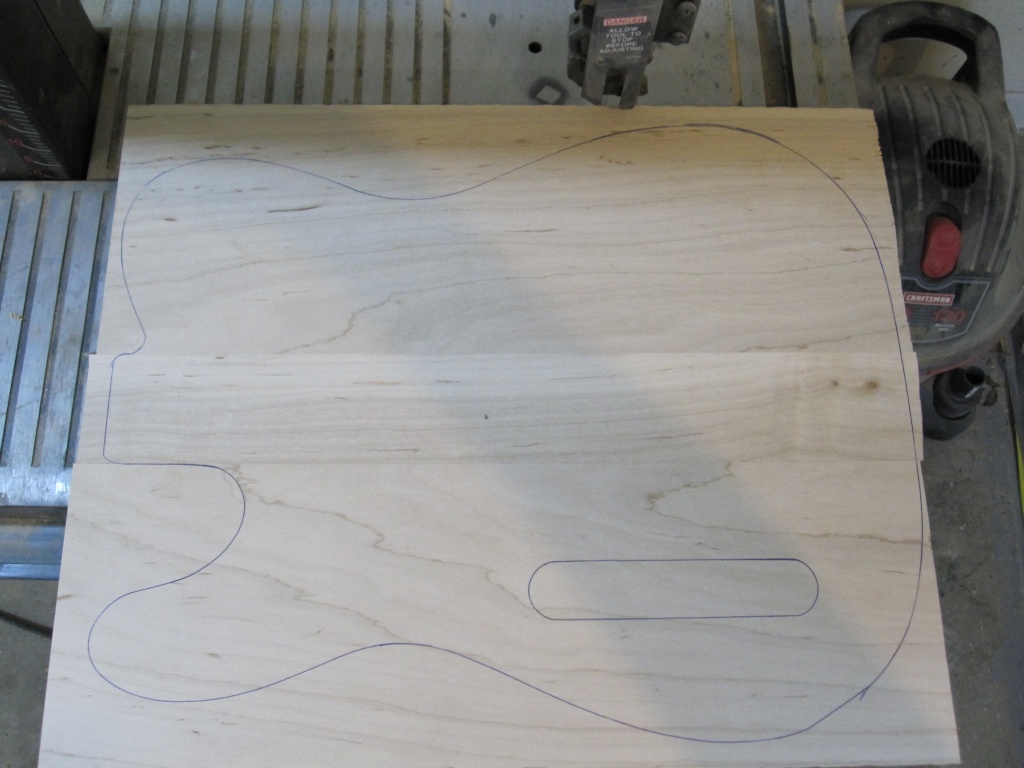
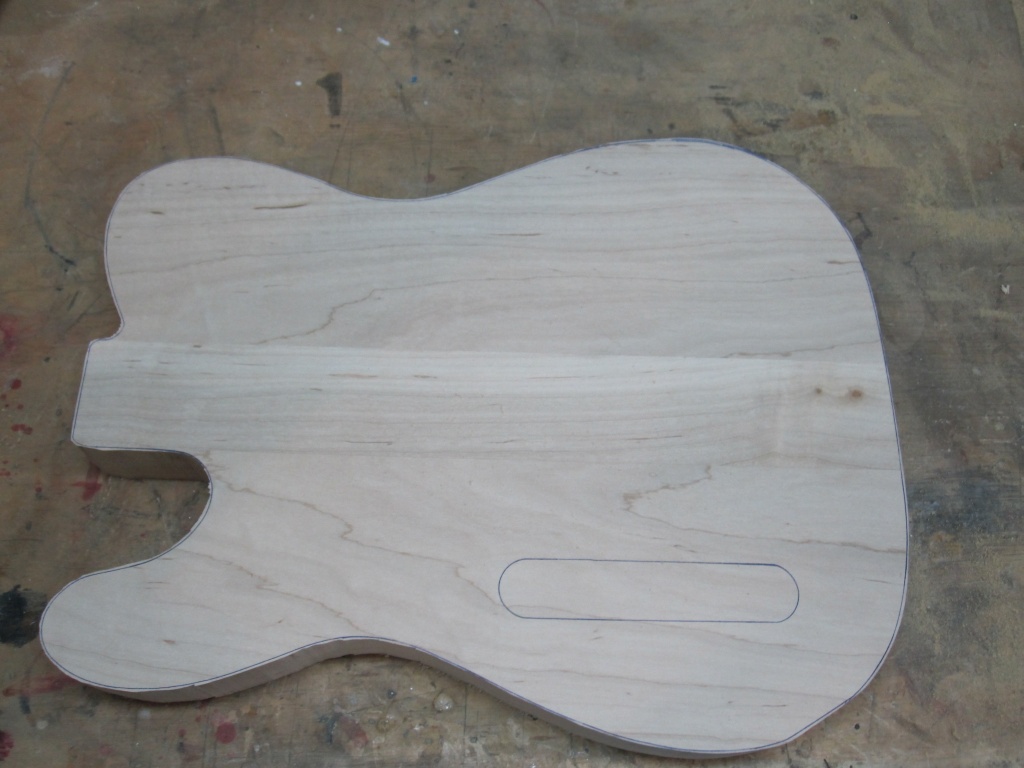
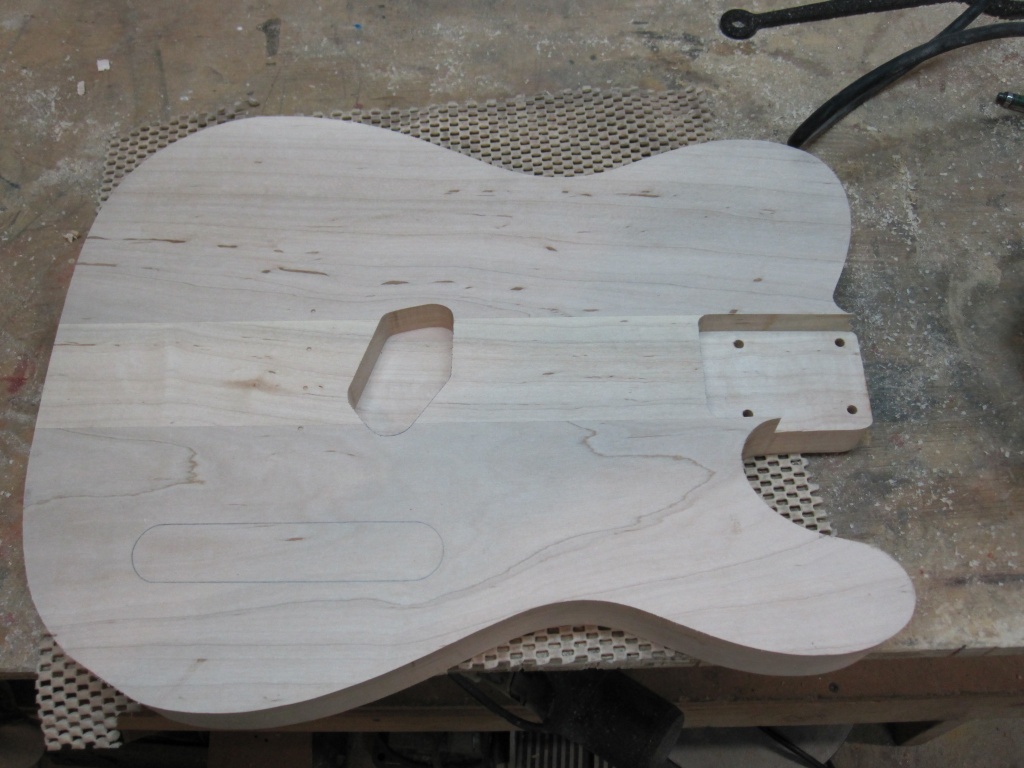
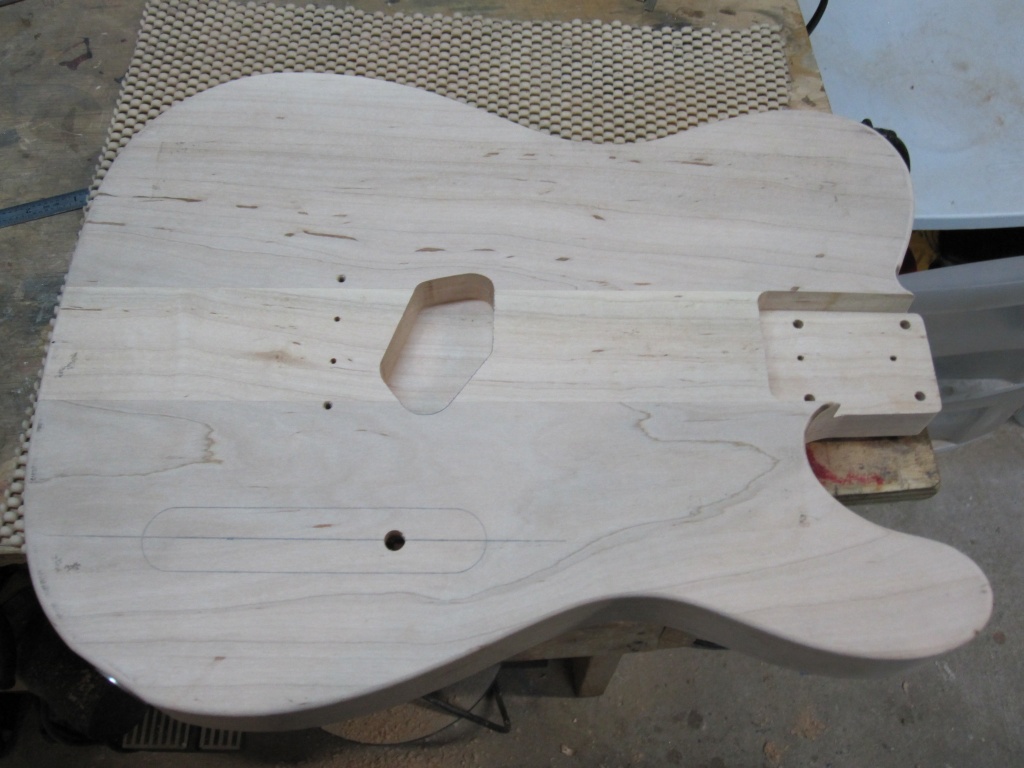
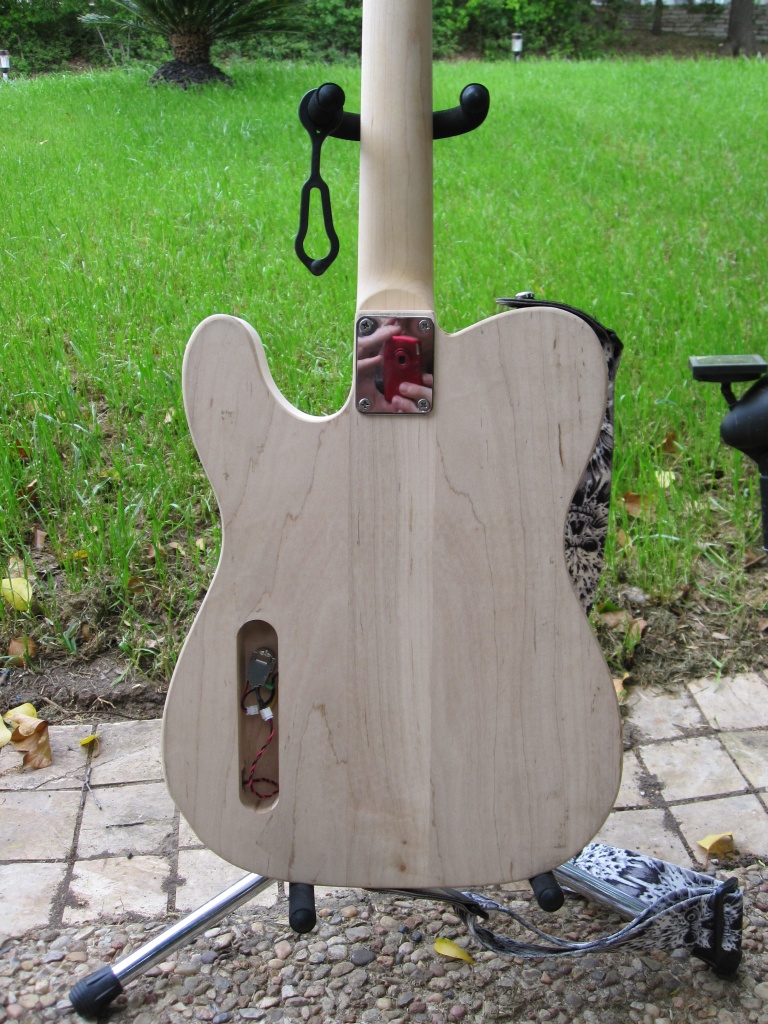
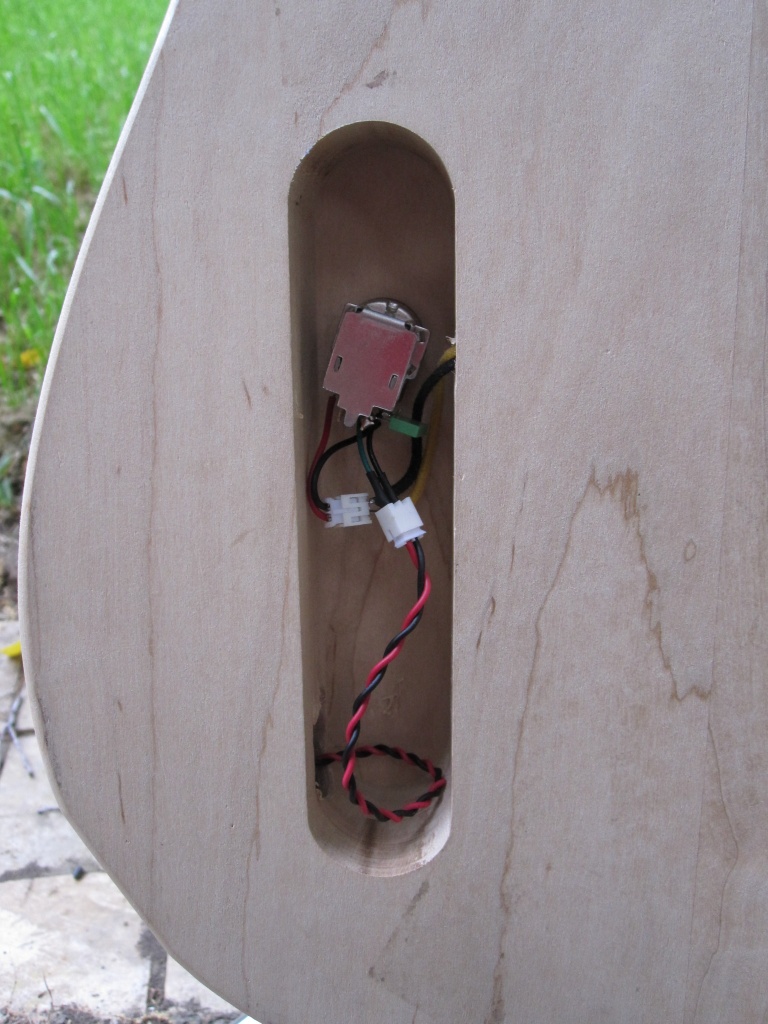
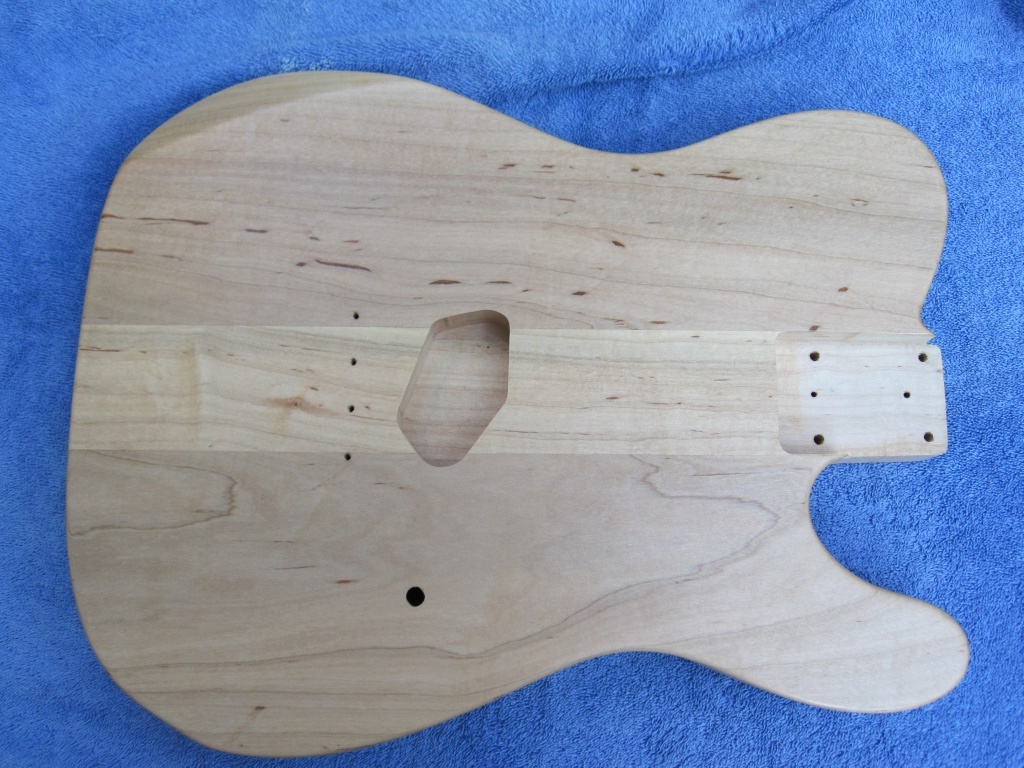
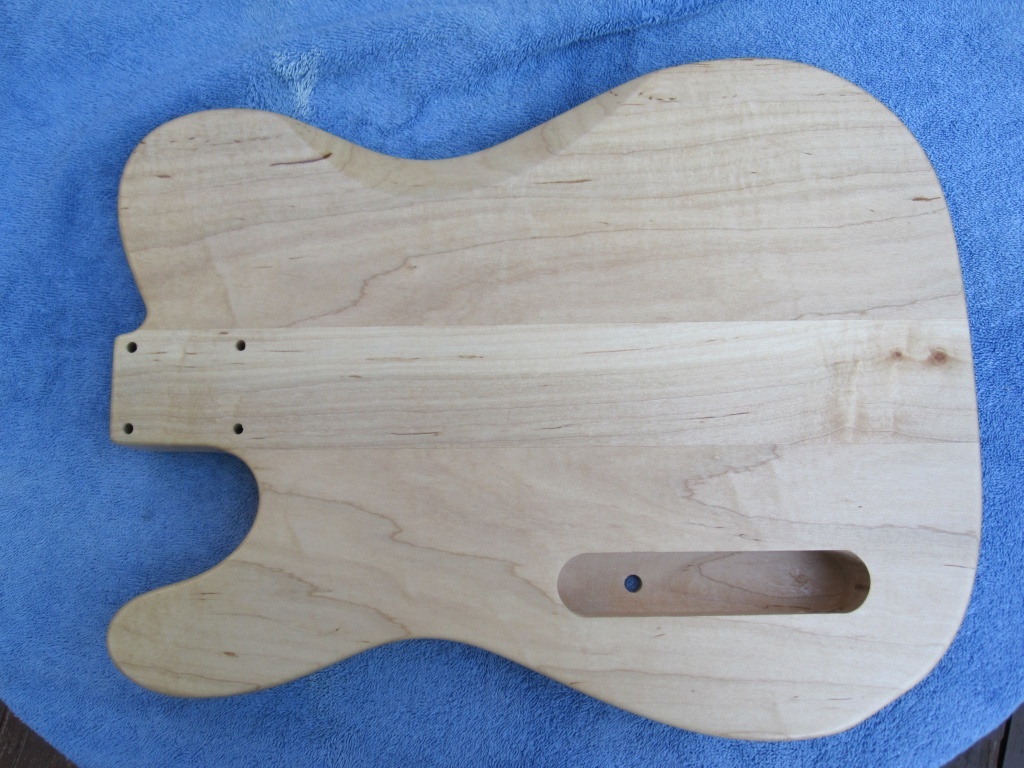
First I cut out the shape and routed it flush with a template. Then I applied a 1/4" roundover and routed the neck pocket, control cavity, and pickup recess.
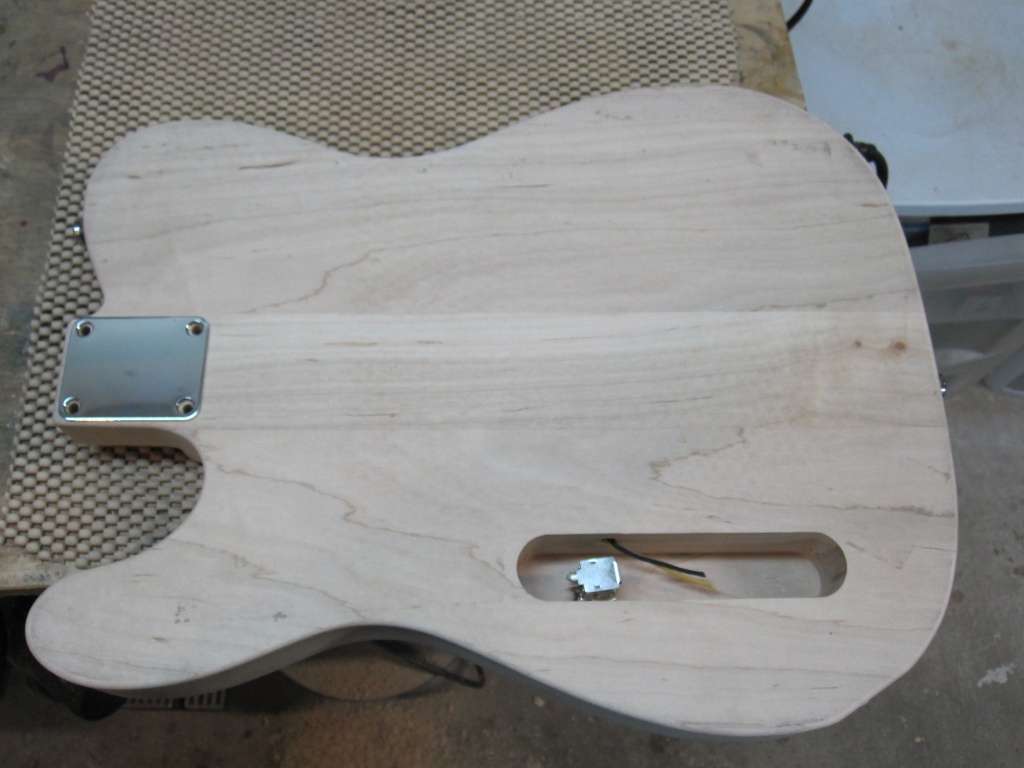
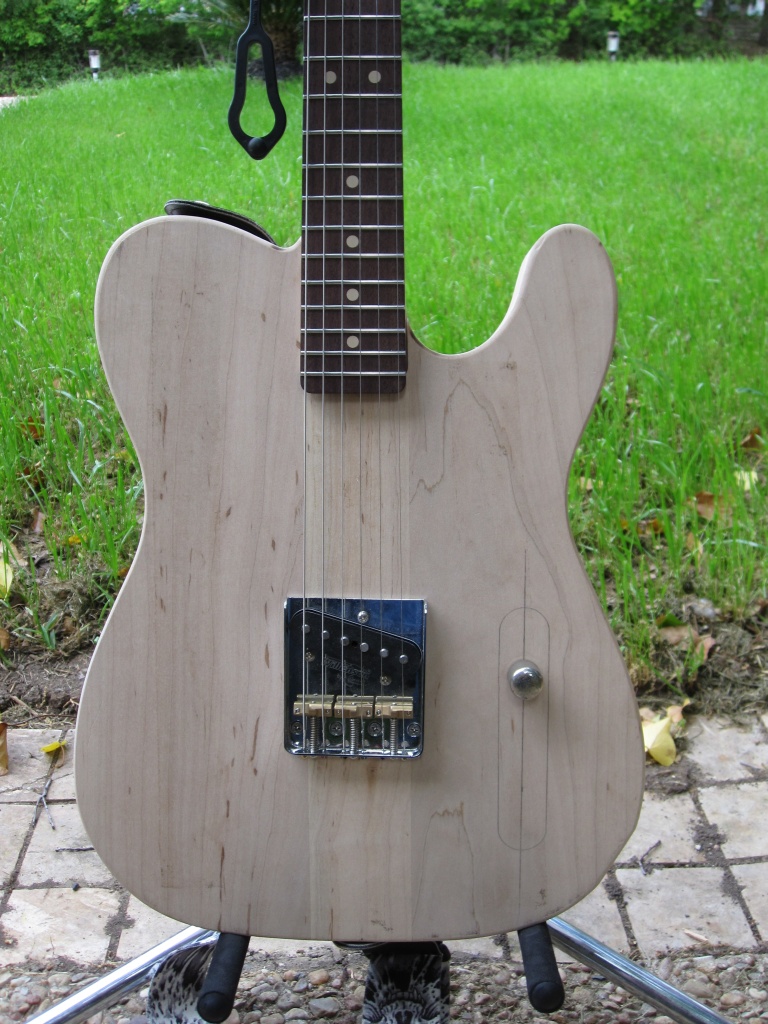
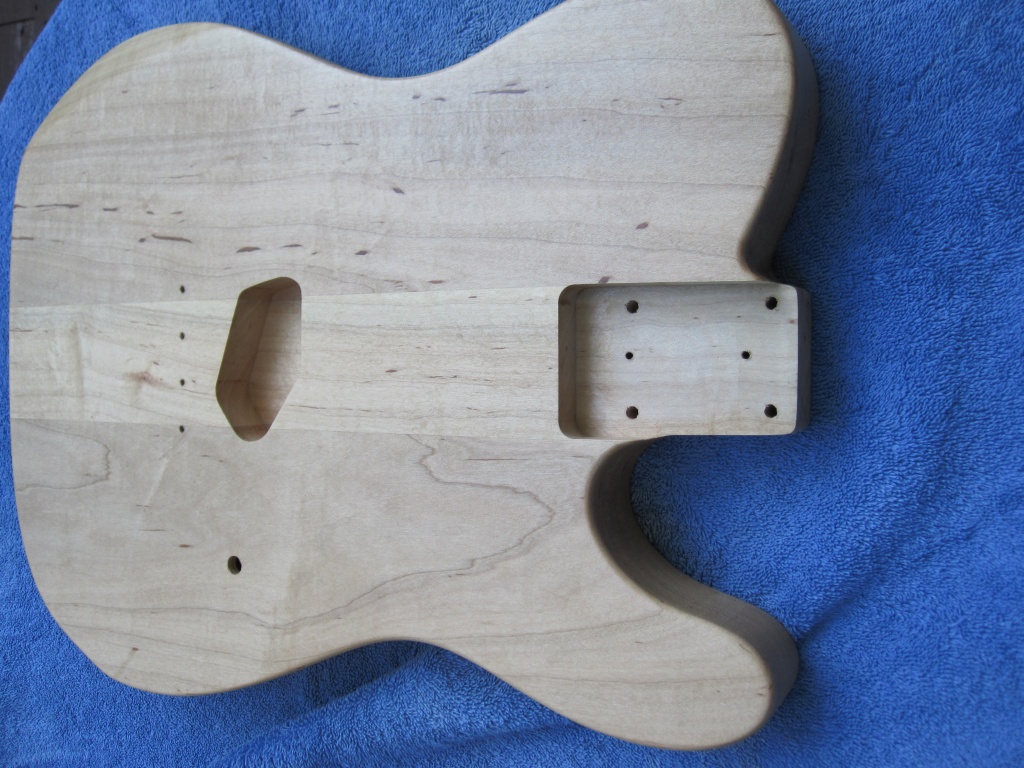
Next, I placed the bridge and neck, and drilled the holes for the jack, strap buttons, and volume potentiometer.
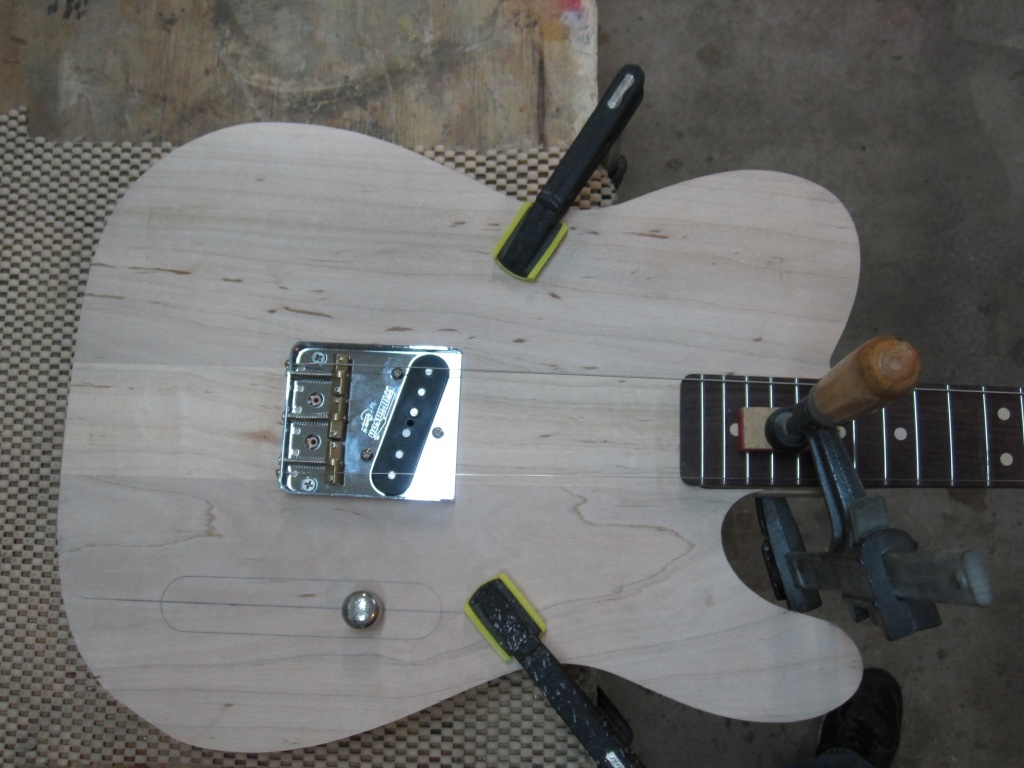
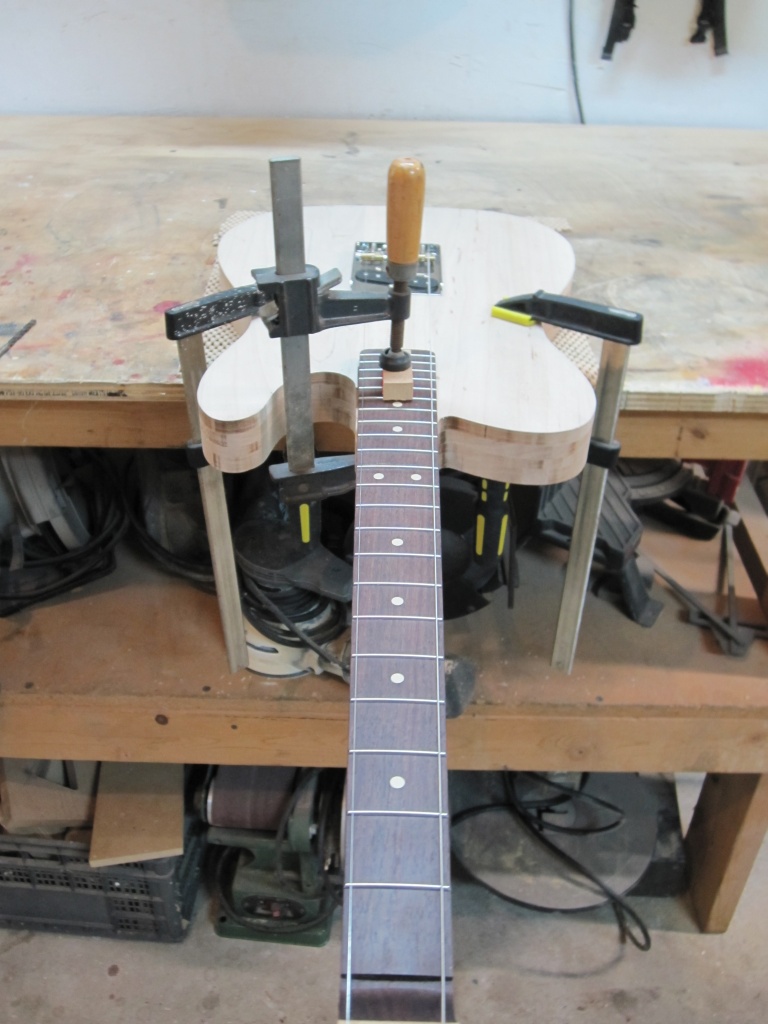
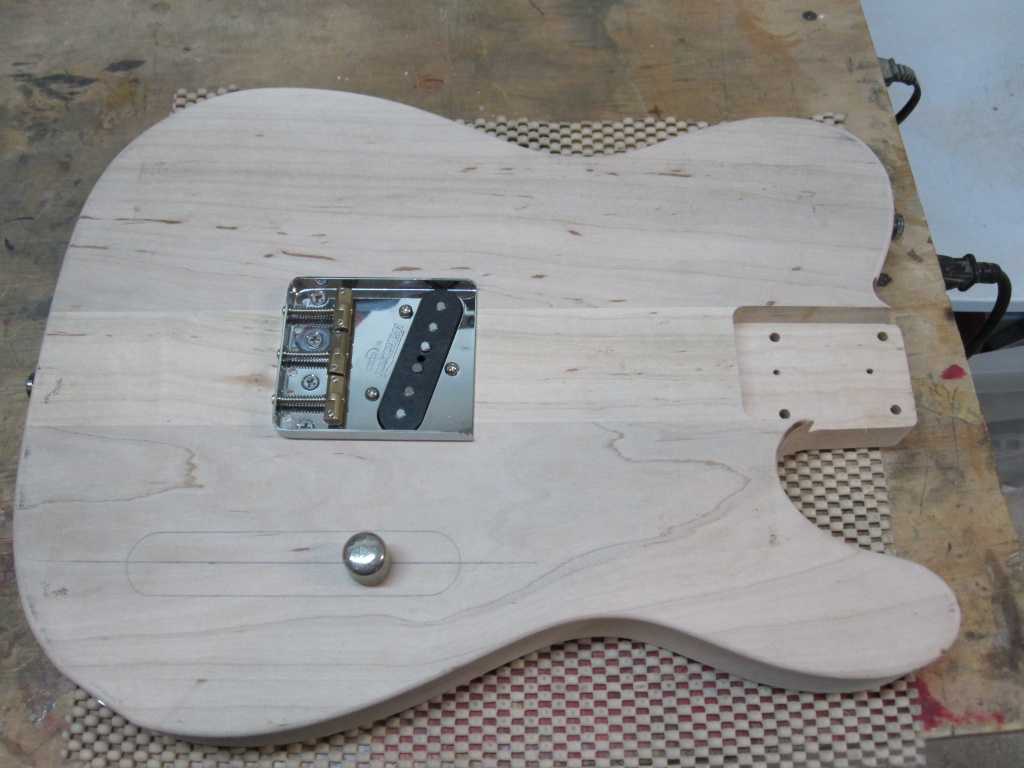
Then I put it together to check that everything fit together correctly.
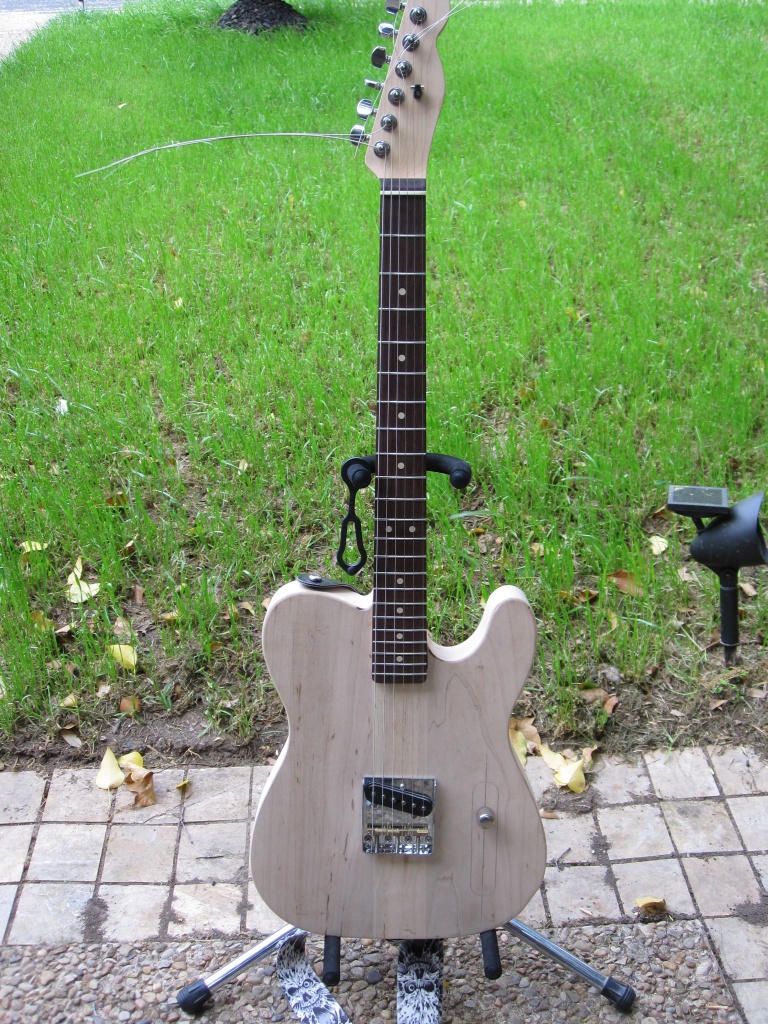
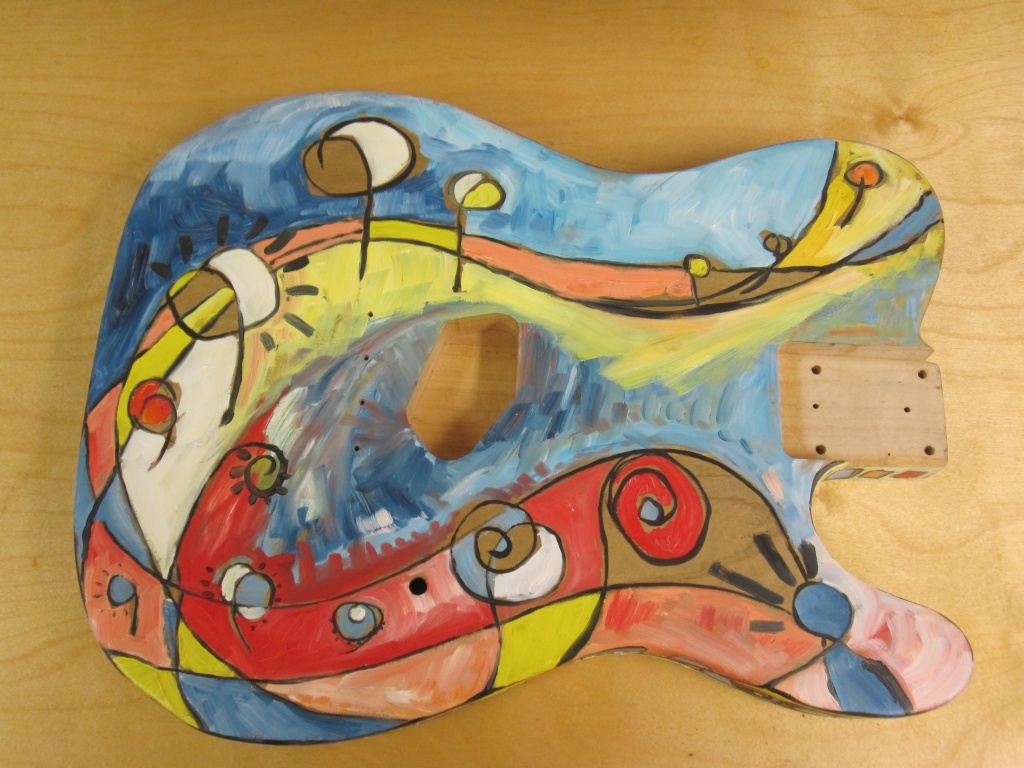
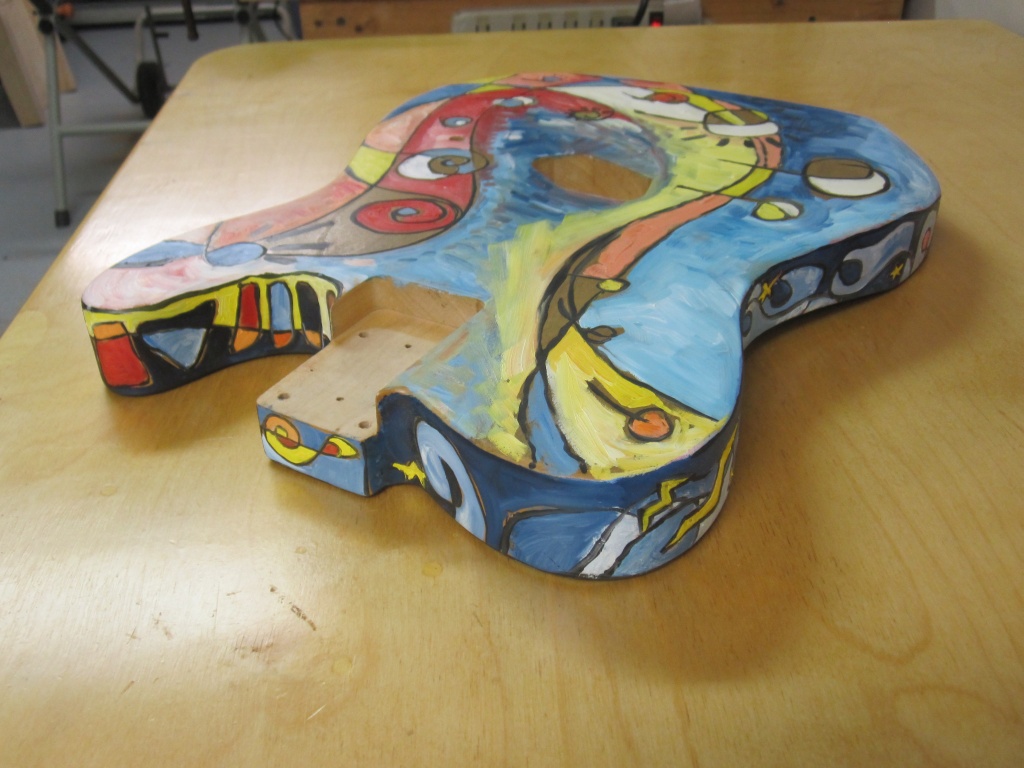
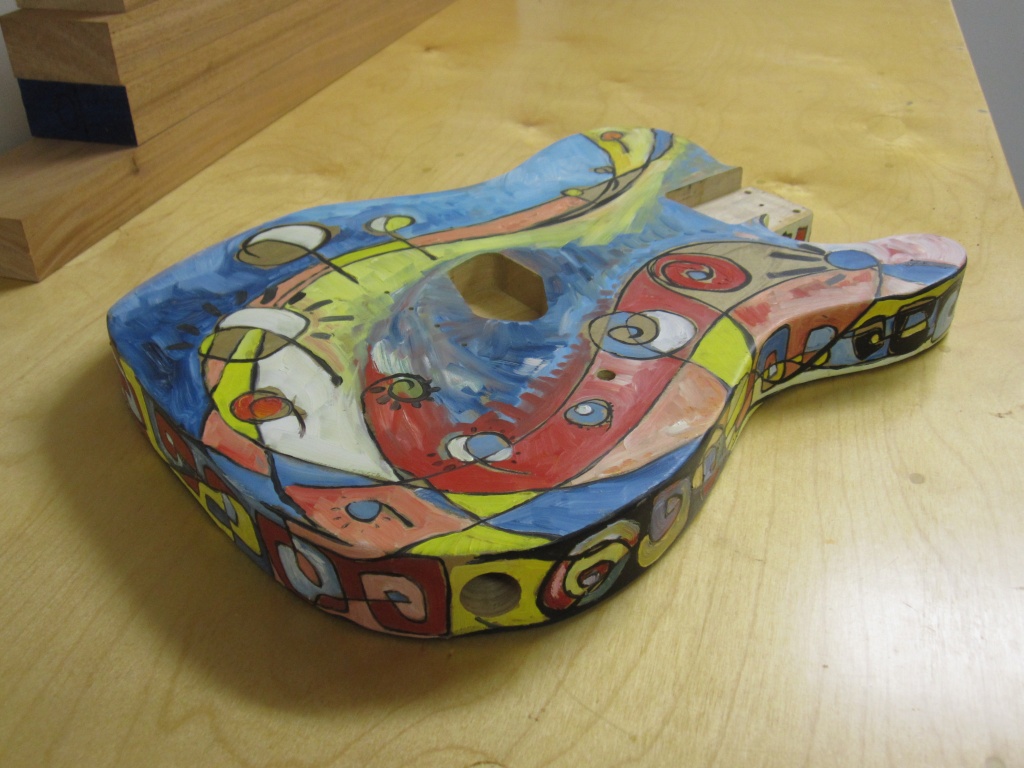
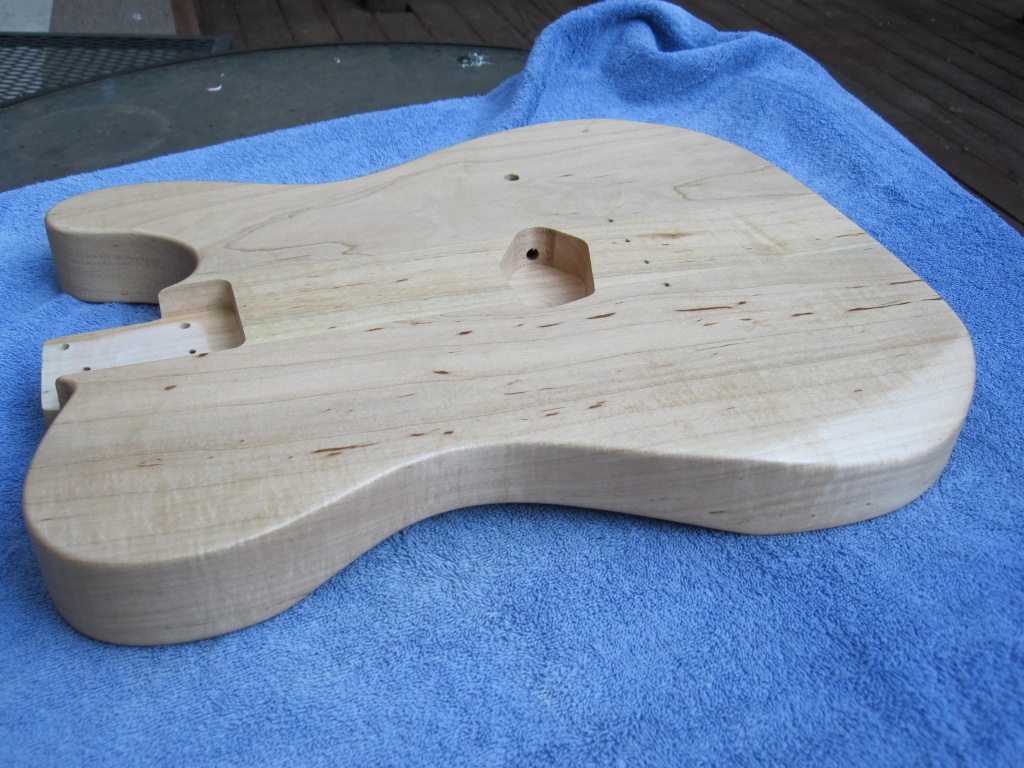
Finally, I carved the forearm and belly contours, then sanded the entire body out to 320 grit and applied a couple coats of sealer.
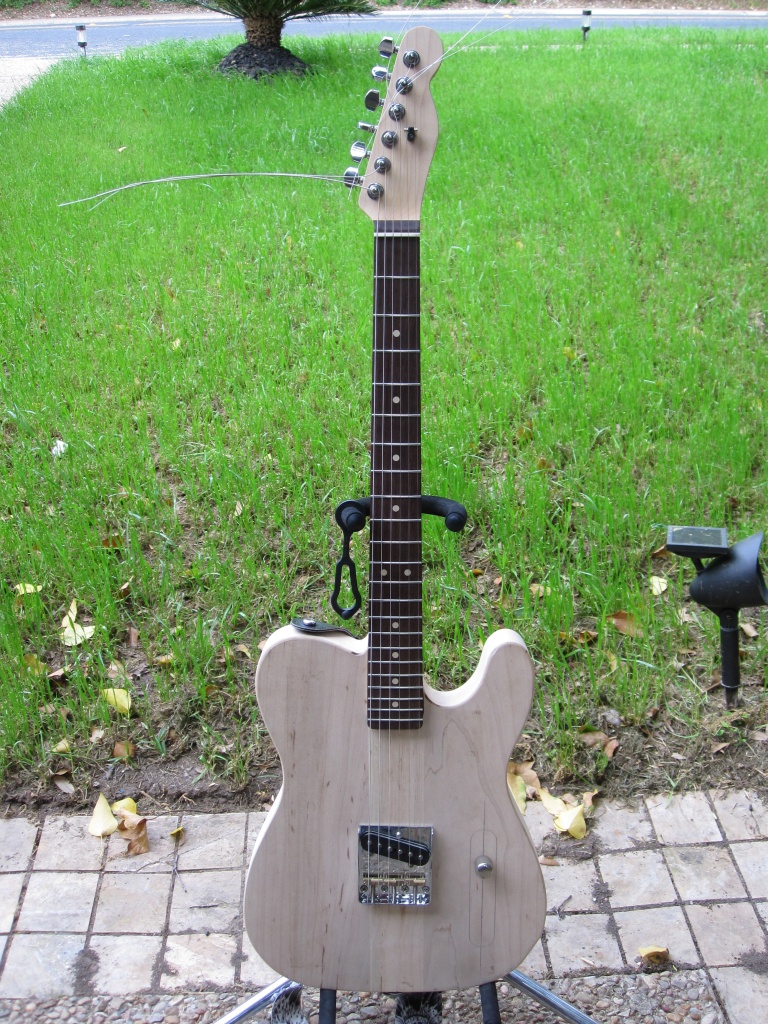
Well, it took a year and a half, and the neck didn't make it, but the final product speaks for itself.