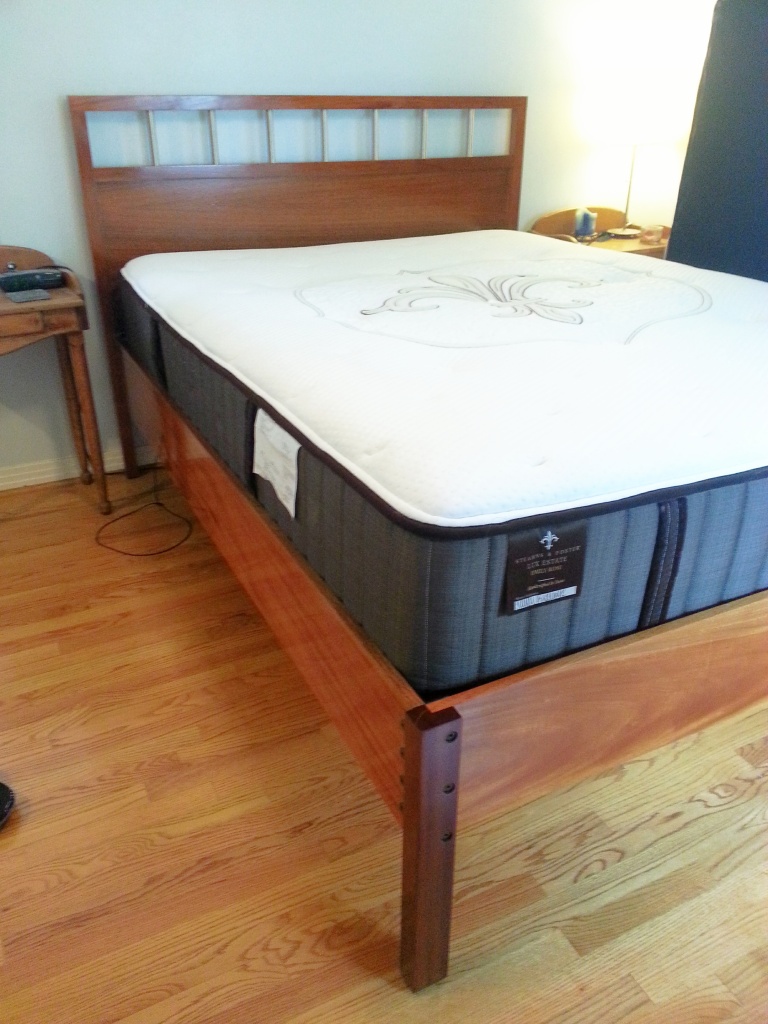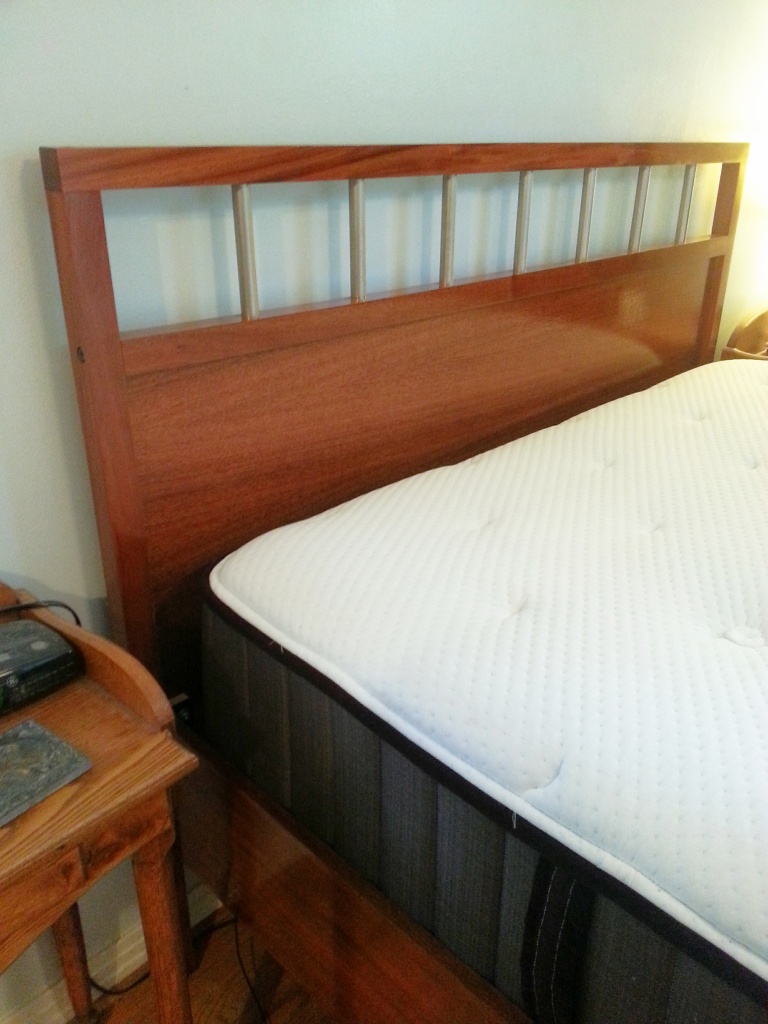
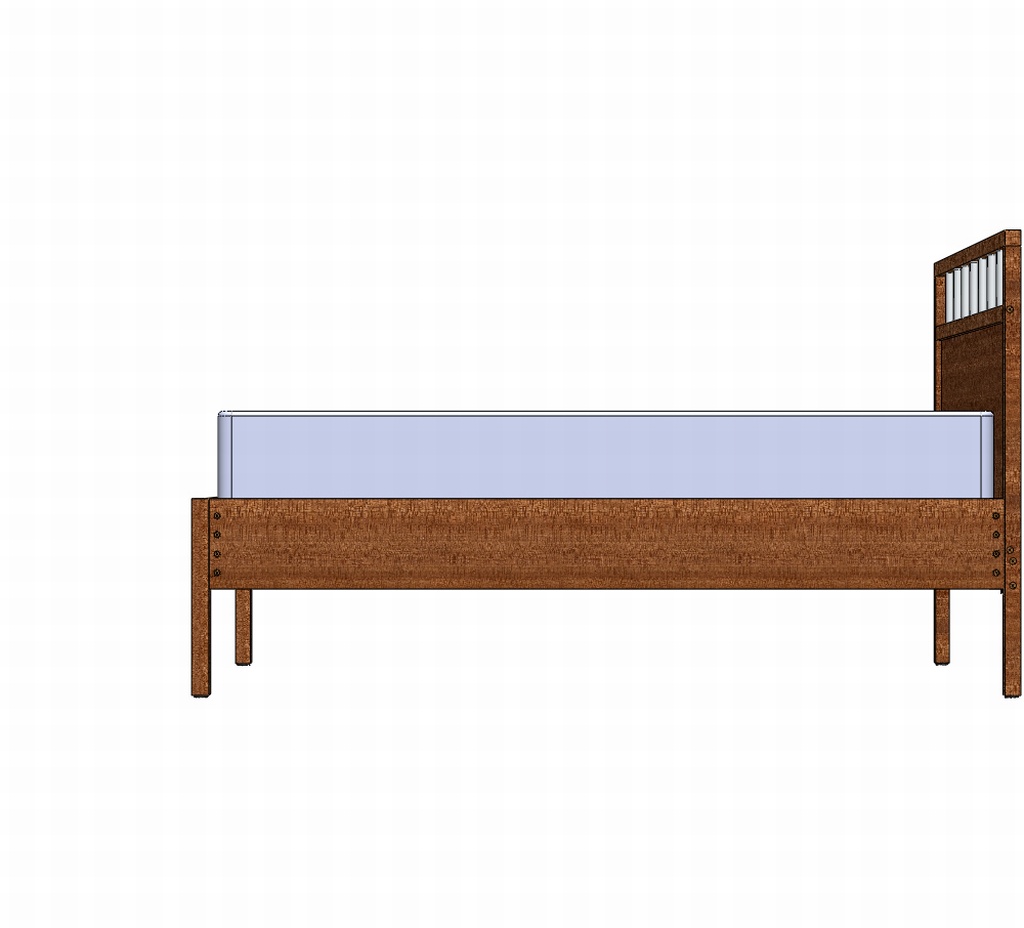
A headboard is a fun project that a lot of woodworkers eventually get around to doing. Mine is a fairly simple design in keeping with my own sense of aesthetics and in order to be built without a table saw or jointer. Aside from looks, this headboard has the practical use of raising my bed up about 4" -- enough to allow me to store my skis under the bed.
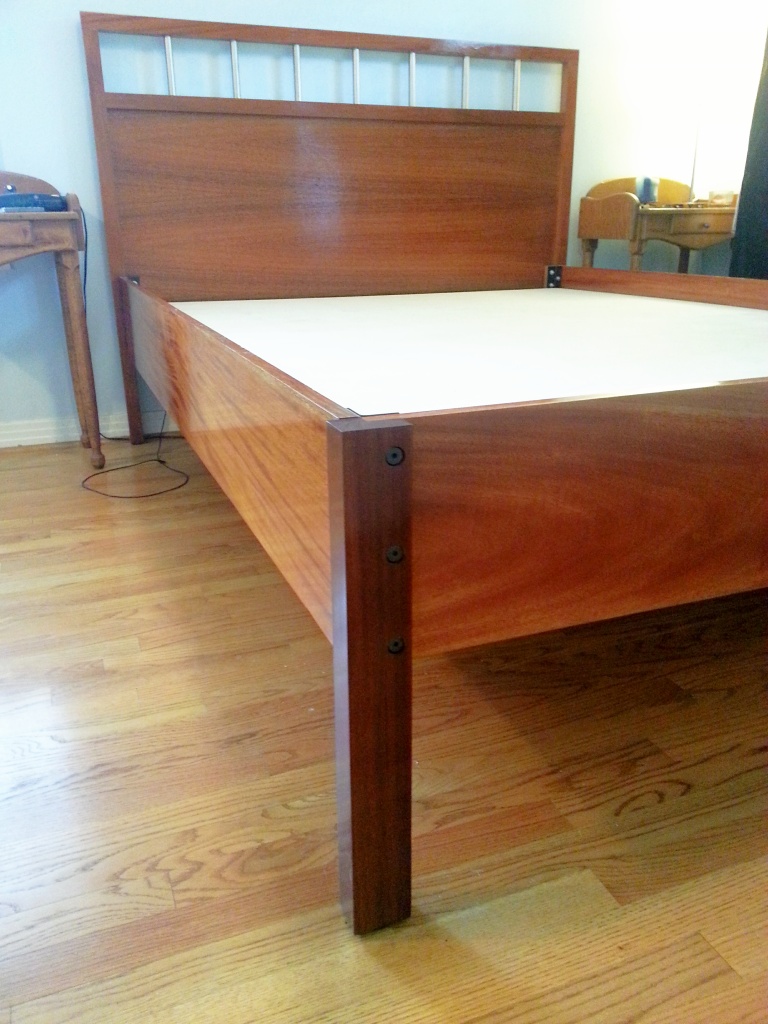
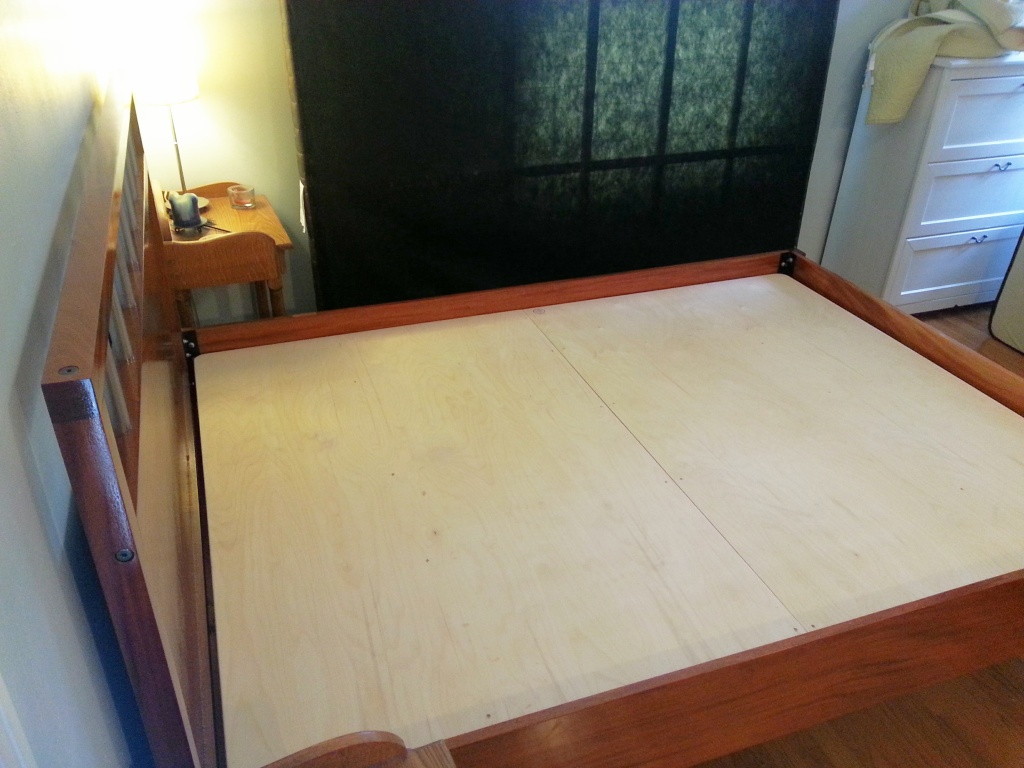
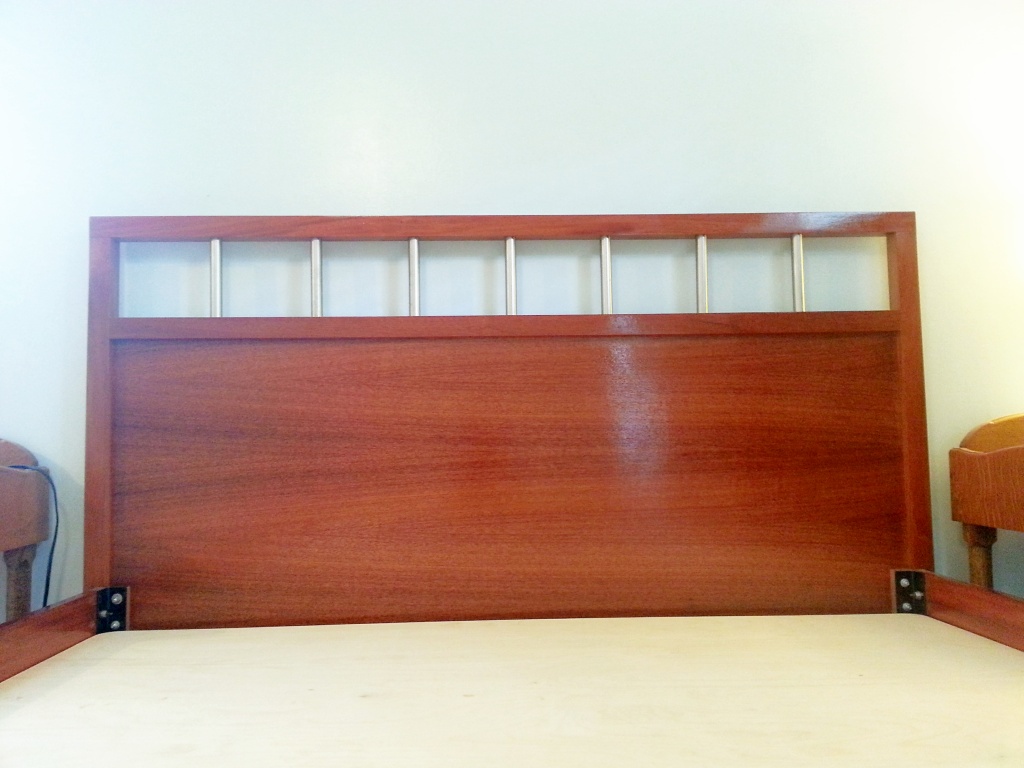
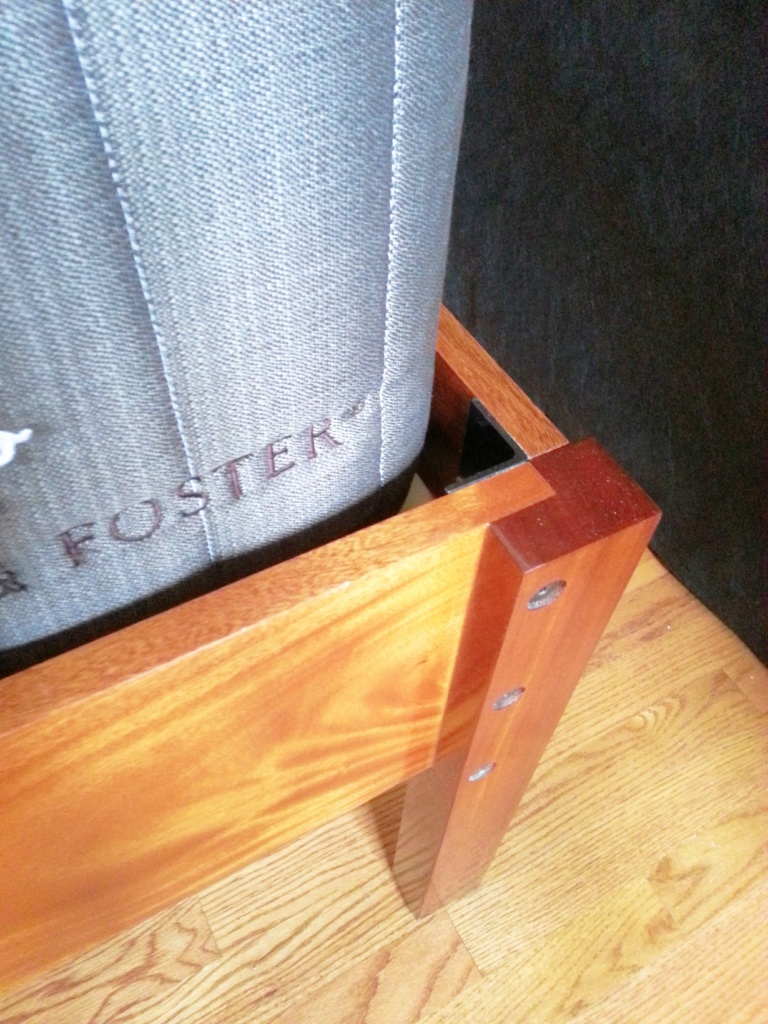
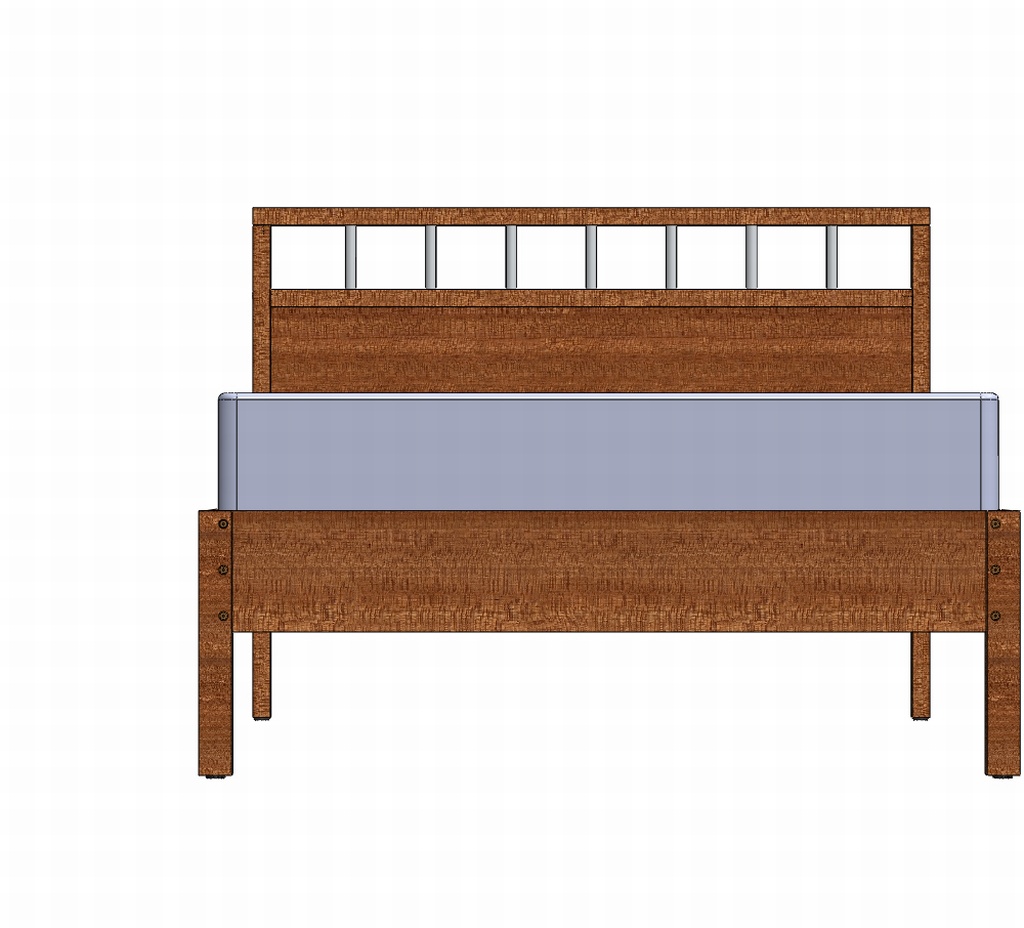
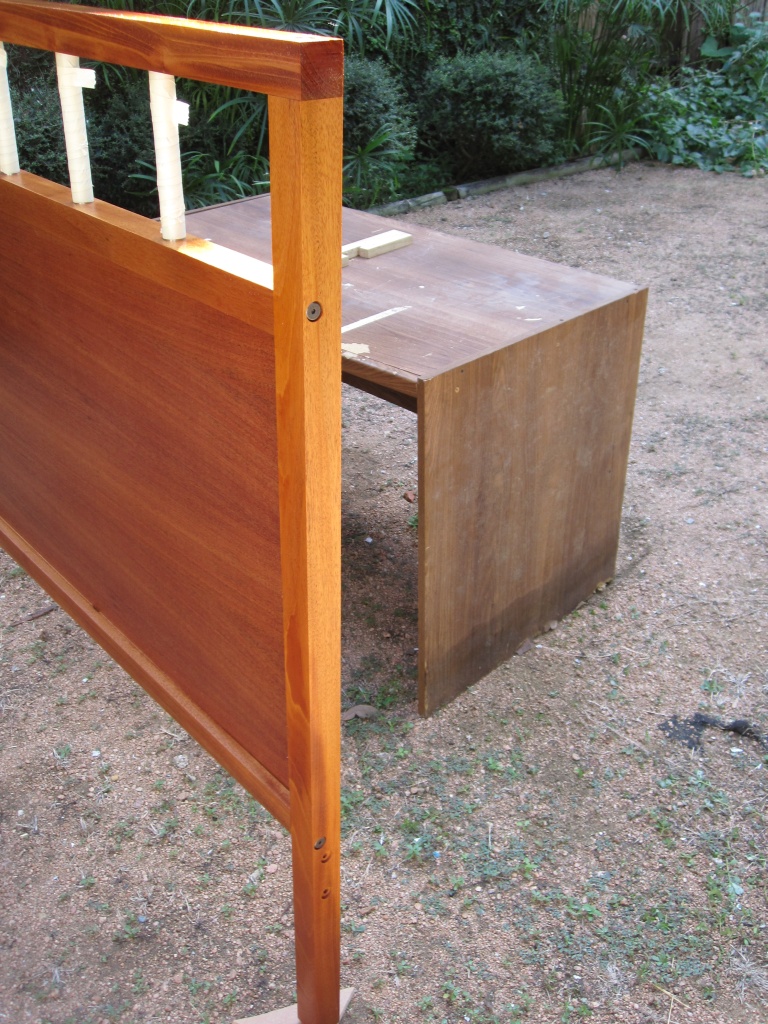
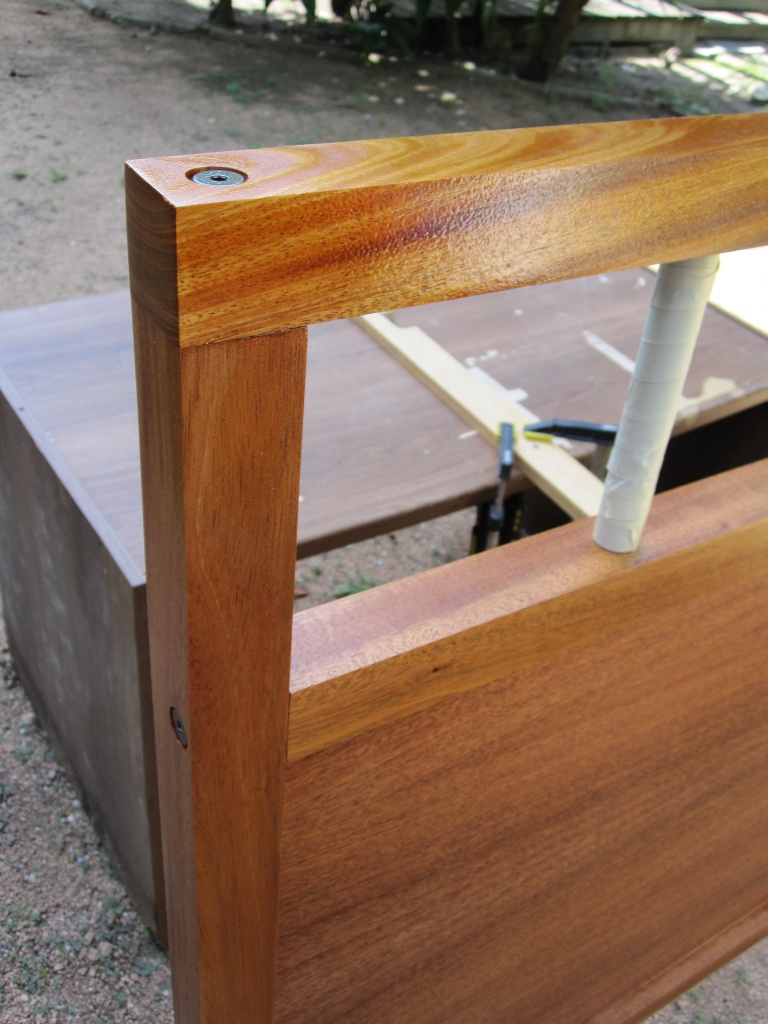
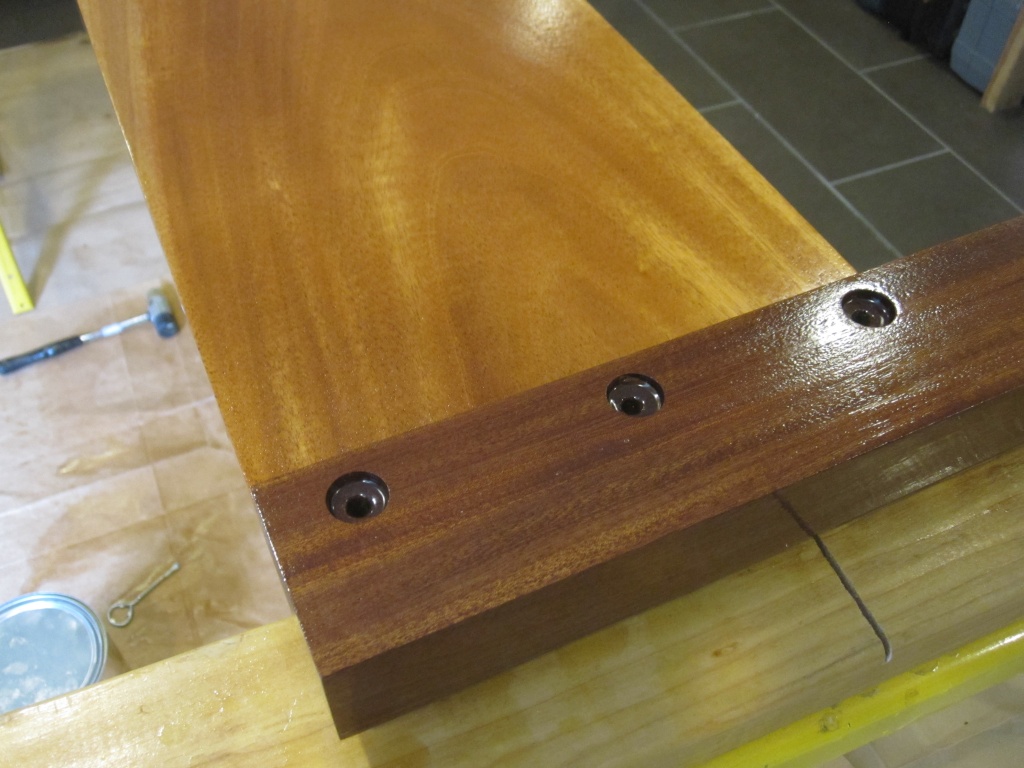
This is a fairly simple design. I built it in two phases -- the headboard first, and the rest about a year later. When I began the project I didn't have a table saw or jointer, so I designed the bed to be built without them. I chose dimensioned mahogany 2x2's for the framing and a 2'x5' piece of 3/4" mahogany plywood for the headboard. The footboard and sides are 10x3/4" mahogany. All lumber was purchased from Clark's Hardwood. The joinery is butt joints glued and reinforced with furniture bolts and threaded inserts. The sides are attached with 1/4"-20 furniture bolts connected to angle iron (the headboard and footboard are each one piece).
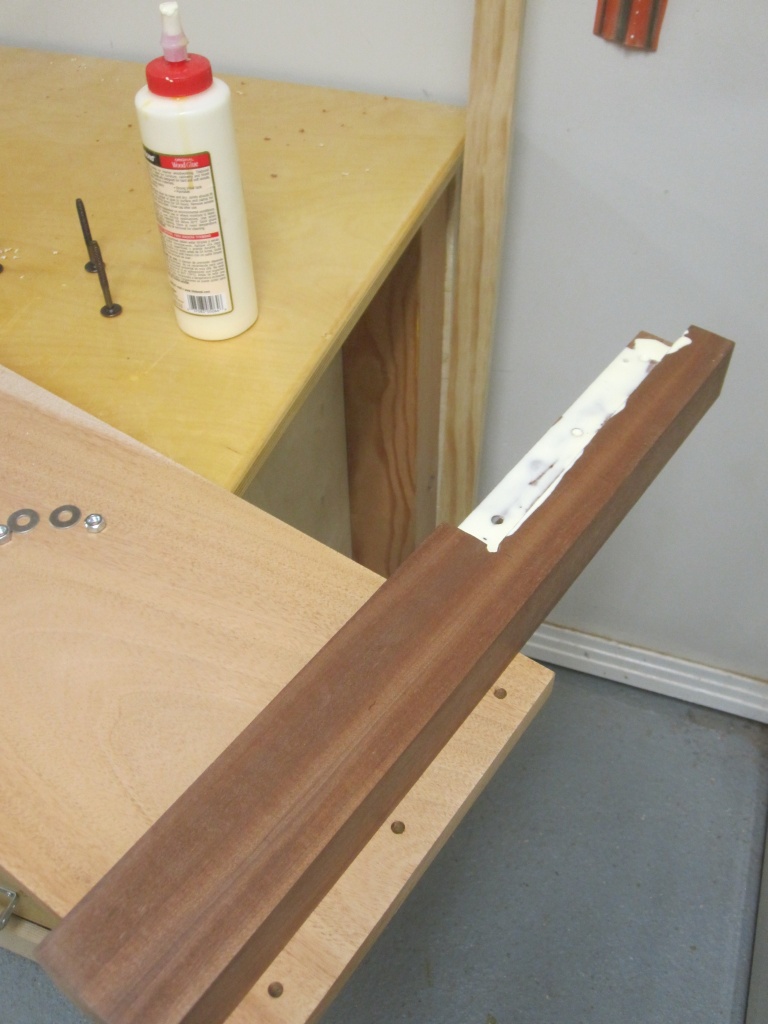
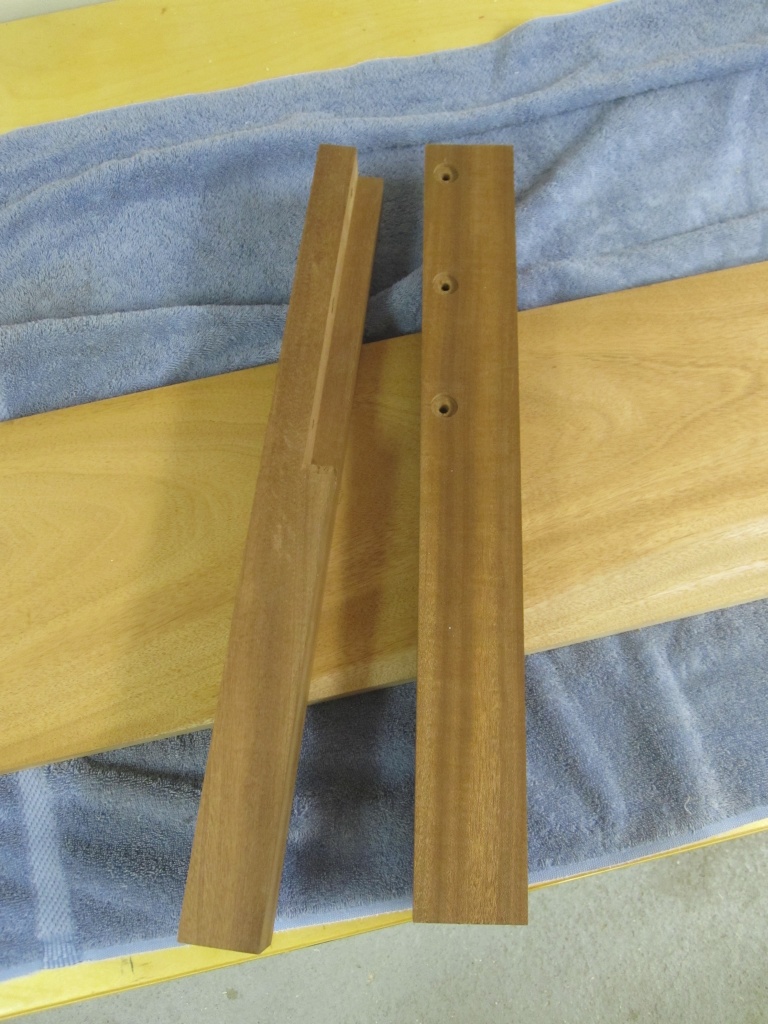
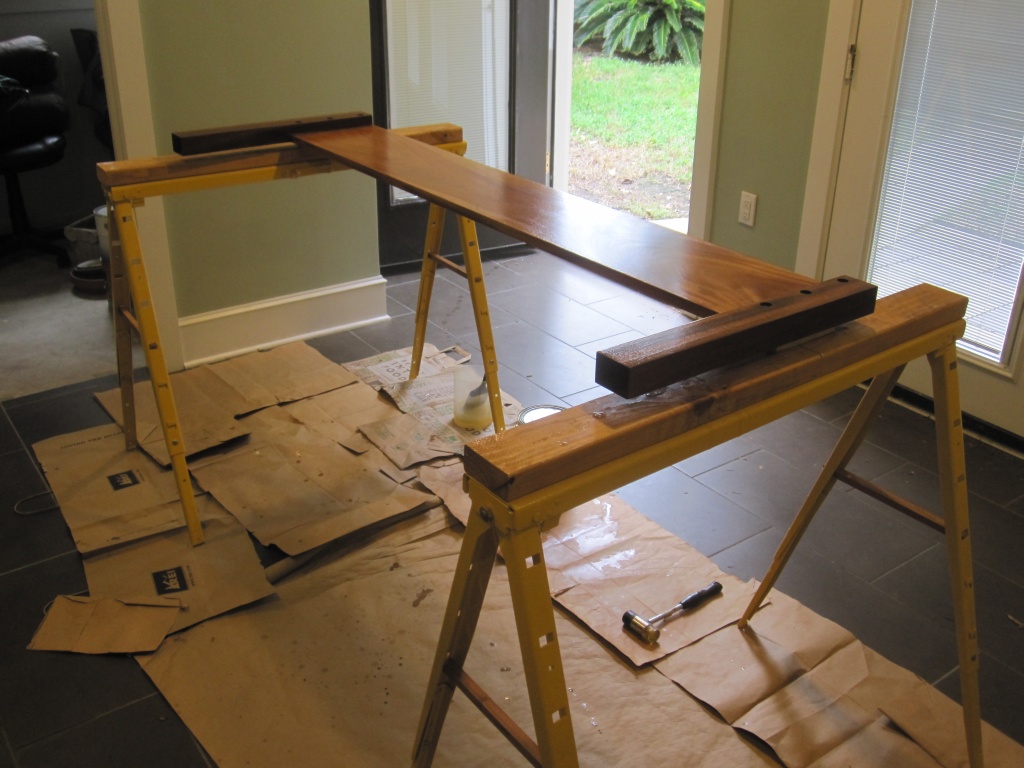
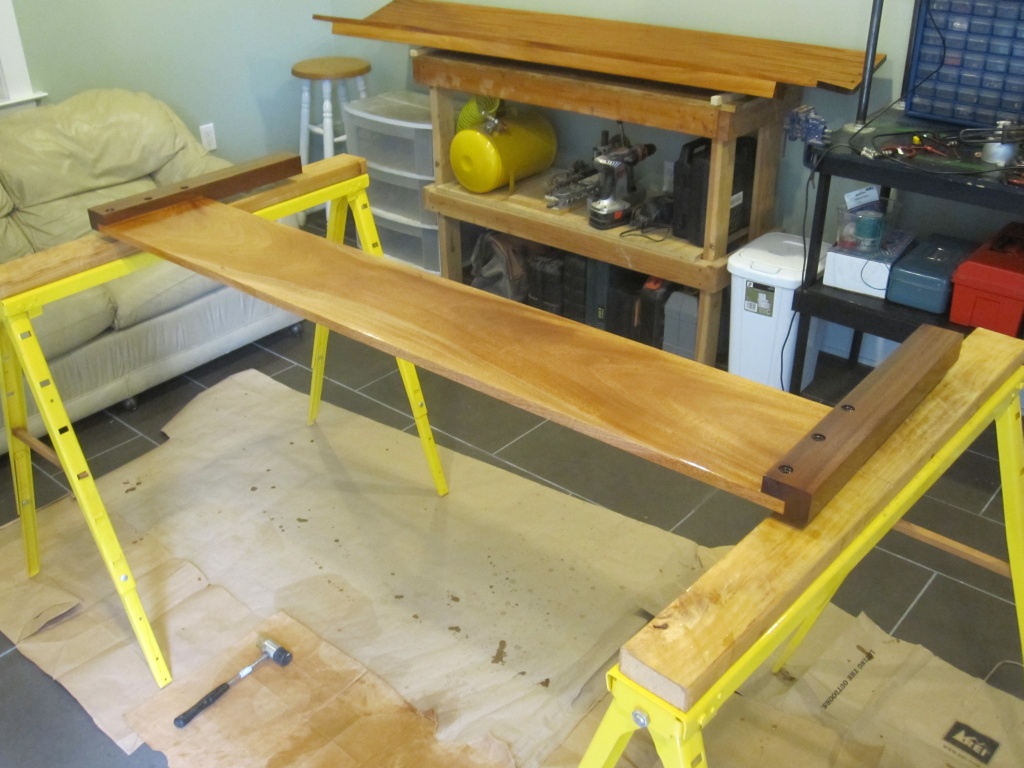
I didn't take any pictures of the early part of the build; however, it involved a number of tricky glue-ups due to the size of the headboard. I relied heavily on the furniture bolts to hold everything together as I didn't (and still don't!) own any clamps long enough to reach the full 5' width of the headboard. Aside from that, the build went basically like one might expect. The pictures below are after the second coat of finish. I sprayed a total of 4 coats of Minwax polyurethane varnish (semi-gloss), sanding between coats. I sprayed these with my gravity feed gun instead of the rattle cans I use on smaller projects.
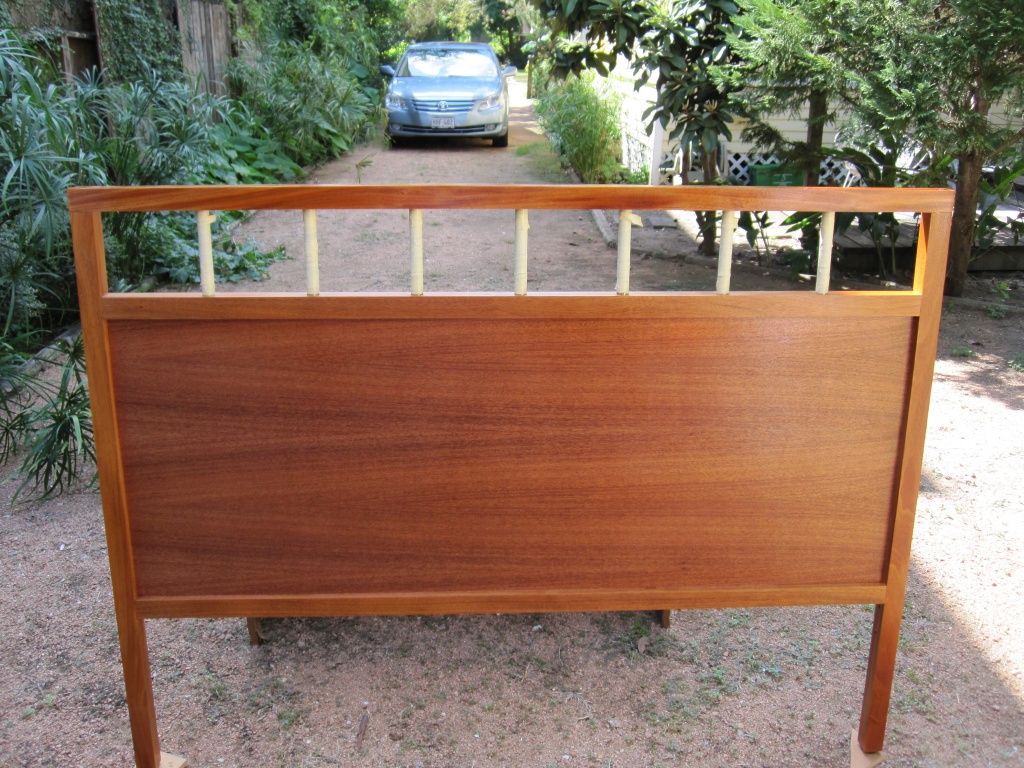
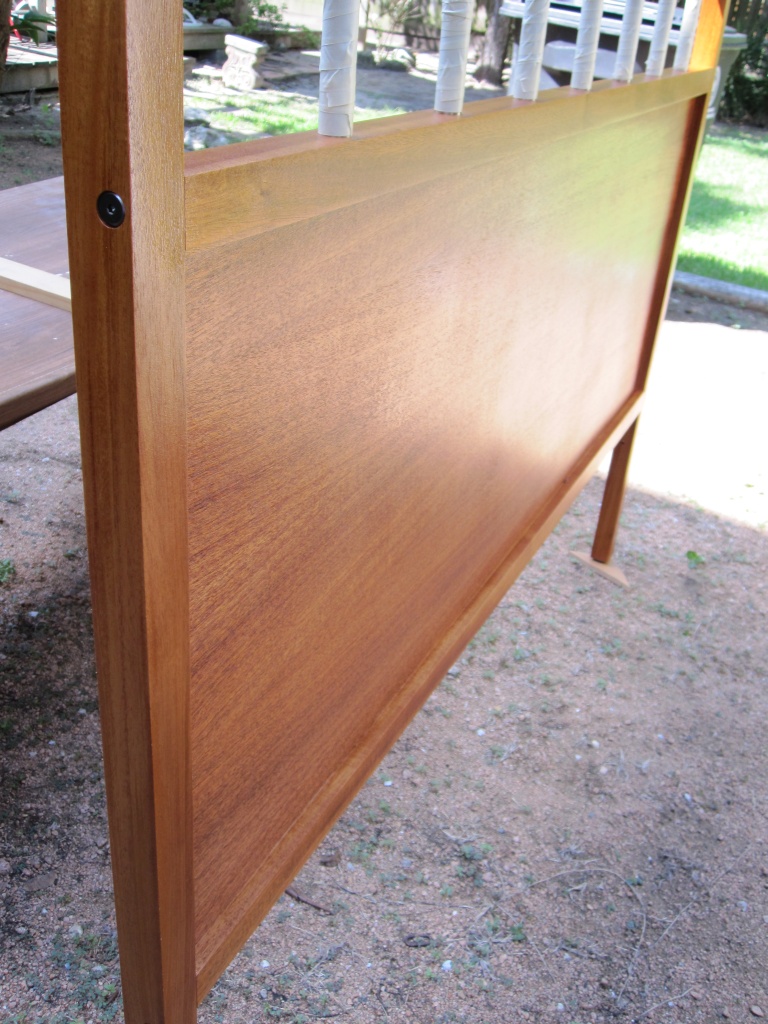


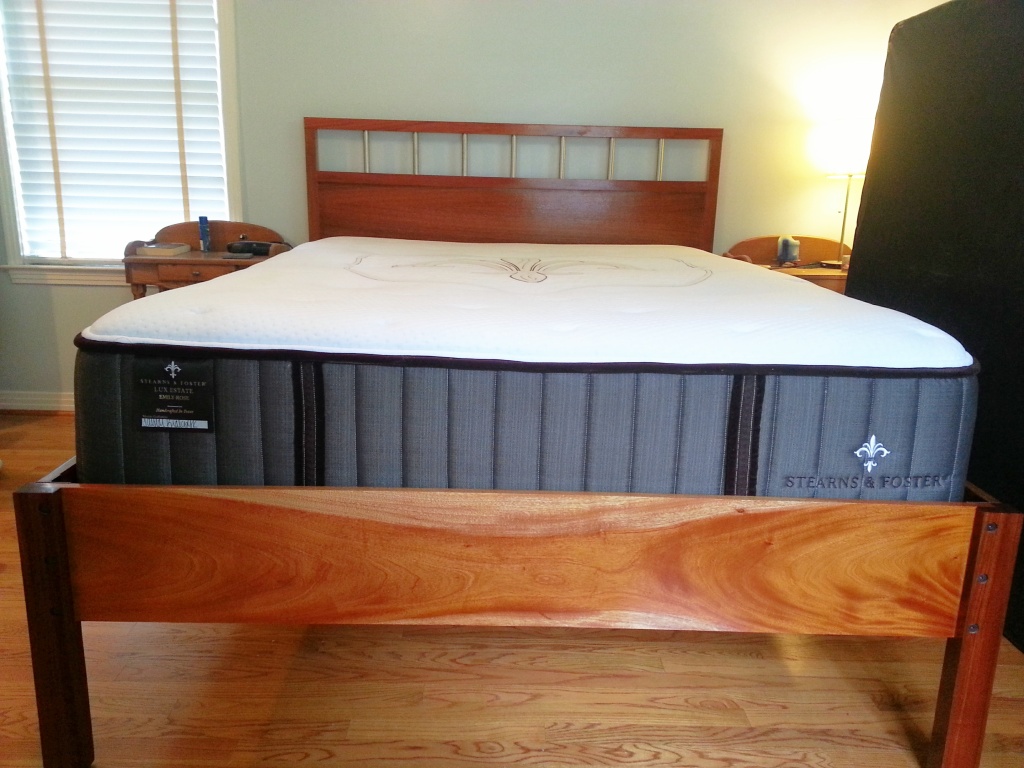
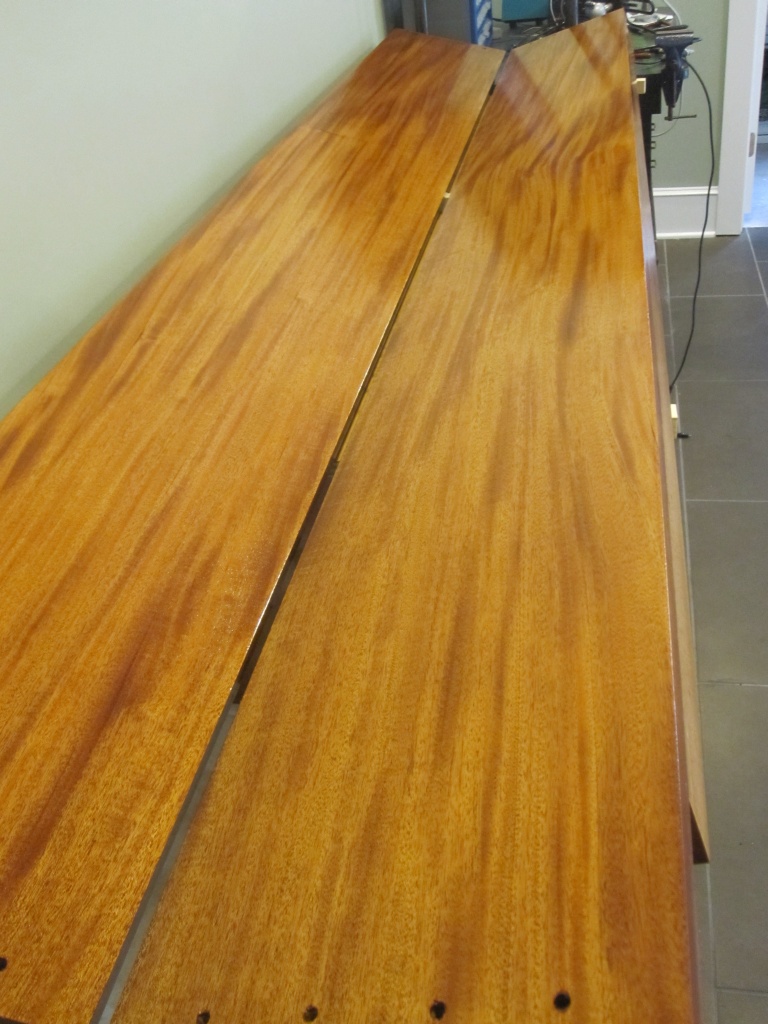
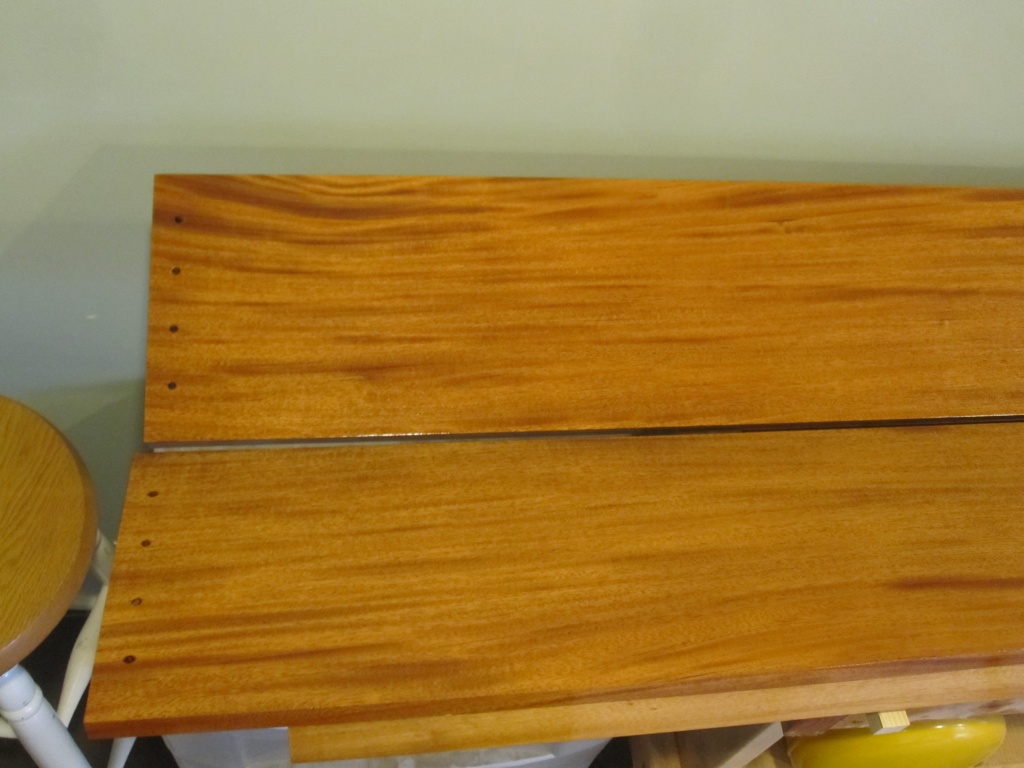
The sides and footboard came together more easily. I really took my time getting a good finish on these parts, and the result was well worth it -- the mahogany is just gorgeous!


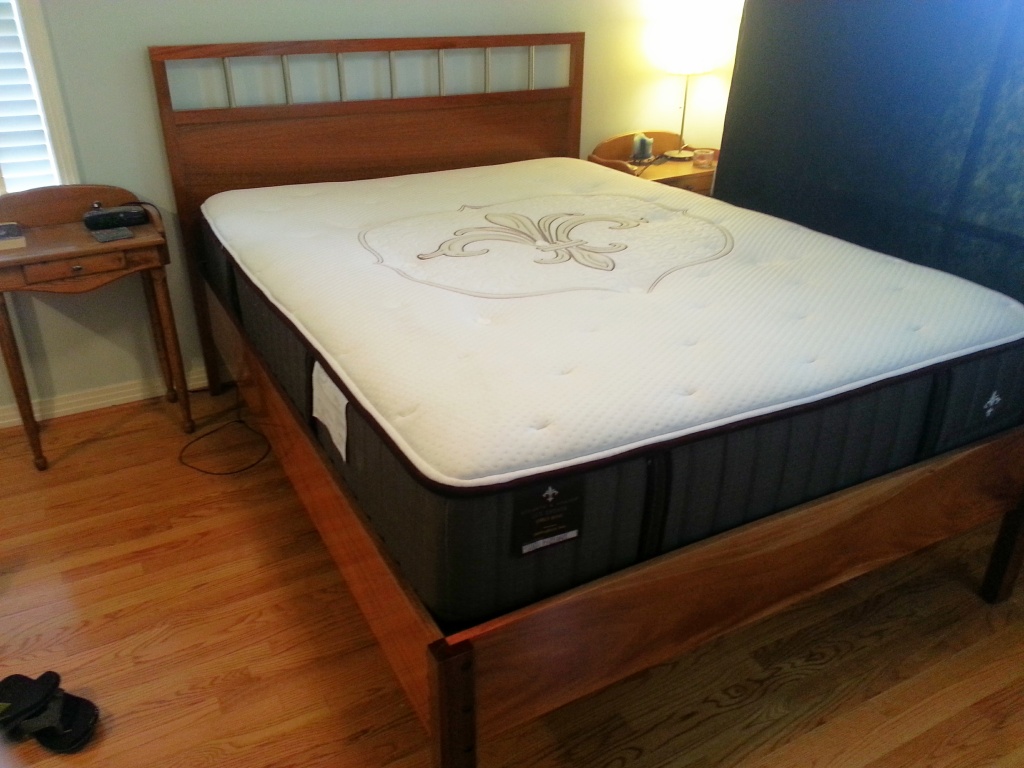
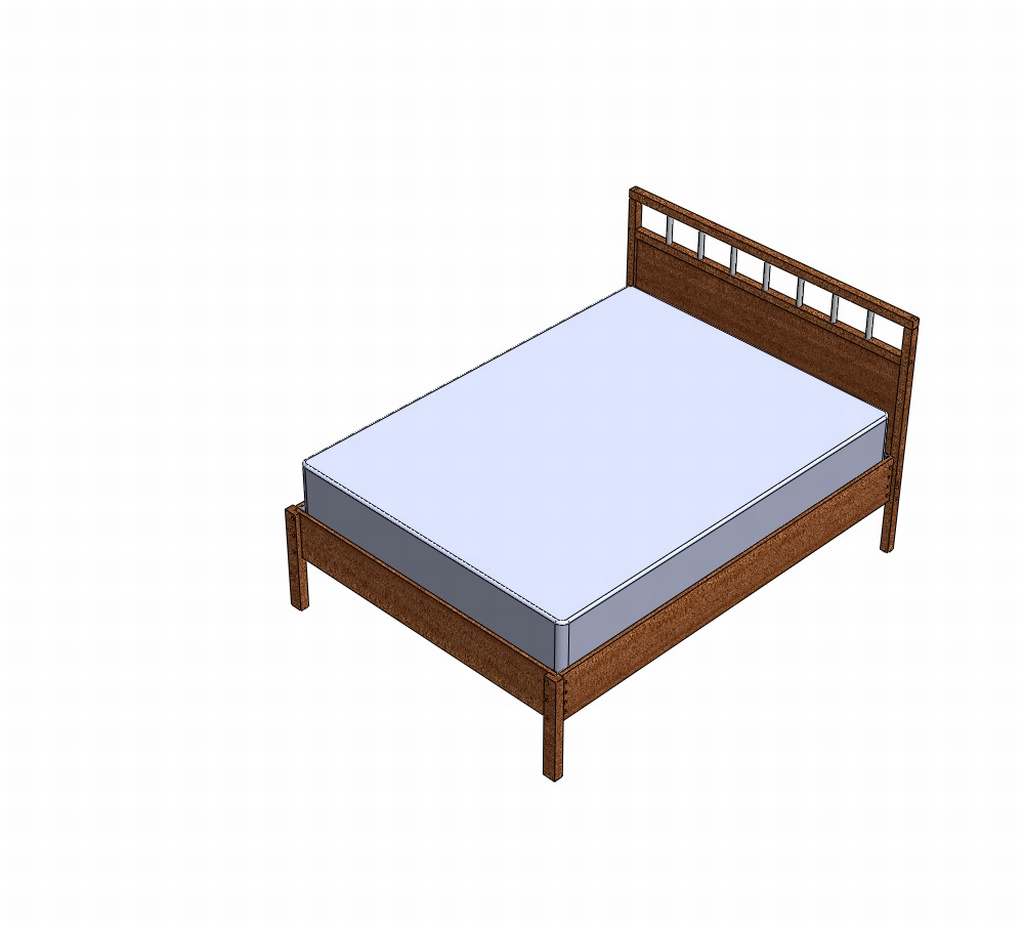
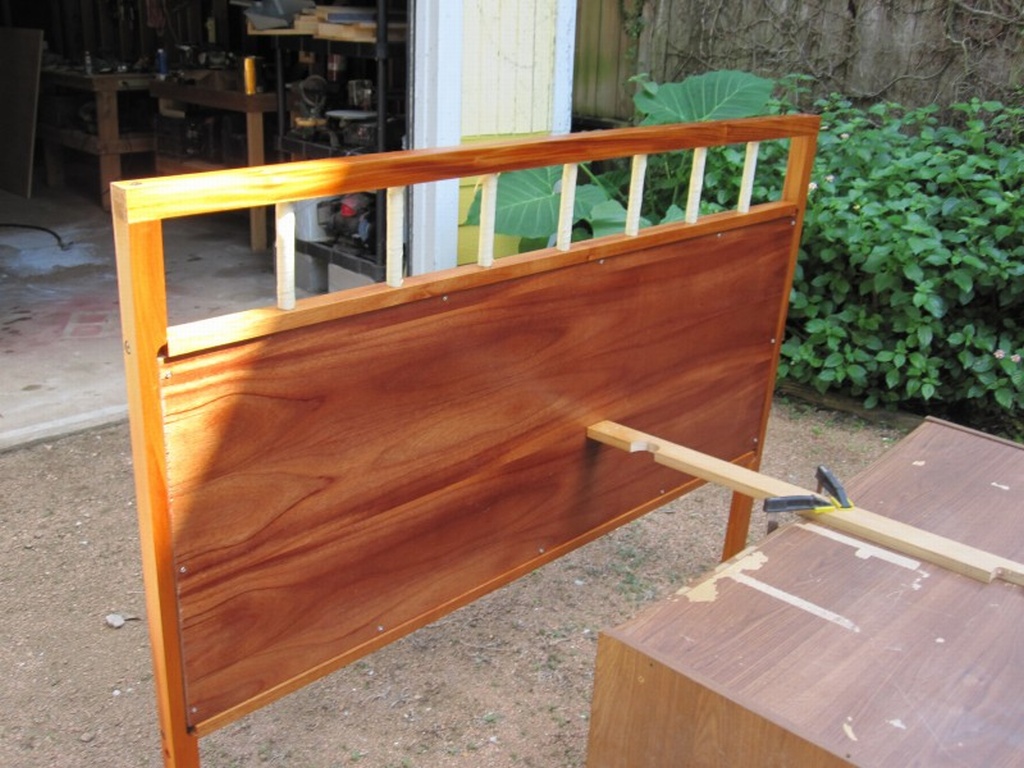
The pictures below are of the finished and assembled bed. The mattress sits on a platform (no box spring), and is recessed about 2" for a seamless look.